
Backup and Restore
This guide describes how to turn backups for individual VMs on and off, log in to the Commvault plugin in VMware Cloud Director, assign backup plans, and restore a VM.
Enabling or disabling backups per VM
Section titled “Enabling or disabling backups per VM”You can decide for yourself whether your virtual machines (VMs) are backed up or not.
To disable or enable the backup:
- Log in to your tenant.
- Navigate to the desired VM.
- Open the “Metadata” tab of the selected VM.
- There you’ll find the “Backup enabled” entry. This entry is created automatically for every VM and defaults to “Yes”.
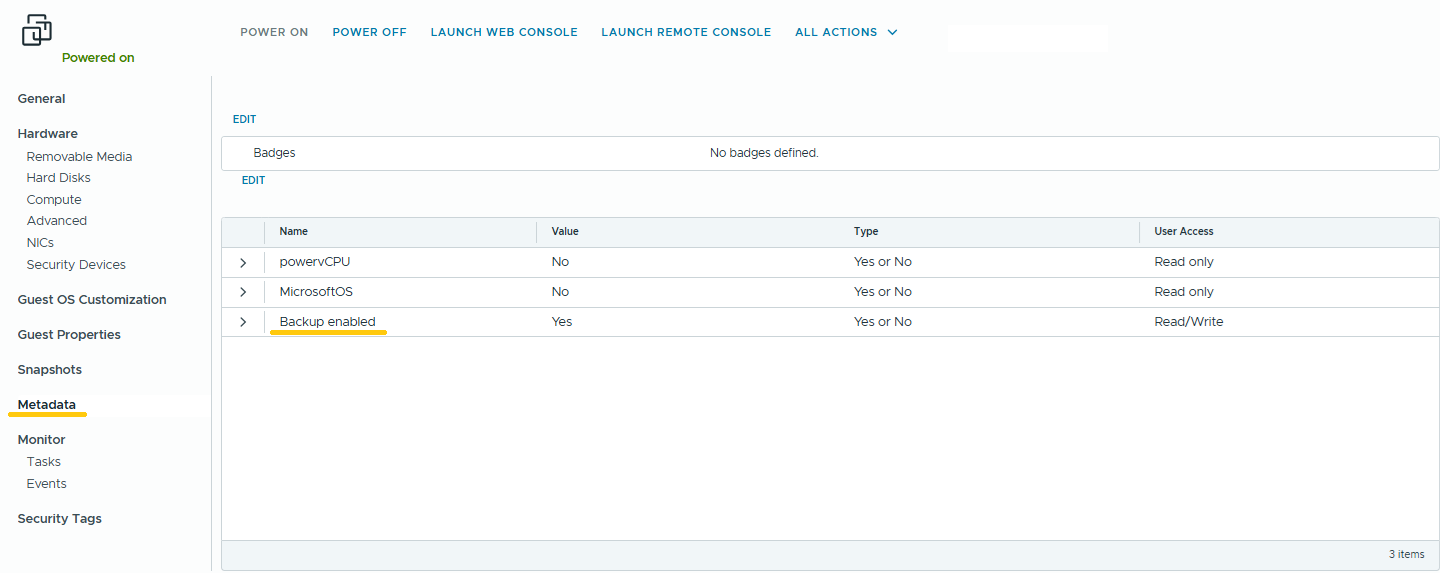
- To disable the backup, change the value to “No”.
- To re-enable the backup later, set the value back to “Yes”.
Logging in to the Commvault plugin
Section titled “Logging in to the Commvault plugin”- Log in to VMware Cloud Director.
- Click Commvault Data Protection in the left-hand menu.
- Click SSO-Login via Commandcenter. You’ll be redirected to Commvault.
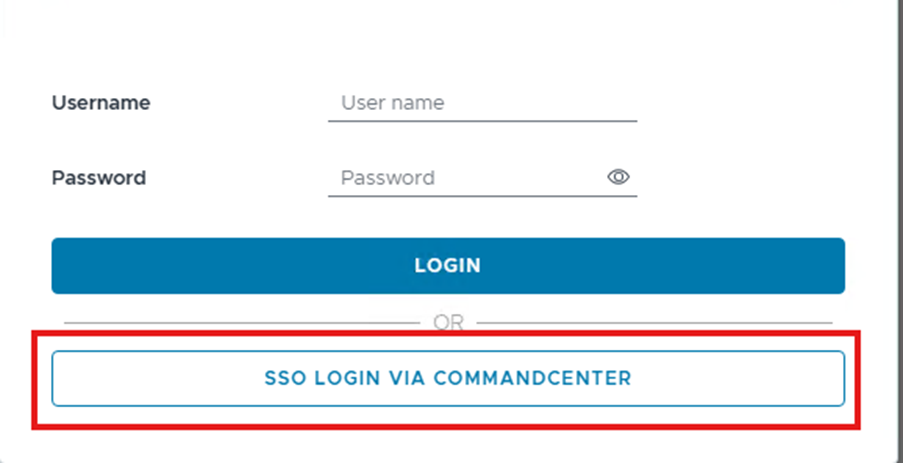
- Enter the Commvault credentials you were provided.
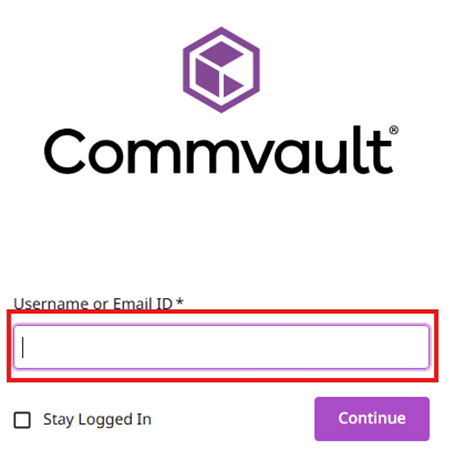
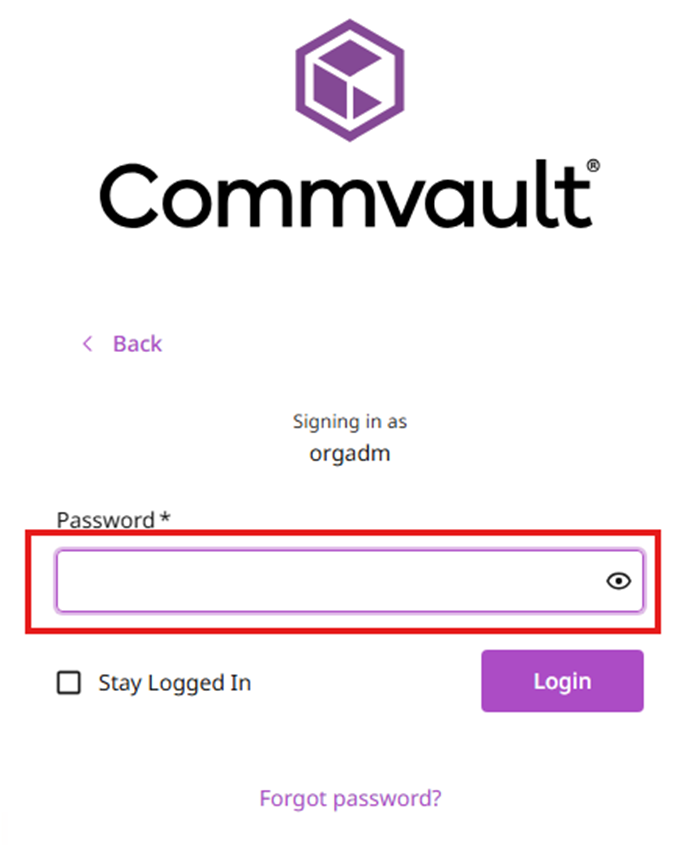
The Commvault Data Protection plugin interface then appears. Clicking Virtual Machines in the left-hand menu opens the view of all VMs already backed up.
Assigning backup plans
Section titled “Assigning backup plans”- Clicking Unprotected shows the VMs that don’t yet have a backup or plan assigned.
- To change a backup plan, select the button next to the VM. Multiple selection is also possible.
- After selecting the desired VMs, click Modify Plan.
- In the Select a Plan dropdown, choose the desired plan.
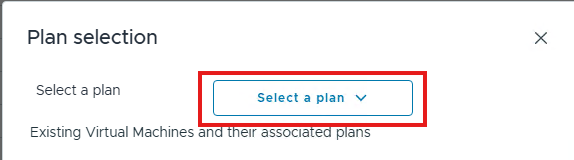
- After selecting the plan, click Modify.
- Clicking Remove Plan removes an already-assigned plan.
- A green banner appears on successful action.
- Clicking Back Up and then Back Up now starts a backup.
- Progress can be tracked under Active Jobs.
- The VM then appears under the Protected tab. Click Refresh if needed to update the view.
Restoring a VM from a backup
Section titled “Restoring a VM from a backup”Restoring from the most recent backup
Section titled “Restoring from the most recent backup”- In the Protected tab, select the desired VM via the checkbox next to it.
- Click Restore.
The following settings can be configured in the dialog that opens:
- In Place Restore: overwrites the current VM.
- Out of Place Restore: restores the VM as a new instance.
- VM Name: name of the restored VM.
- Power On after Restore: determines whether the VM is started automatically after a successful restore.
- For Out of Place Restore: choose whether the VM is restored as a standalone VM or integrated into an existing or new vApp.
Restoring from a specific backup
Section titled “Restoring from a specific backup”- In the Protected tab, select the desired VM via the checkbox next to it.
- Click View Jobs. You’re redirected to a new menu showing all backup jobs for the VM.
- Click the arrow next to Operation Backup to start a restore from that backup.
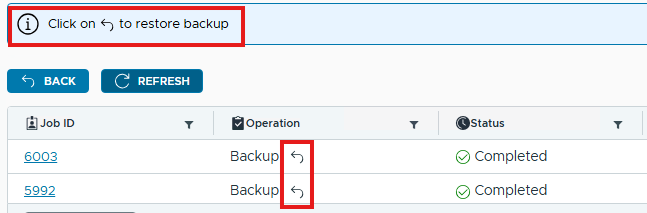
The following settings can be configured in the dialog that opens:
- In Place Restore: overwrites the current VM.
- Out of Place Restore: restores the VM as a new instance.
- VM Name: name of the restored VM.
- Power On after Restore: determines whether the VM is started automatically after a successful restore.
- For Out of Place Restore: choose whether the VM is restored as a standalone VM or integrated into an existing or new vApp.