DR and Migration (nEC Public)
This article describes how the noris Enterprise Cloud (nEC) Public can be used for disaster recovery (DR), or how VMs from a vSphere farm can be migrated into it. It walks through setting up a VMware Cloud Director Availability (VCDA) on-premises appliance.
Prerequisites
Section titled “Prerequisites”- Administrator rights on a dedicated vSphere farm whose VMs are to be migrated into nEC Public.
- An existing tenant on nEC Public.
- A user with orgadm rights within the tenant.
- The OVA image of the VMware Cloud Director Availability on-premises appliance (available in the Broadcom download area).
- Further information is available in the vendor documentation for Cloud Director Availability.
Steps to deploy the VCDA appliance
Section titled “Steps to deploy the VCDA appliance”The appliance needs access to vCenter with admin credentials. It also needs internet access to reach nEC Public. A suitable network for the appliance must be available.
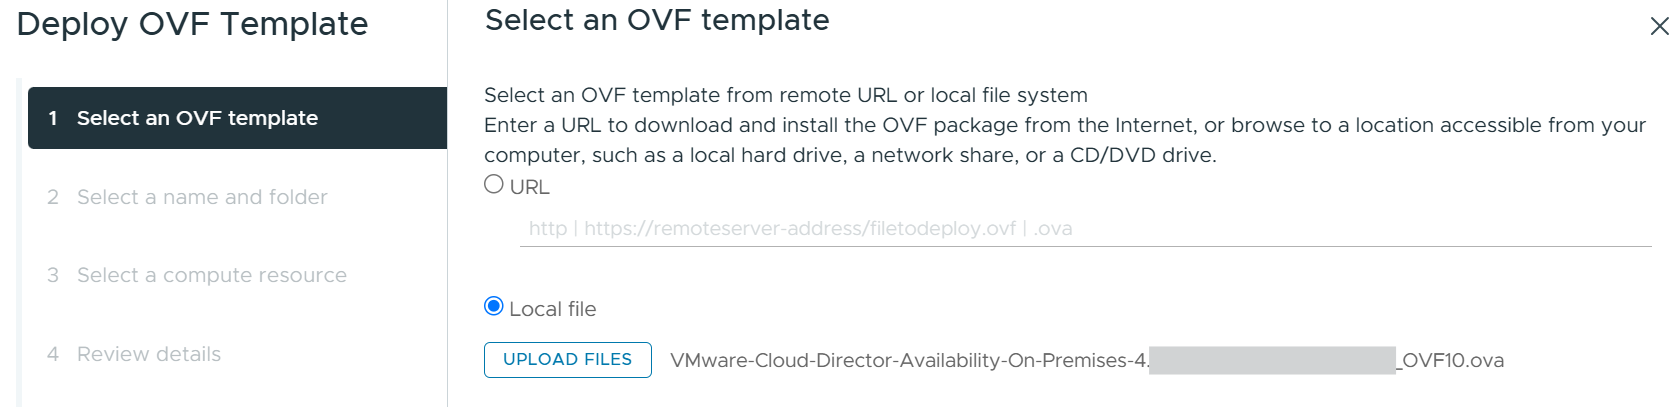
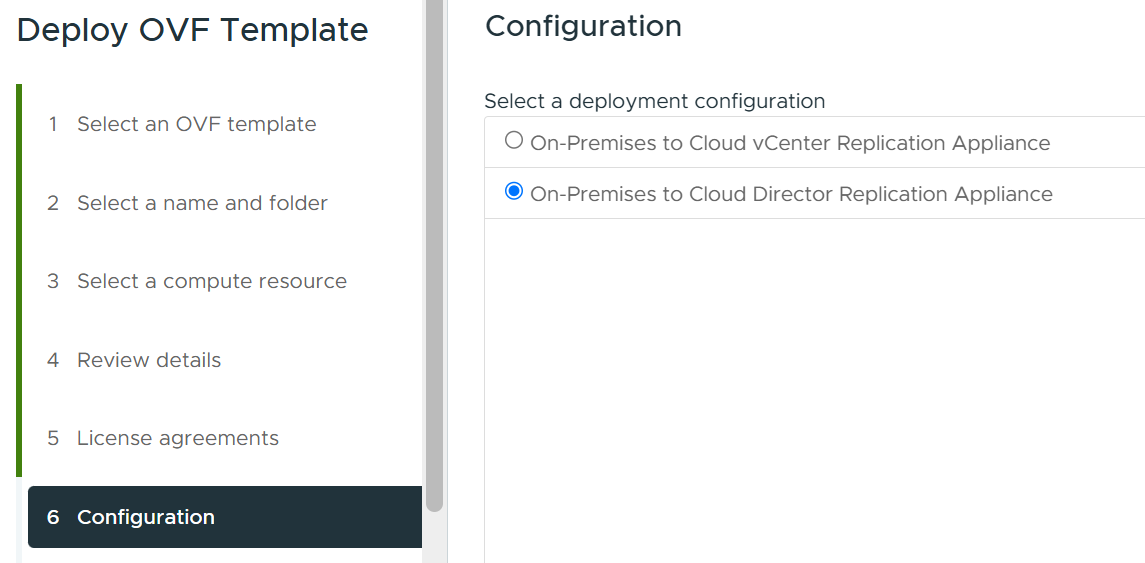
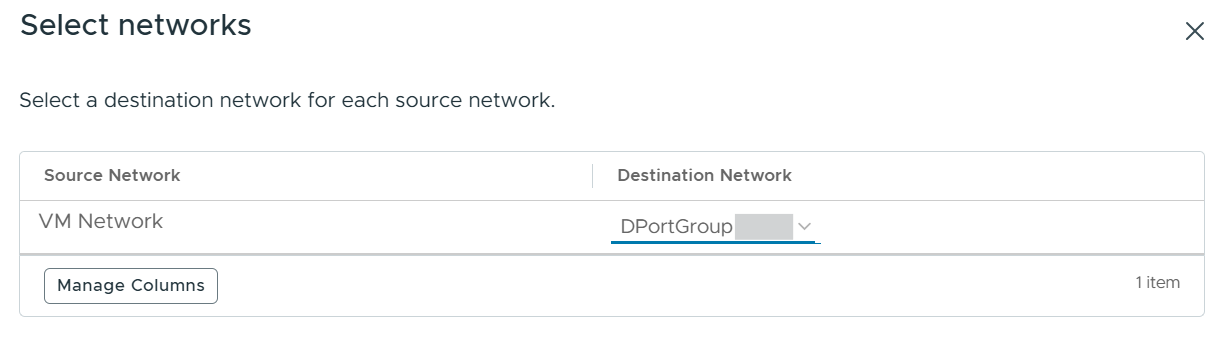
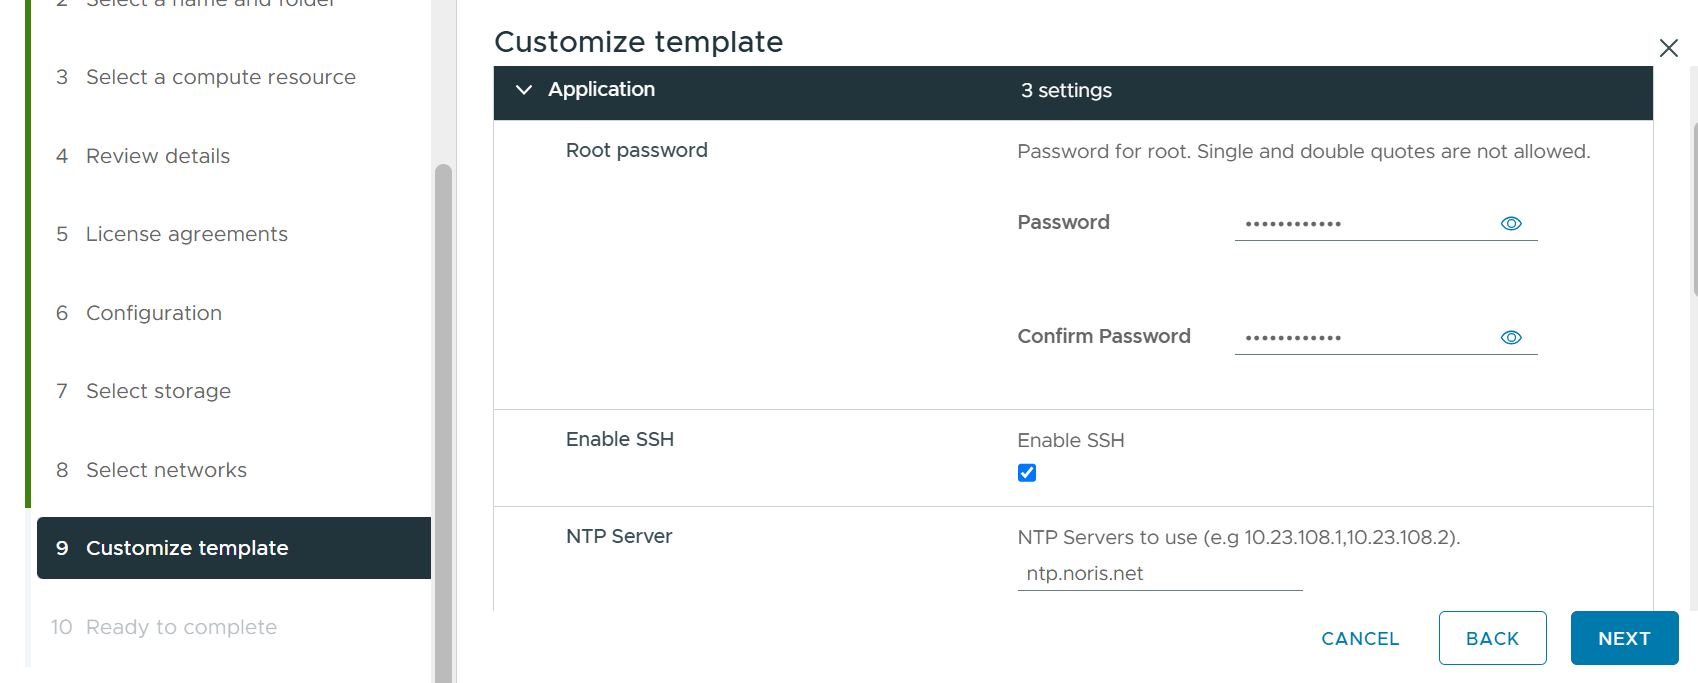
Under “Customize template”, set the password and IP settings.
Setting up the VCDA appliance
Section titled “Setting up the VCDA appliance”After the appliance starts, the login URL is shown on the console. Log in there with the password set during deployment, then change the password.

If updates are available, they can be installed via the online repository.

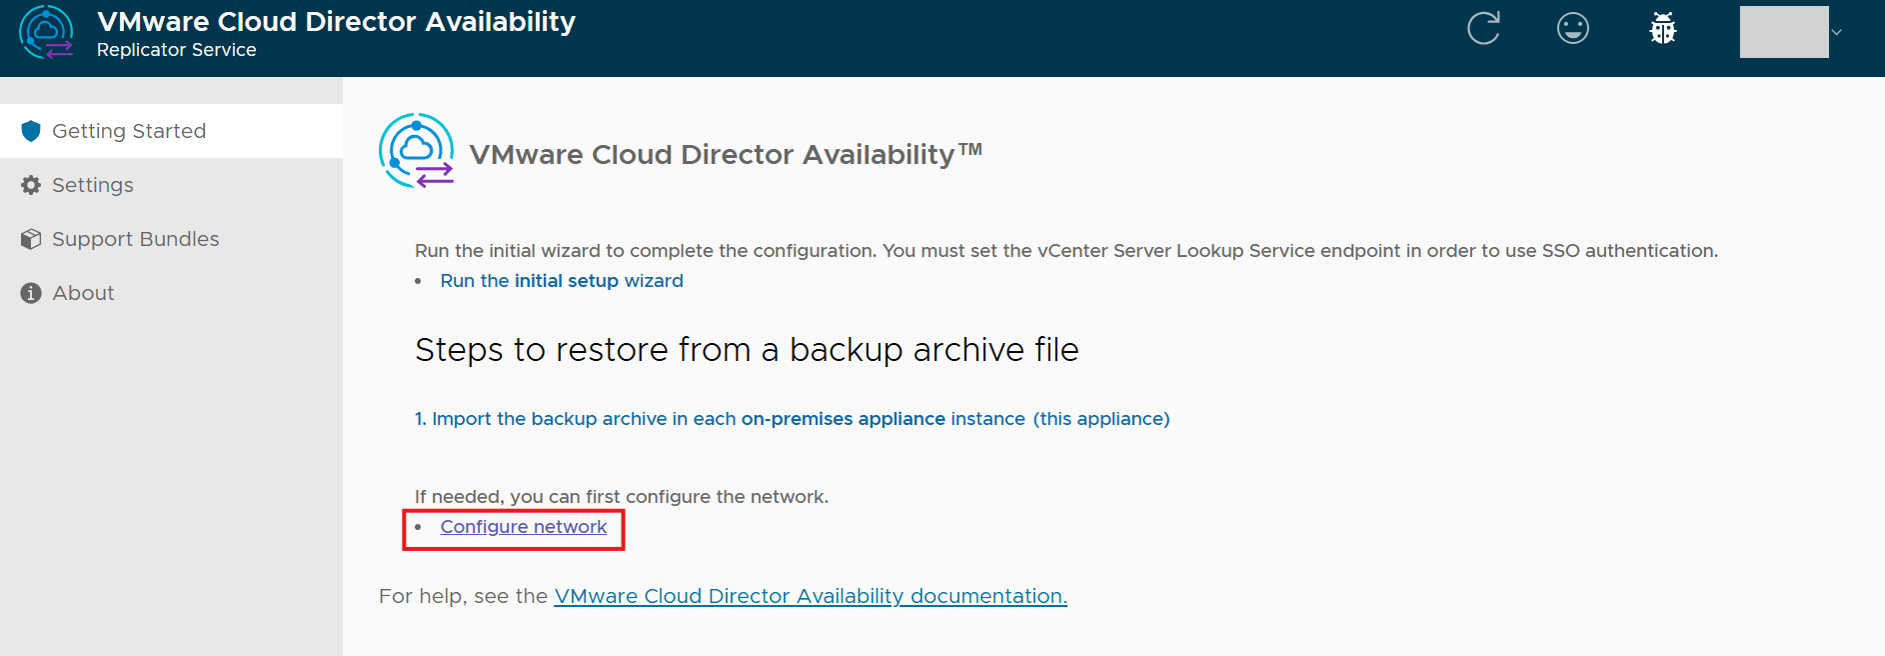
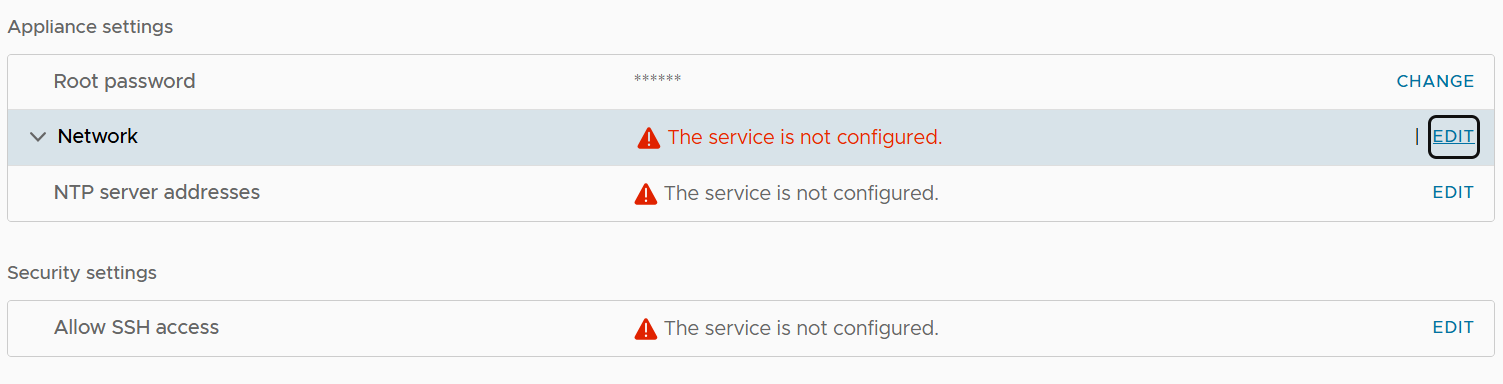
Even though the appliance restarts automatically after an update, network settings may occasionally not be applied. This can be checked under “Configure Network”.
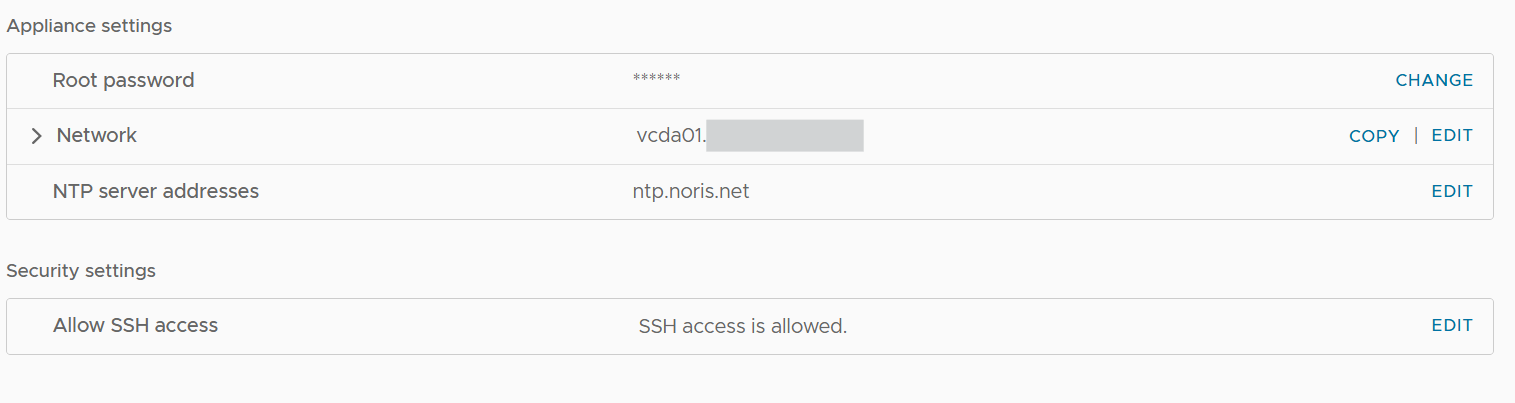
After a manual reboot, the network settings are applied correctly:
The setup wizard can then be started.

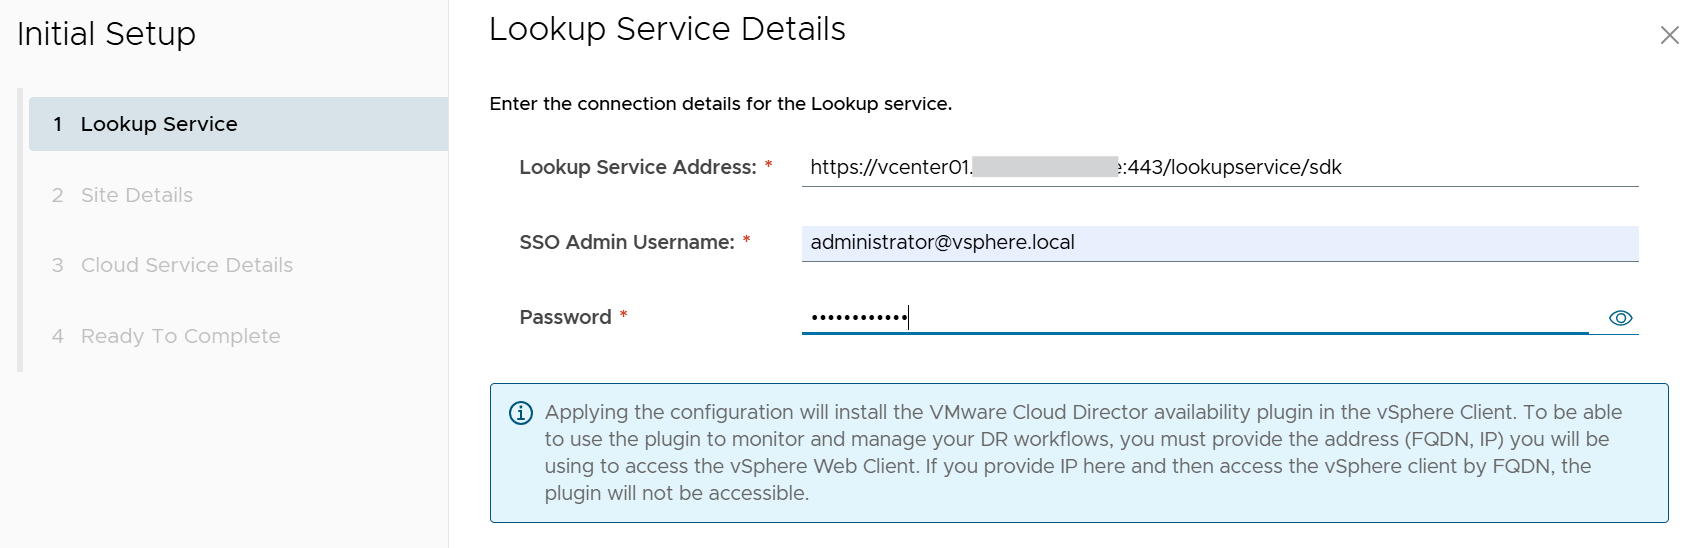
Enter the vCenter URL and credentials. The certificate must also be confirmed.
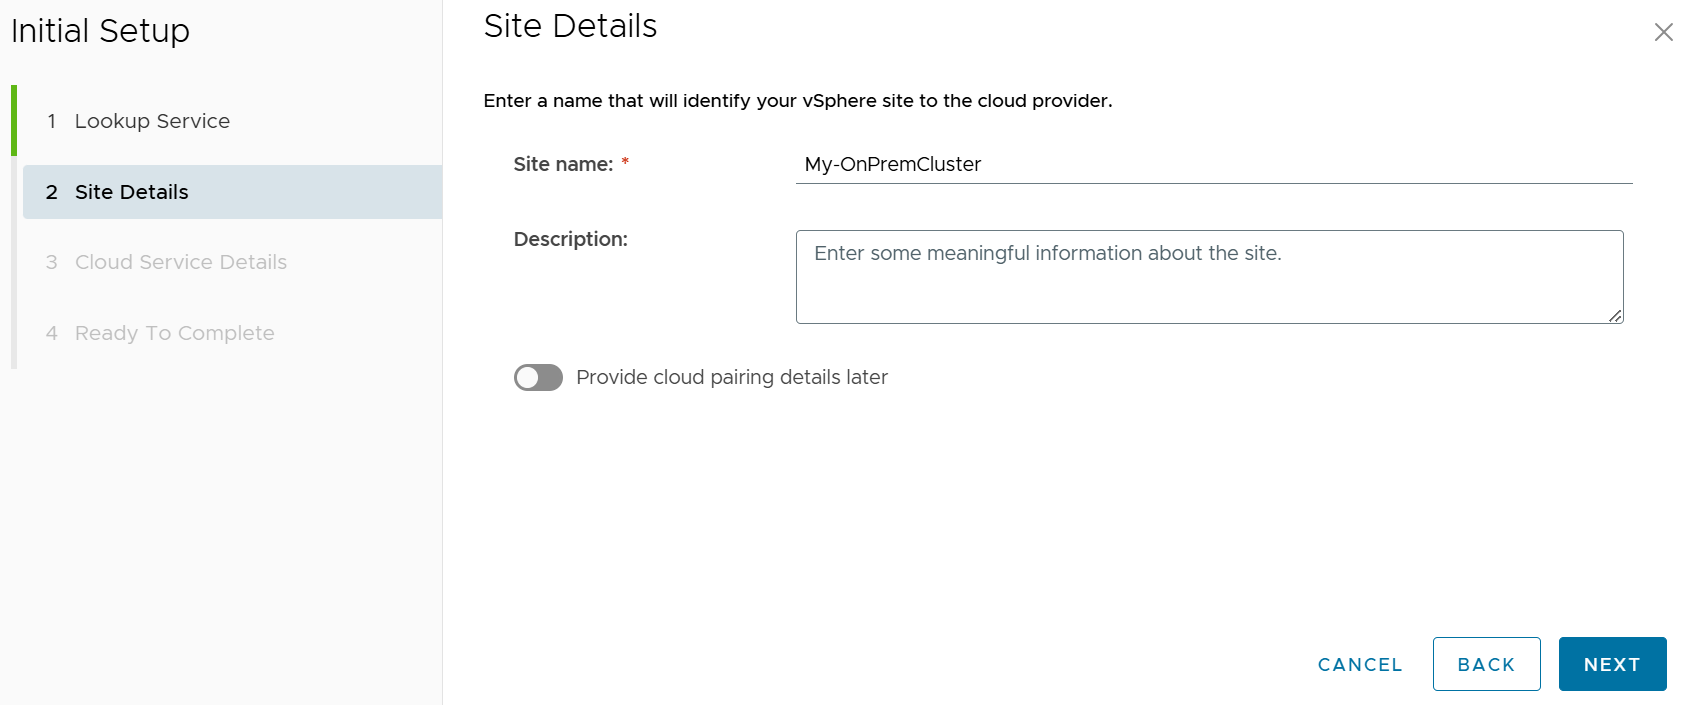
Choose a name for the on-premises cluster. It will be visible under this name in nEC Public.
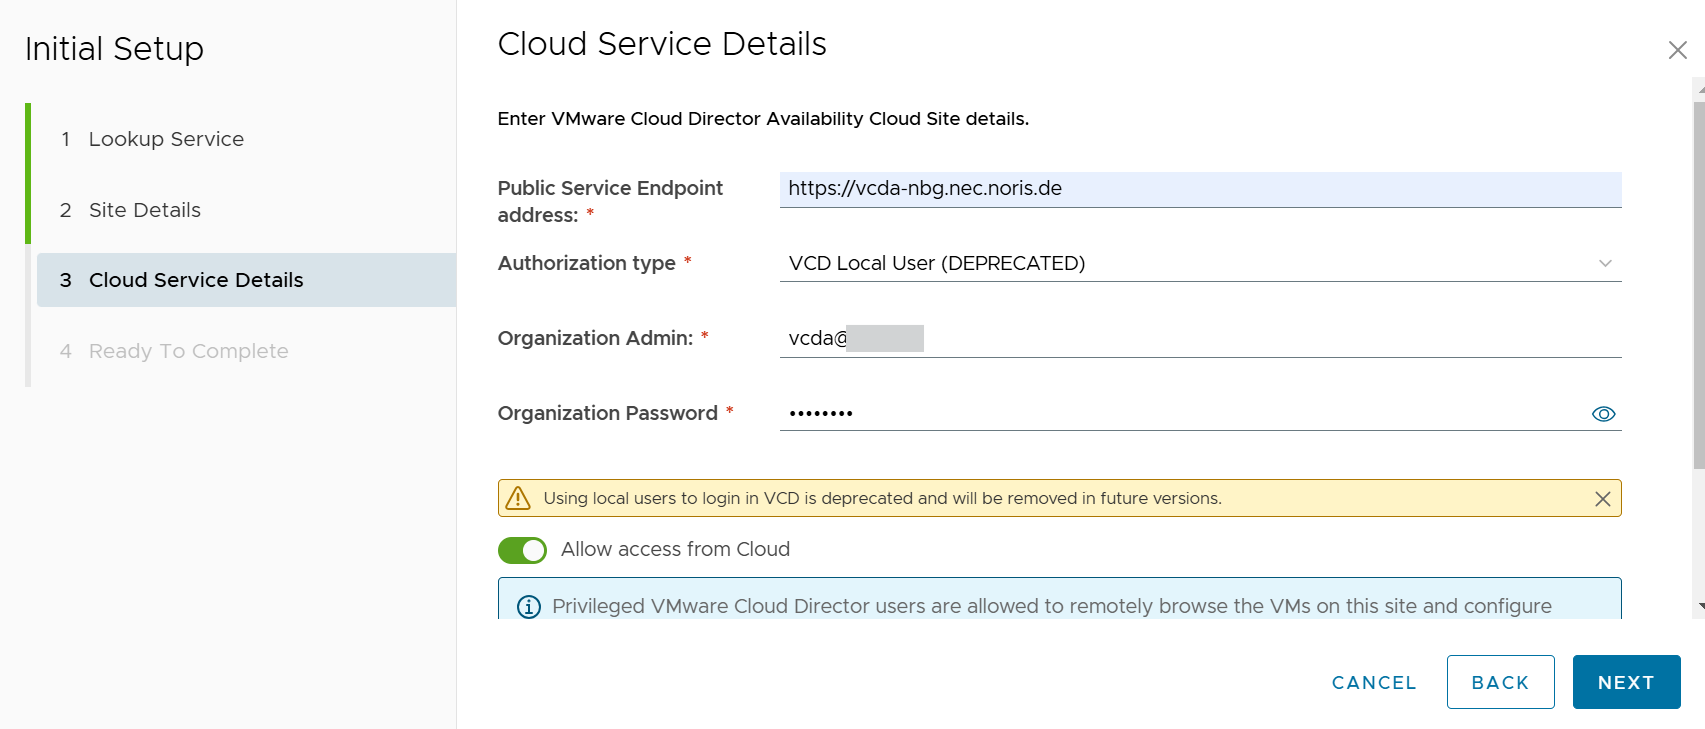
Under “Cloud Service Details”, the following information is required:
- URL of the nEC Public VCDA Cloud Director endpoint:
- Nuremberg region: vcda-nbg.nec.noris.de
- Munich region: vcda-muc.nec.noris.de
- Authorization Type: “VCD Local User”
- Organization Admin: a user with orgadm rights from the nEC Public tenant
- Password
- Allow access from Cloud: enable this if you also want to configure replication from the cloud/nEC Public side, otherwise configuration is only possible via the on-premises appliance.
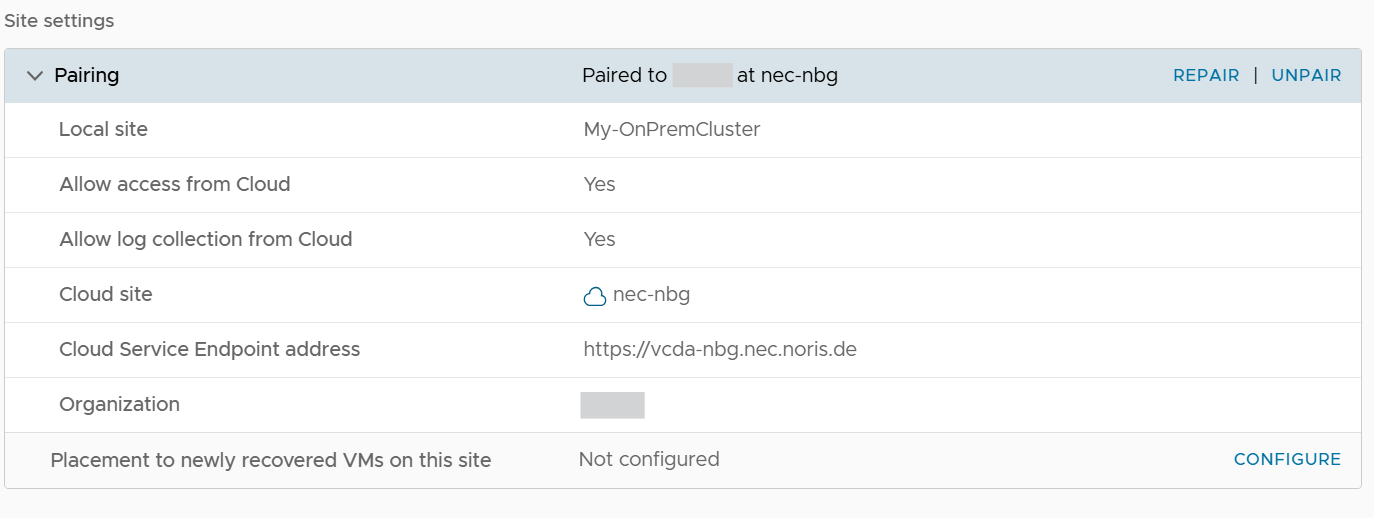
The connection to nEC Public is now prepared.
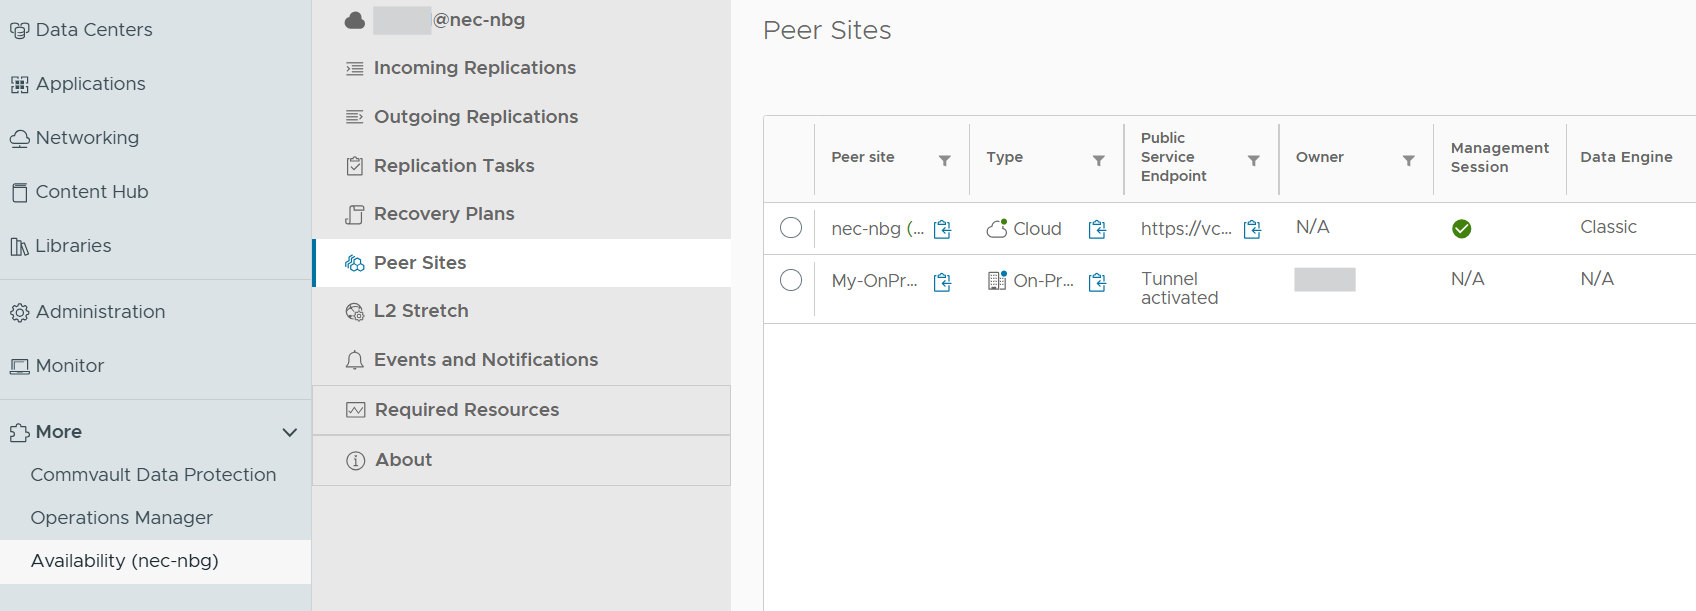
In the VMware Cloud Director of nEC Public, the on-premises site is now also visible under “More” → “Availability” → “Peer Sites”.
Setting up a DR replication
Section titled “Setting up a DR replication”A DR replication lets you replicate VMs from the on-premises site to the cloud at defined intervals. The retention (how many copies over what period) can also be chosen here. See the VCDA documentation for more details.
Replication can be set up either from the on-premises appliance or, if allowed, from the cloud side. The following example sets it up from the appliance.
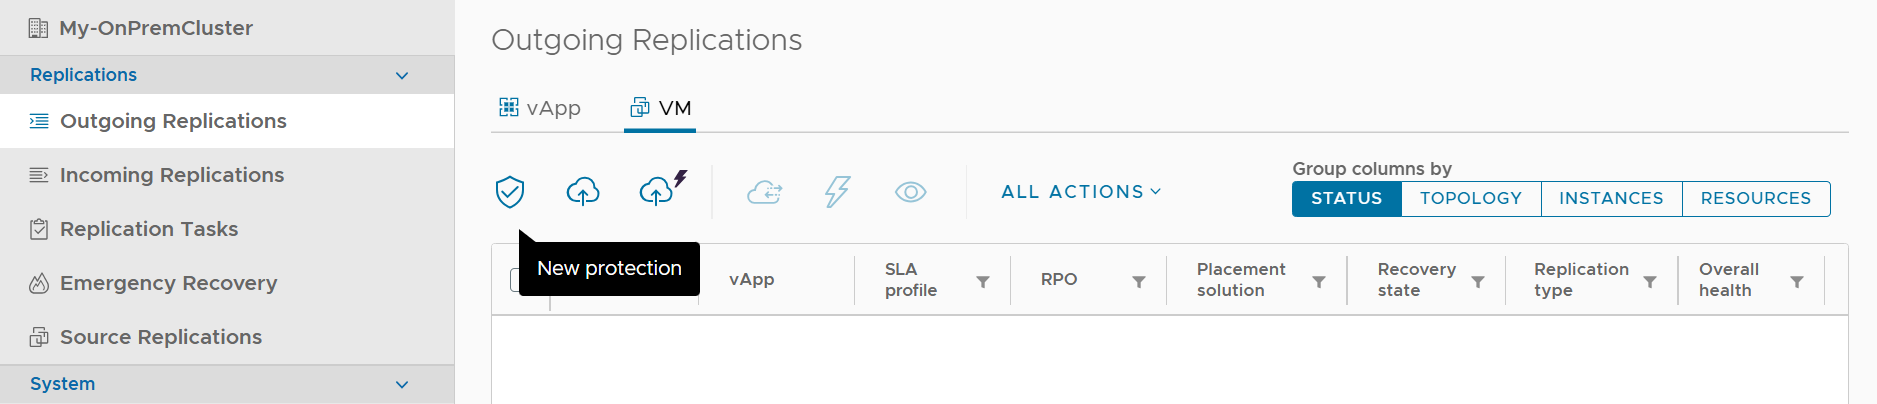
Under “Outgoing Replications”, select “New Protection”.
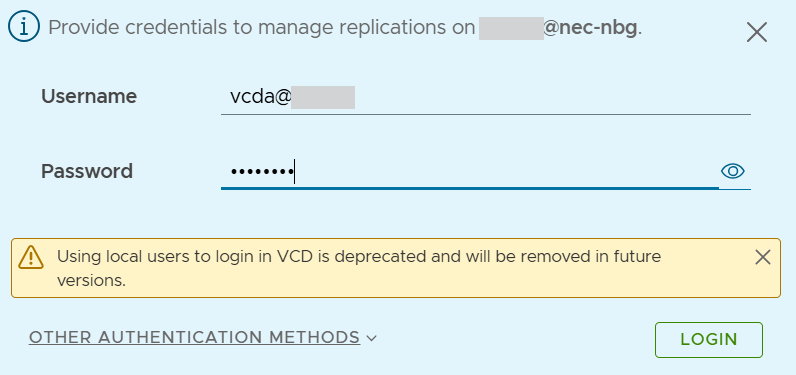
If required, enter the tenant user’s credentials.
Select the VMs to be replicated.

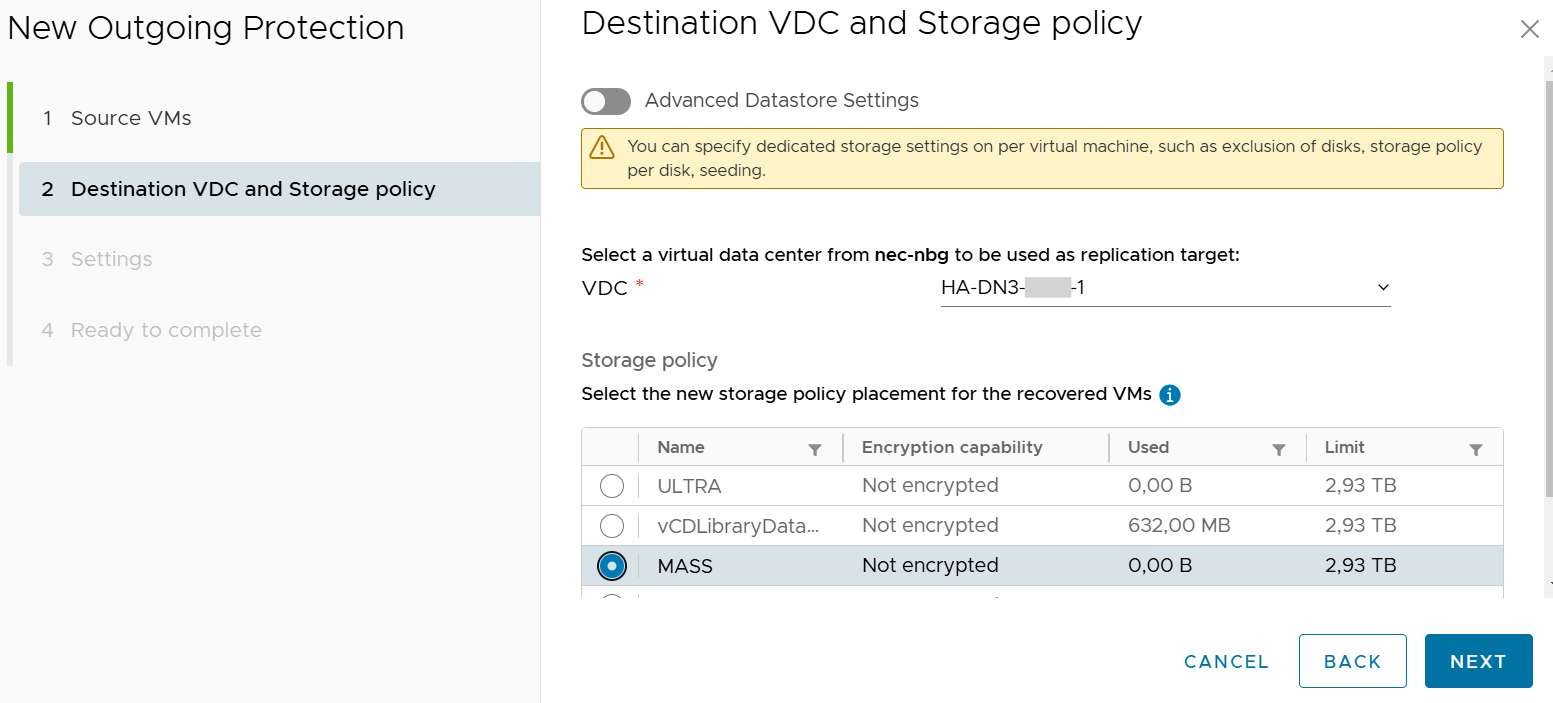
Then select the OrgVDC and the destination storage in nEC Public.
Set RPO, retention, and so on (see the VCDA manual). Replication starts once confirmed.
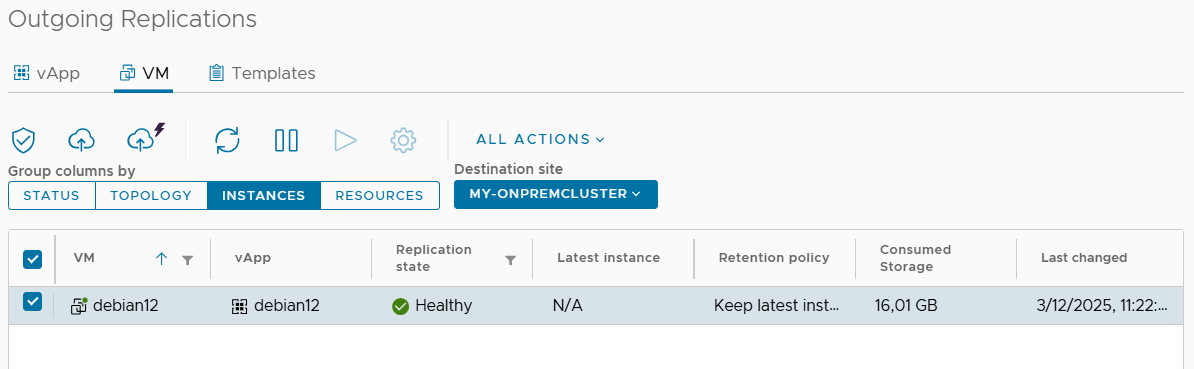
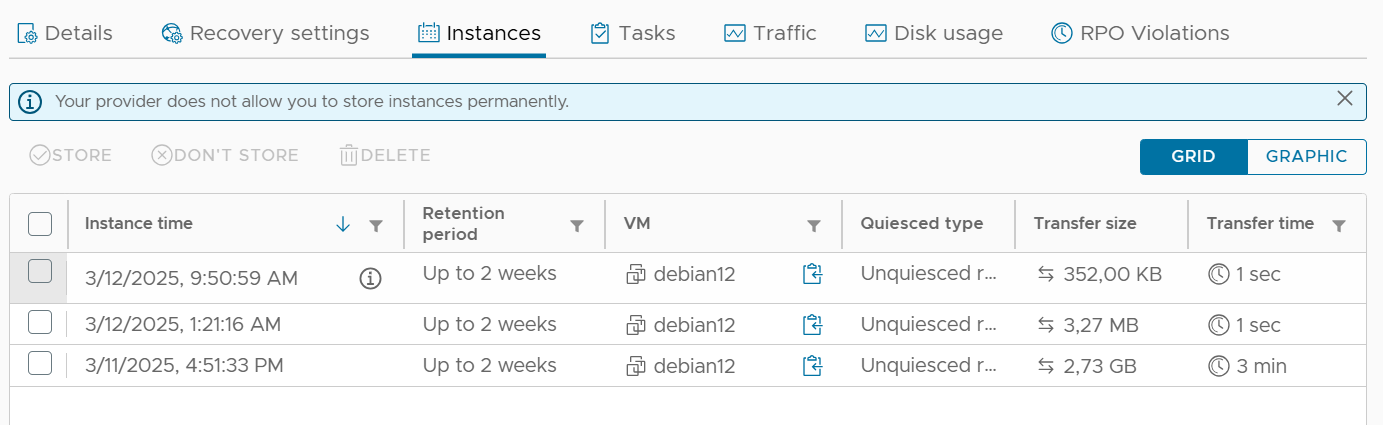
Depending on RPO and retention, multiple instances may be visible. In the following example, an RPO of 30 minutes and a retention of 14 daily instances were chosen. The following day, 3 instances are therefore visible:
- the instance with a 30-minute RPO,
- the initial sync,
- the daily instance backup (up to 14).
Setting up a migration replication
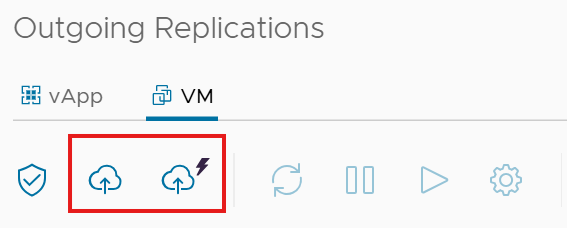
Section titled “Setting up a migration replication”The difference between “Migration” and “Protection” replication is that migration doesn’t allow specifying a retention, and the RPO is always 1 day.
There’s also a “Fast Migration” variant. It differs from regular “Migration” only in that no settings need to be filled in, default settings are applied instead.
Recovery settings
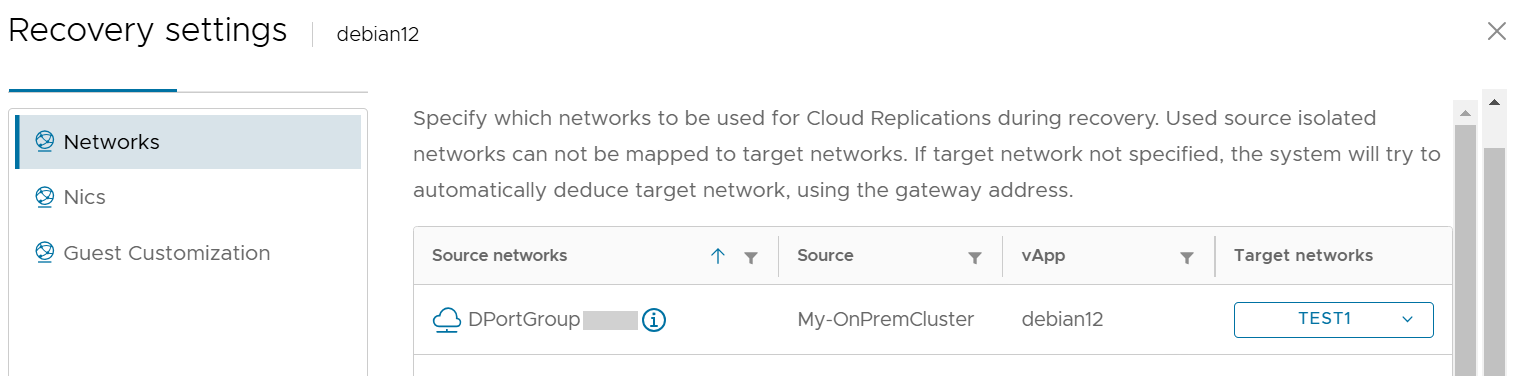
Section titled “Recovery settings”Among other things, the recovery settings let you predefine the destination network in nEC Public:
Performing the migration
Section titled “Performing the migration”The actual migration is triggered via “Migrate” in the “All Actions” menu (started here from VMware Cloud Director).
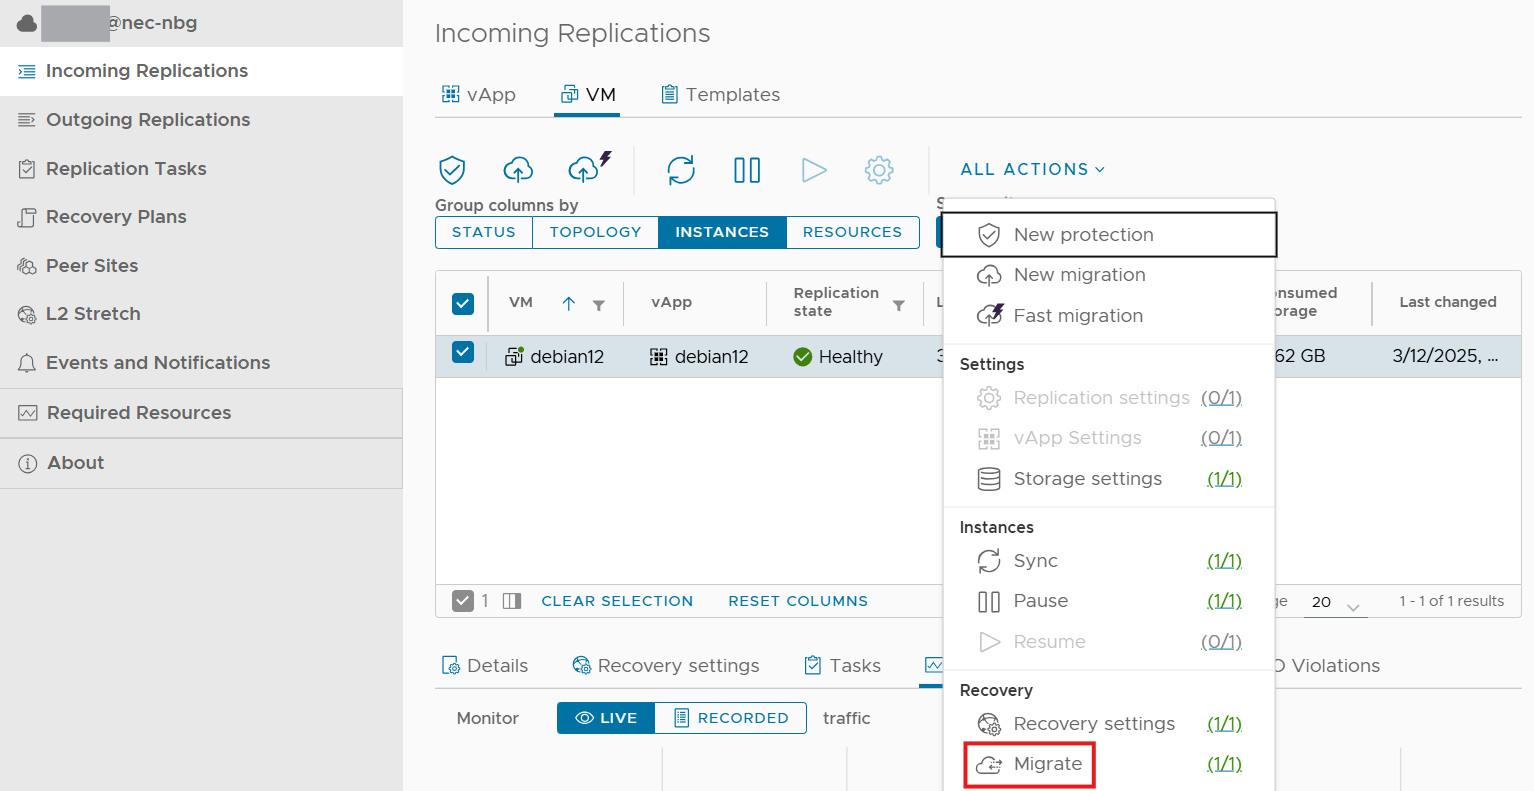
Before the migration starts, the actions that will be performed are listed:

The VMs only become visible in nEC Public after the migration completes.
“Reverse” lets you set up replication in the opposite direction (cloud → on-premises).
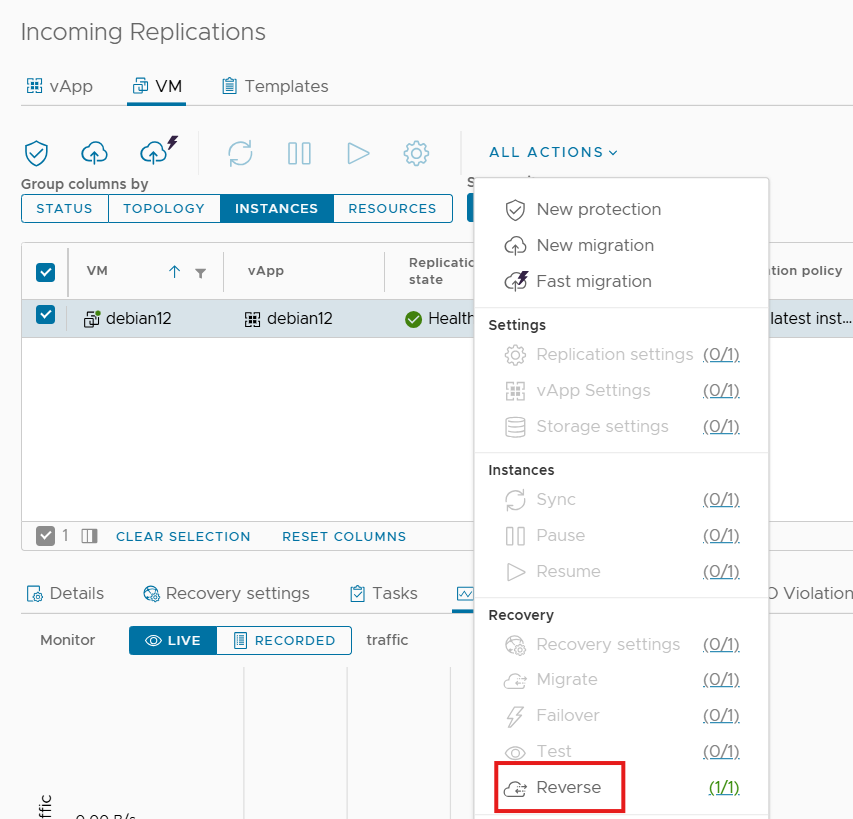
The VM then appears under Outgoing Replications (from nEC Public’s perspective) and could also be migrated back on-premises.