
IPv6-only Networking
Getting started
Section titled “Getting started”This guide will walk you through the steps to create an IPv6-only network setup in the nSC OpenStack.
Step 1: Create a network and subnet
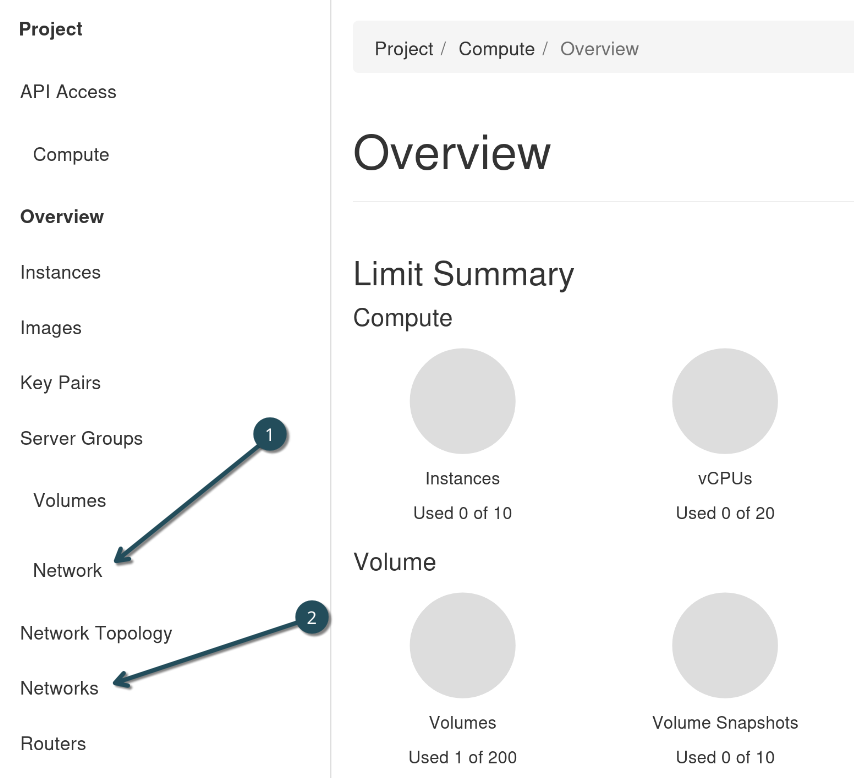
Section titled “Step 1: Create a network and subnet”Go to Network → Networks.
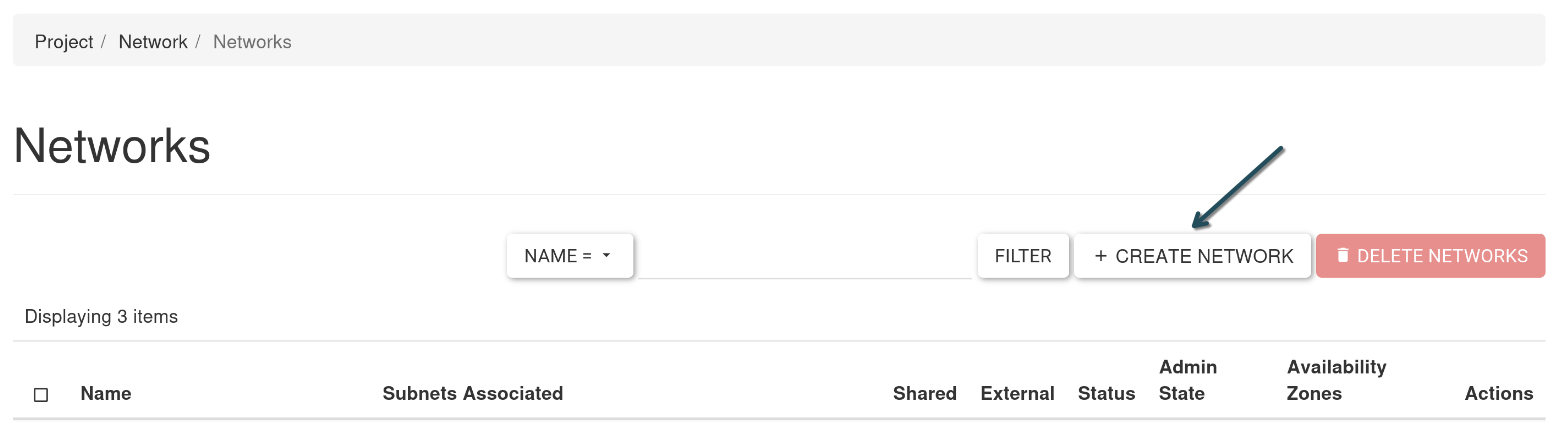
Click the + CREATE NETWORK button.
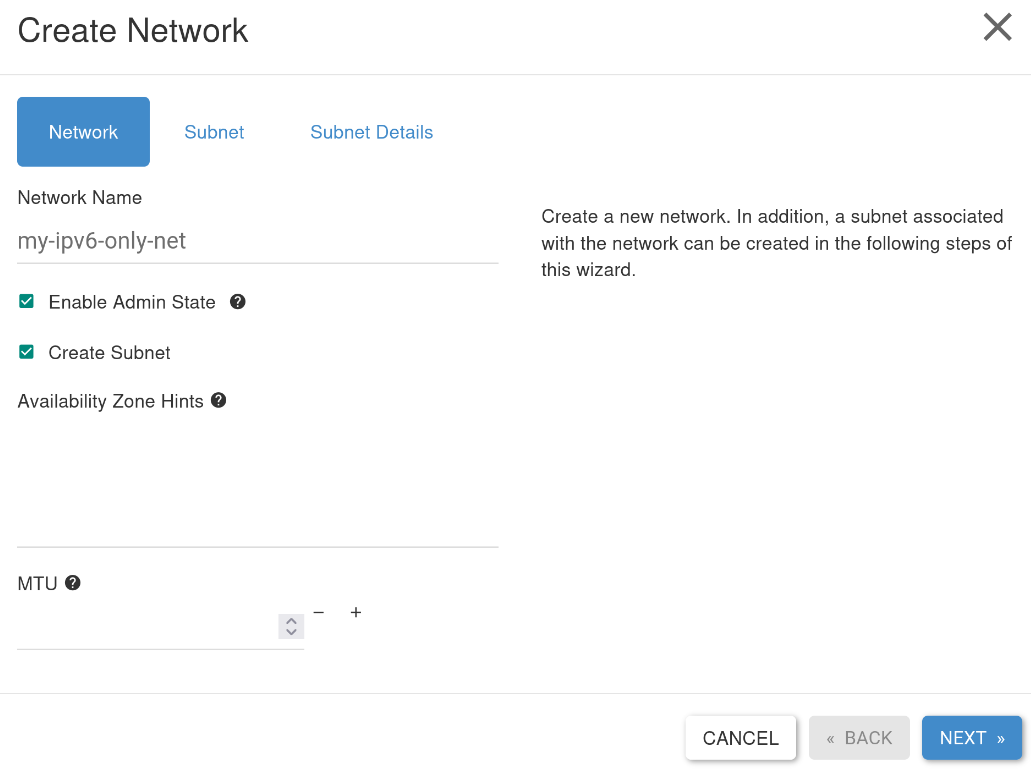
On the Network tab, give your new network a name. For this guide we use the name my-ipv6-only-net. This is your local network.
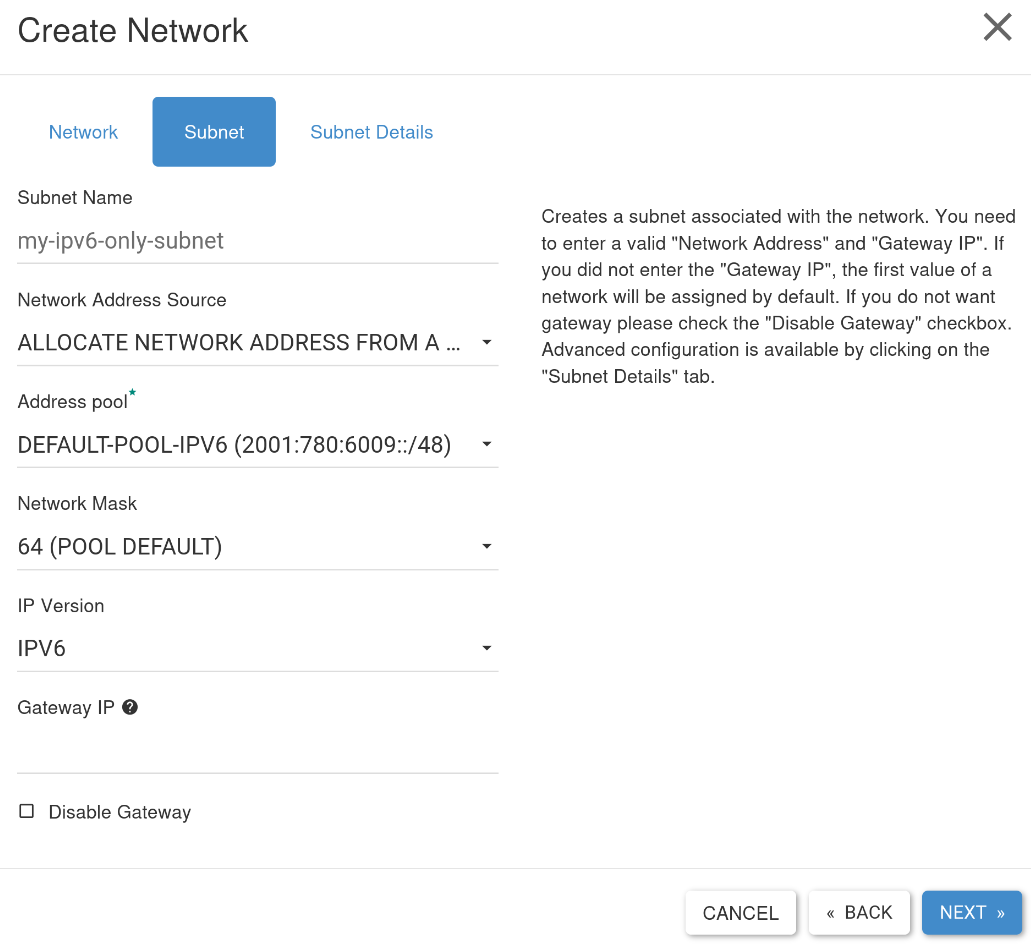
Click on the Subnet tab. Give your new subnet a name, for this guide we use my-ipv6-only-subnet.
Select Allocate Network Address from a pool from the Network Address Source drop down menu.
Select DEFAULT-POOL-IPv6 (2001:780:6009::/48) from the Address Pool drop down menu.
Select 64 (pool default) from the Network Mask drop down menu.
Select IPv6 from the IP Version drop down menu.
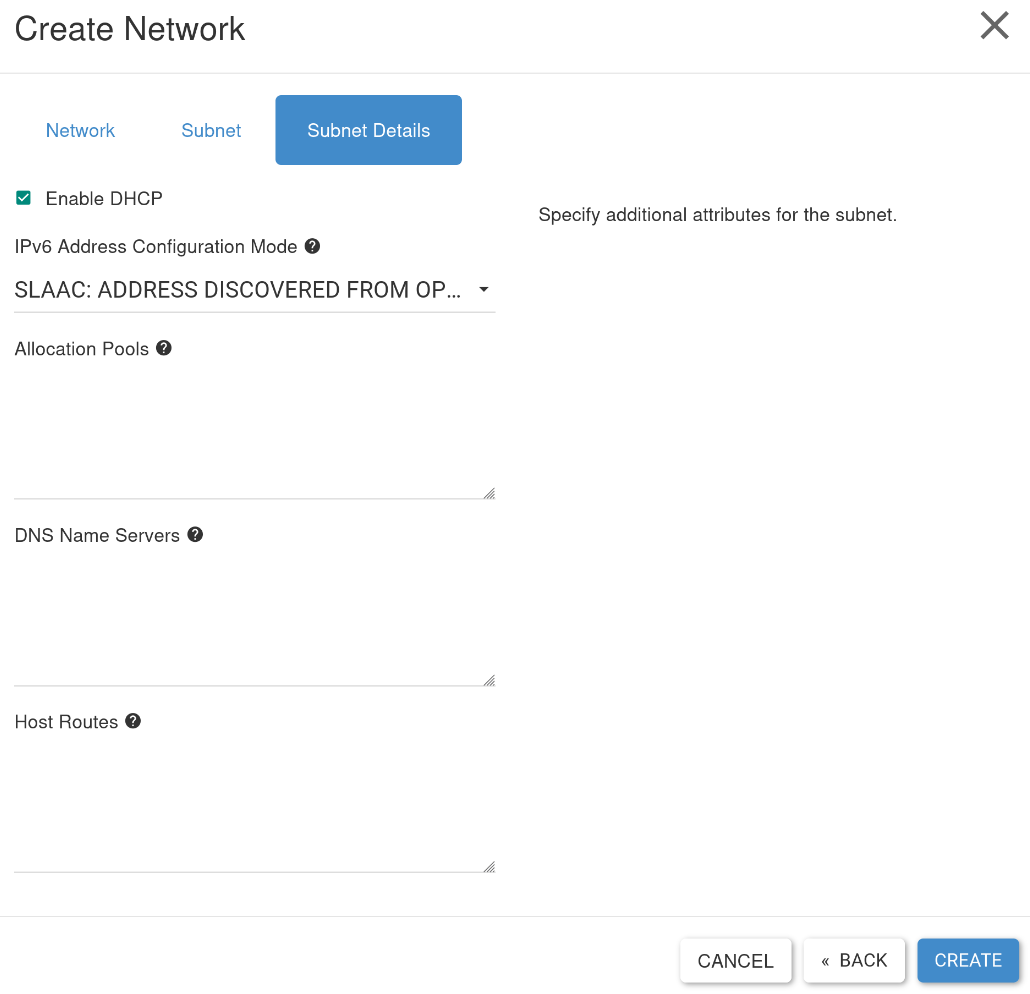
Click on the Subnet Details tab. Make sure Enable DHCP is selected. Select SLAAC: Address discovered from OpenStack Router from the IPv6 Address Configuration Mode drop down menu. Click the Create button to create the new network and subnet.
Step 2: Create a router
Section titled “Step 2: Create a router”Secondly we will create a router which is connected to both your local network and the external network. This ensures WAN connectivity.
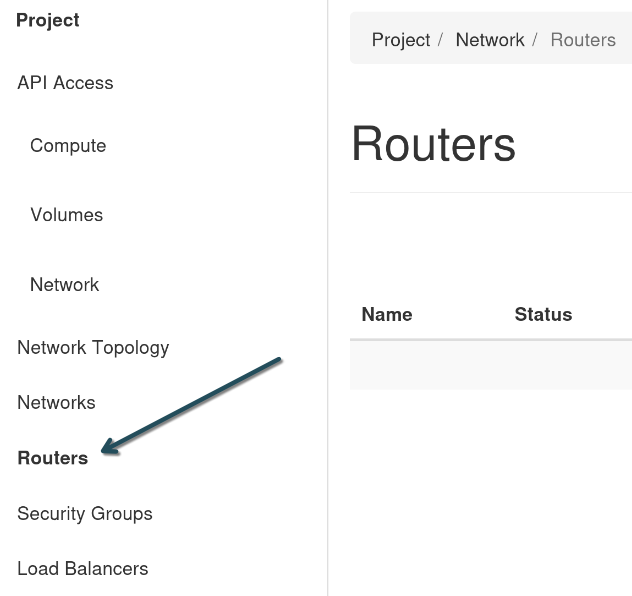
Navigate to Network → Routers.
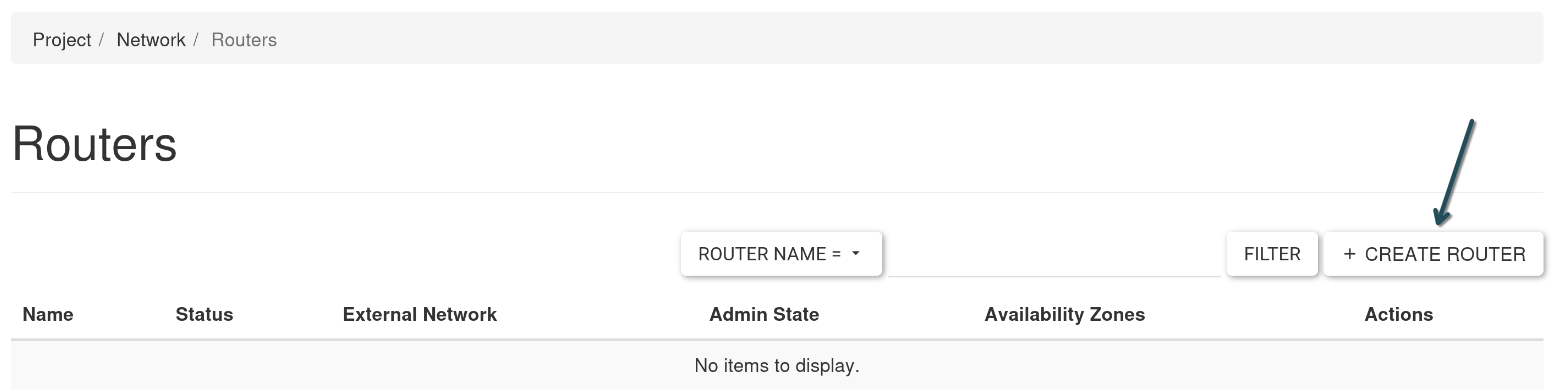
Click the + CREATE ROUTER button.
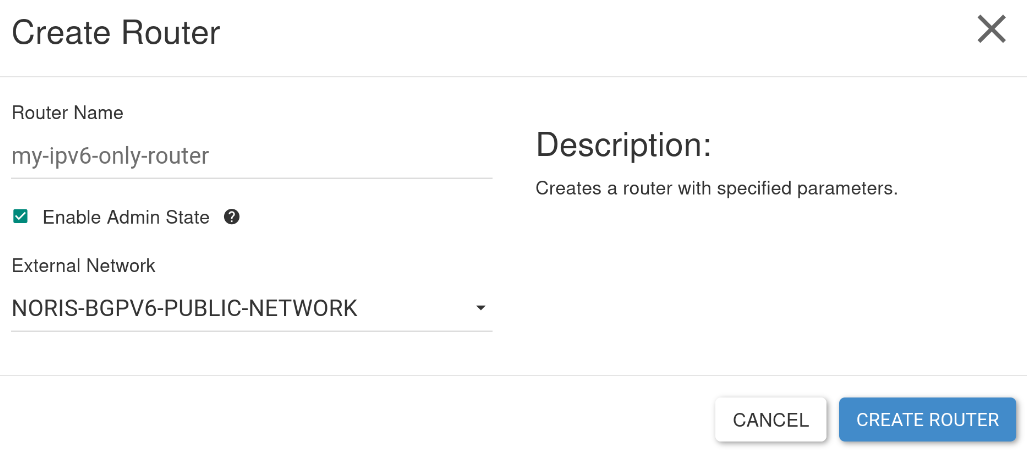
Give the new router a name, for this guide we use my-ipv6-only-router. Select NORIS-BGPv6-PUBLIC-NETWORK from the External Network drop down menu. Click the CREATE ROUTER button to create the new router.
The new router will now show up. Click on its name.
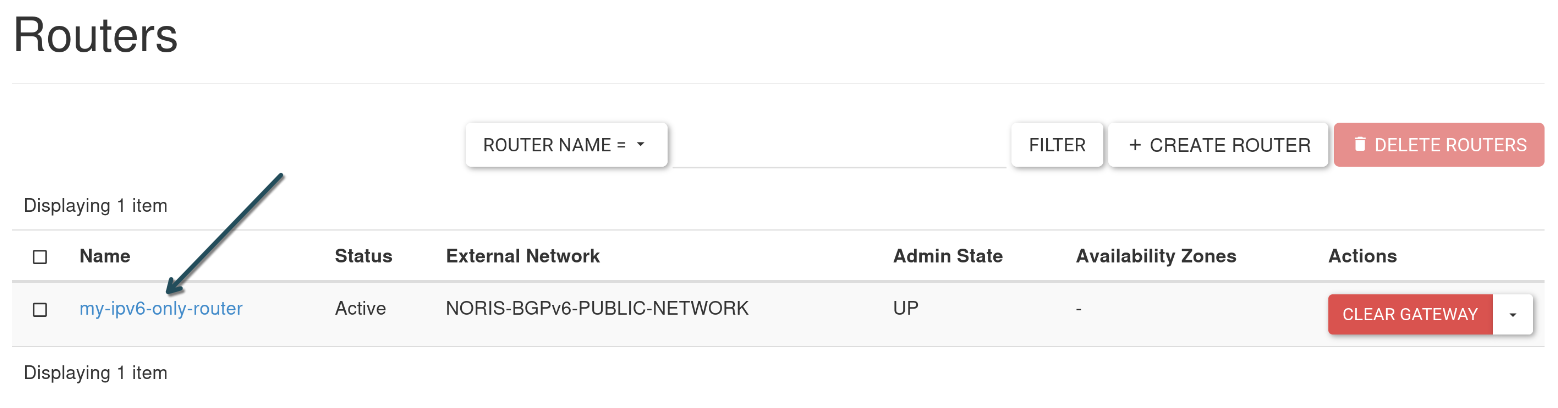
Navigate to the Interfaces tab and click the + ADD INTERFACE button.
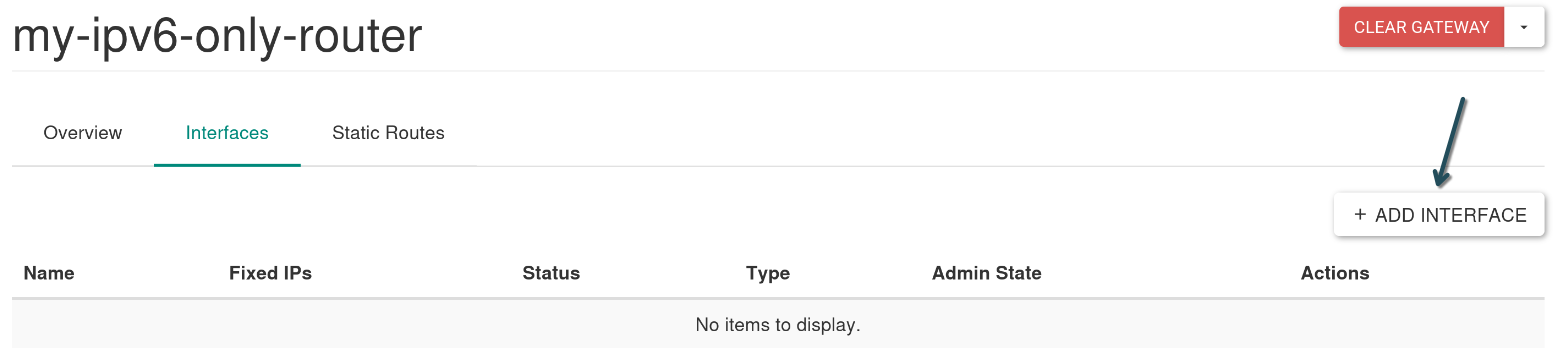
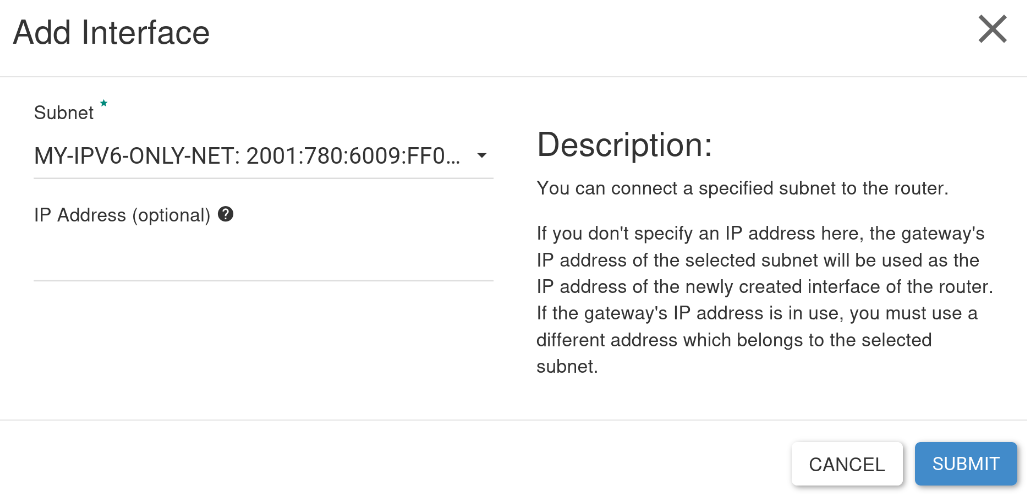
Select the subnet we just created, here: my-ipv6-only-net 2001:780:6009:ff02::/64 (my-ipv6-only-subnet). Click the SUBMIT button to connect our router to our subnet.
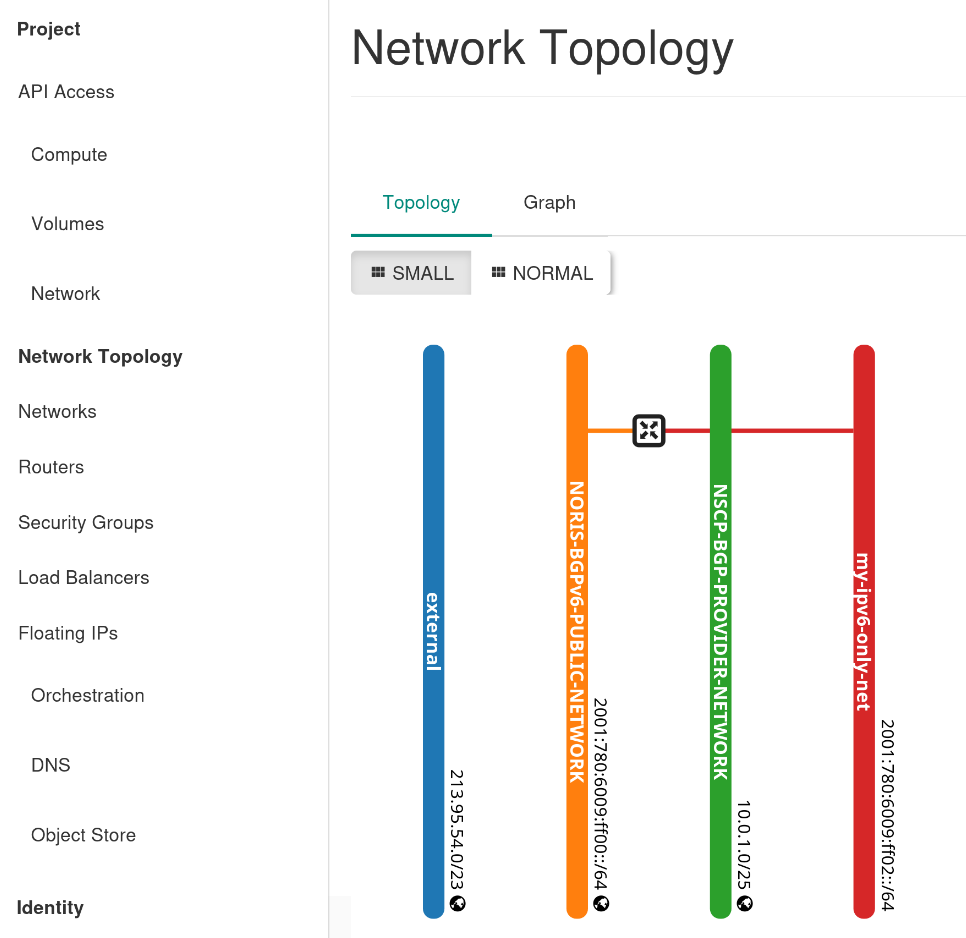
Check network overview
Section titled “Check network overview”Now we can visually inspect and verify our network setup in the Network Topology view under Network.
Step 3: Create a security group
Section titled “Step 3: Create a security group”By default, inbound traffic is restricted. In order to open up SSH access, we will create and apply a security group.
Navigate to Network → Security Groups.
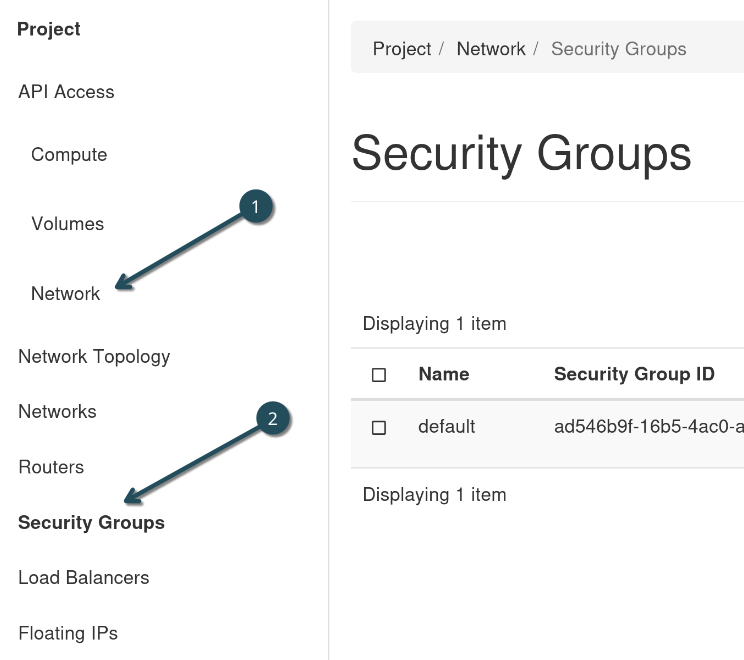
Click the + CREATE SECURITY GROUP button.
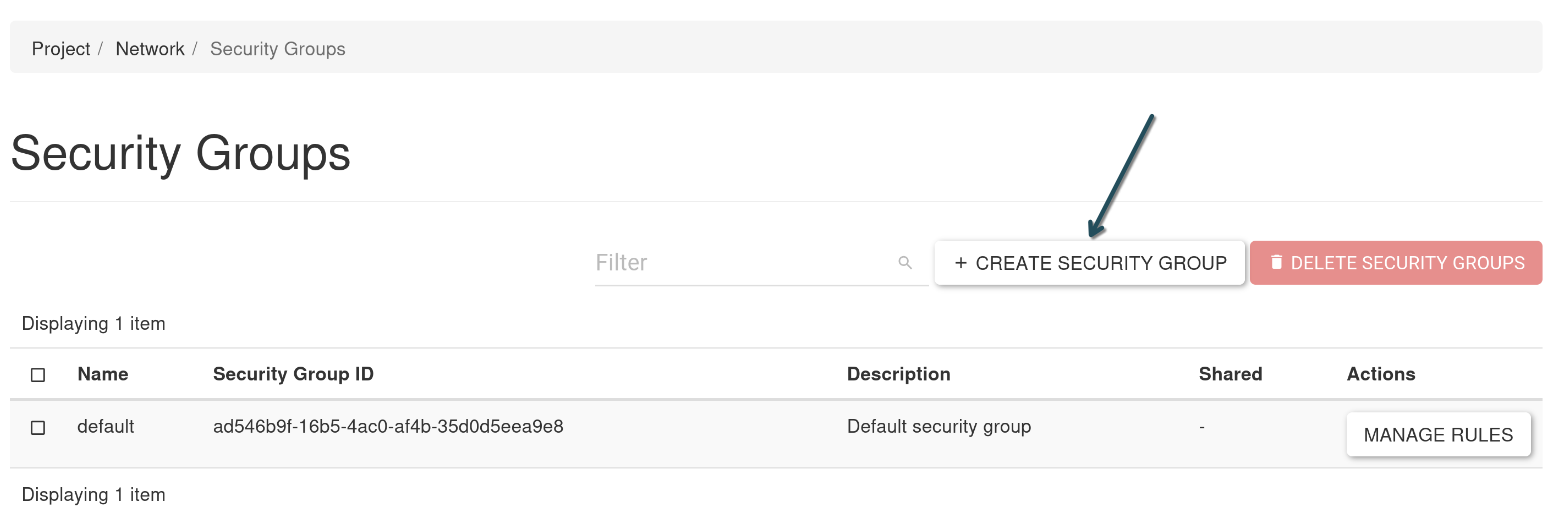
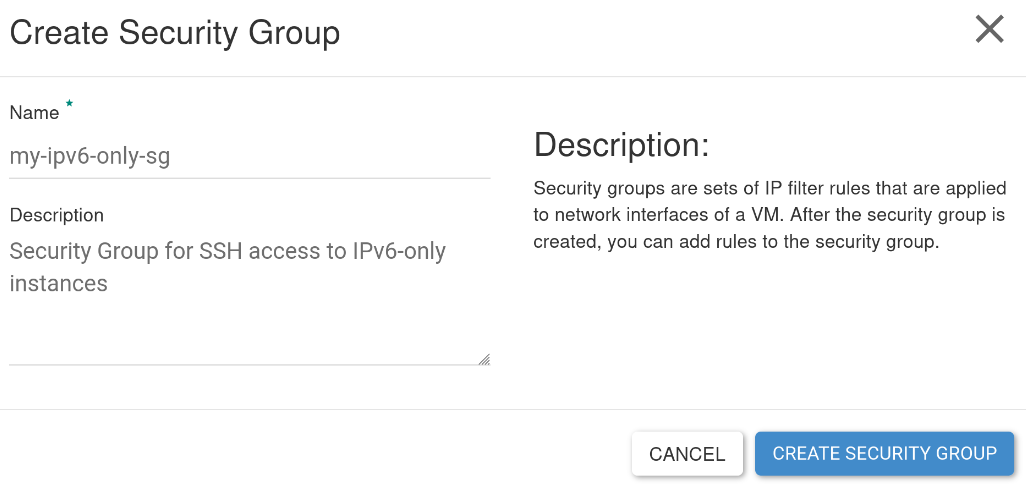
Give the security group an appropriate name (and description, if desired), for this guide we use my-ipv6-only-sg. Click the CREATE SECURITY GROUP button.
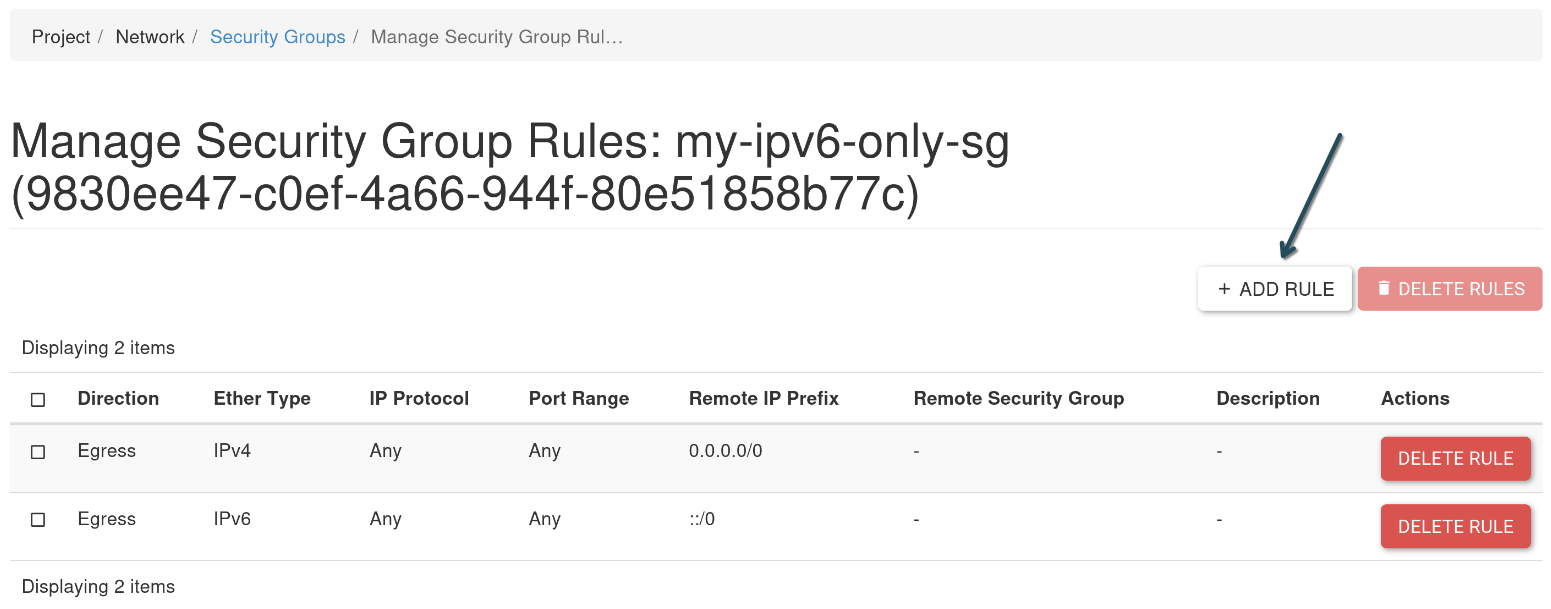
Click the + ADD RULE button.
Select All ICMP from the Rule drop down menu, Ingress from the Direction drop down menu, and enter ::/0 in the CIDR field. Click the ADD button to create the rule.
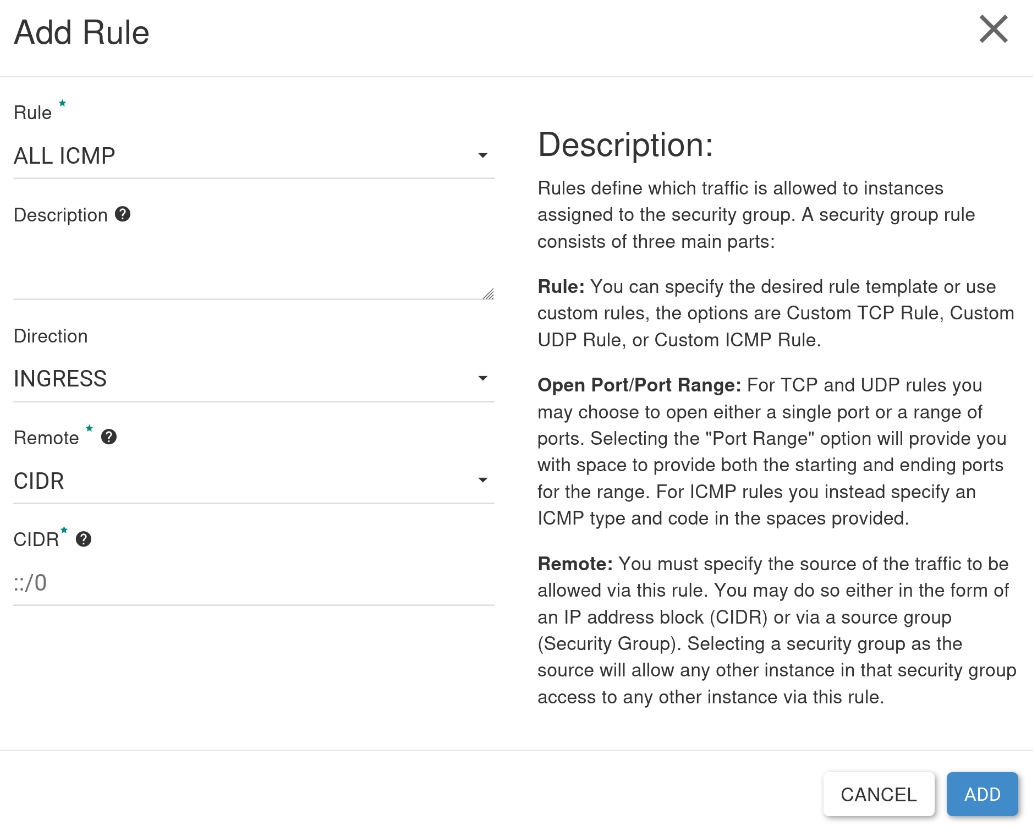
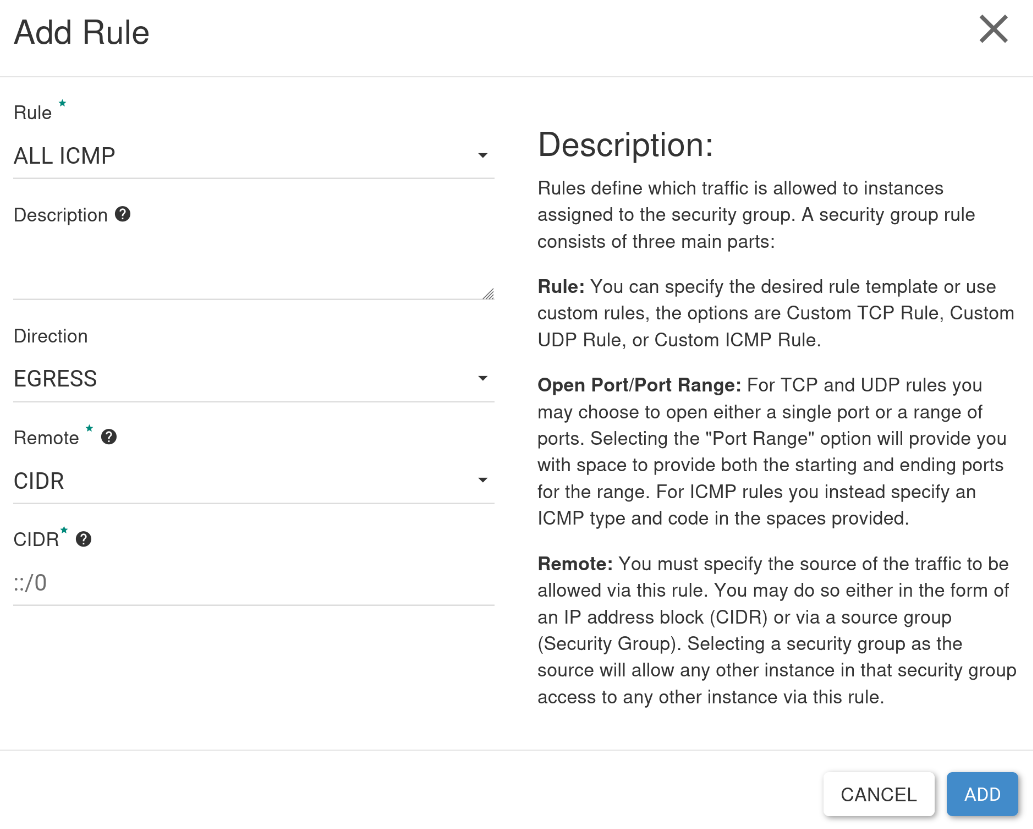
Click the + ADD RULE button. Select All ICMP, Egress, and enter ::/0 in the CIDR field. Click ADD.
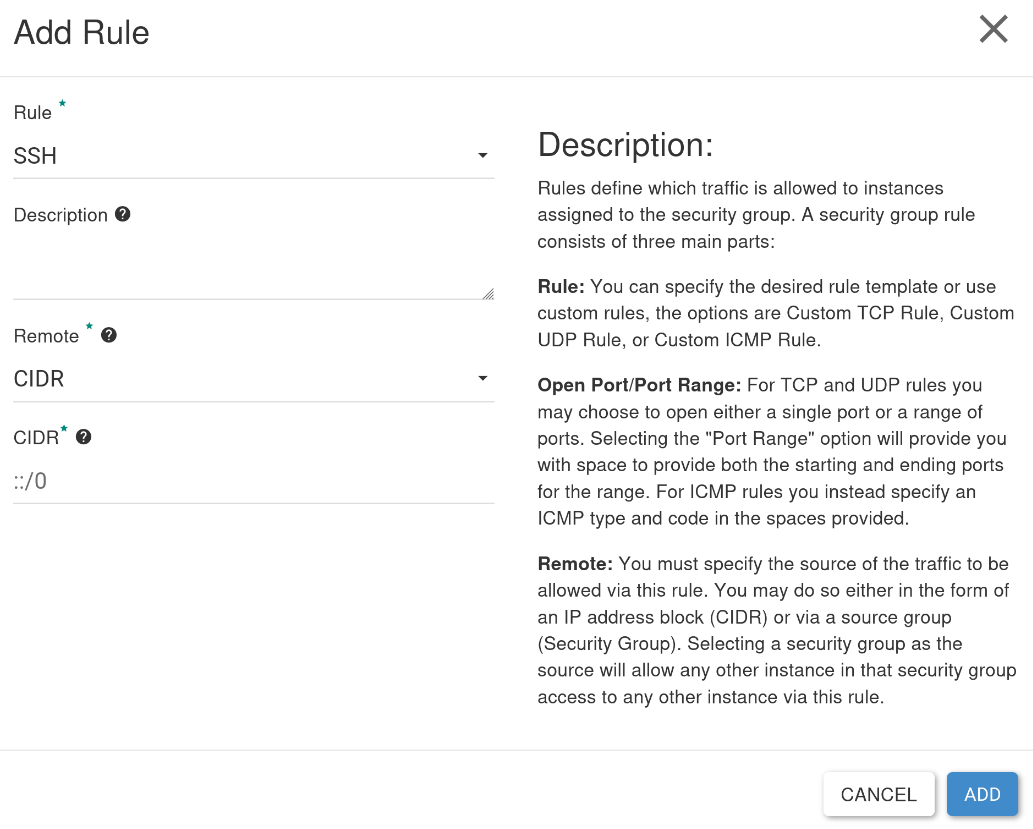
Click the + ADD RULE button. Select SSH, Ingress, and enter ::/0 in the CIDR field. Click ADD.
Create an IPv6-only instance
Section titled “Create an IPv6-only instance”Now we can create an instance as described in Step 5 of the OpenStack guide.
Make sure you select my-ipv6-only-net under Networks.
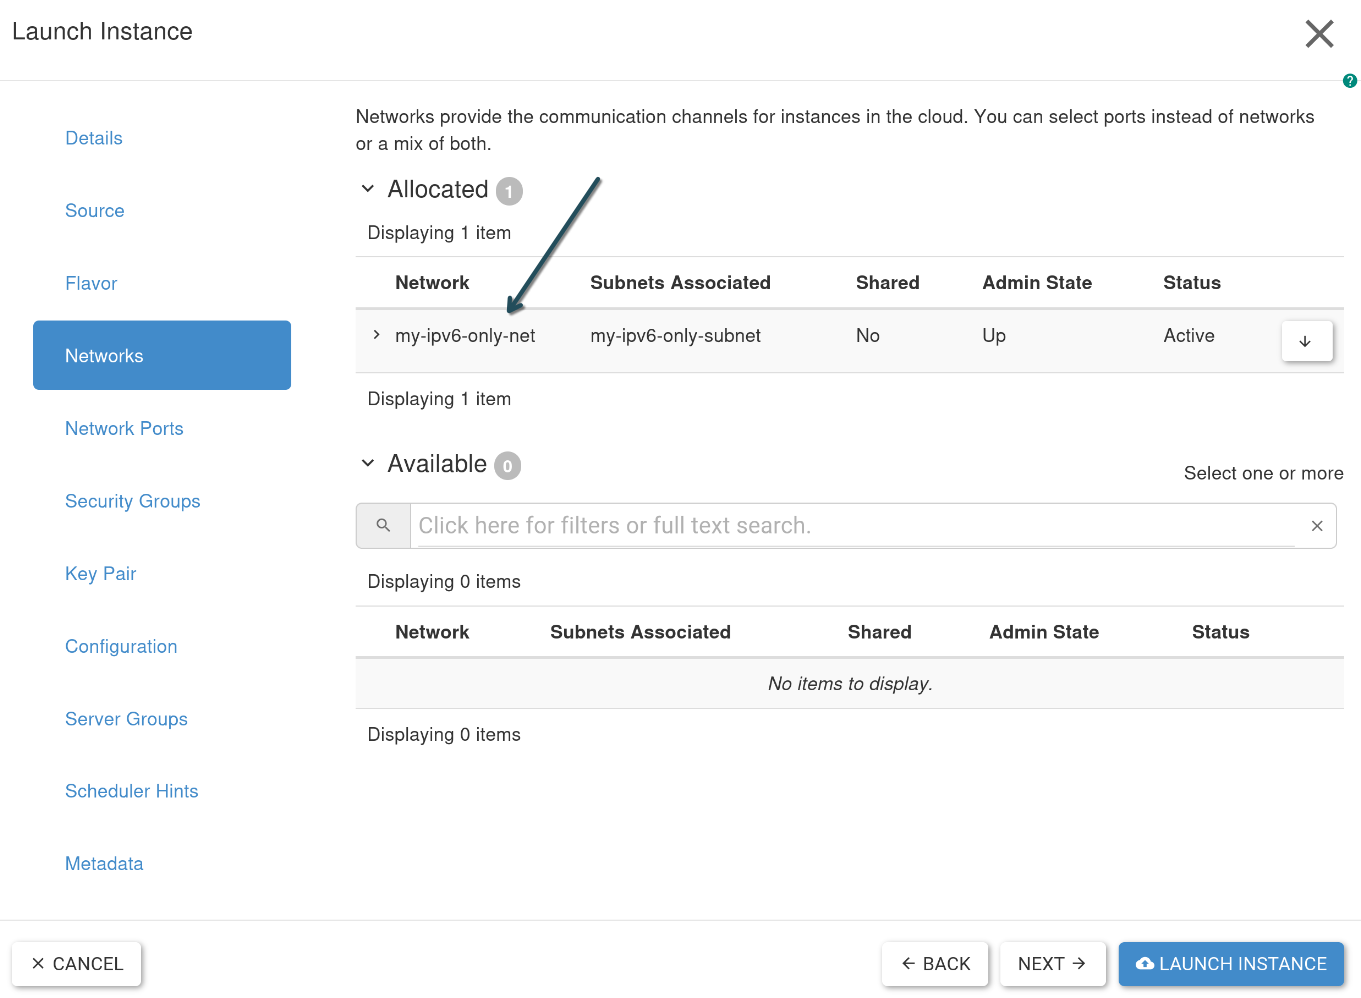
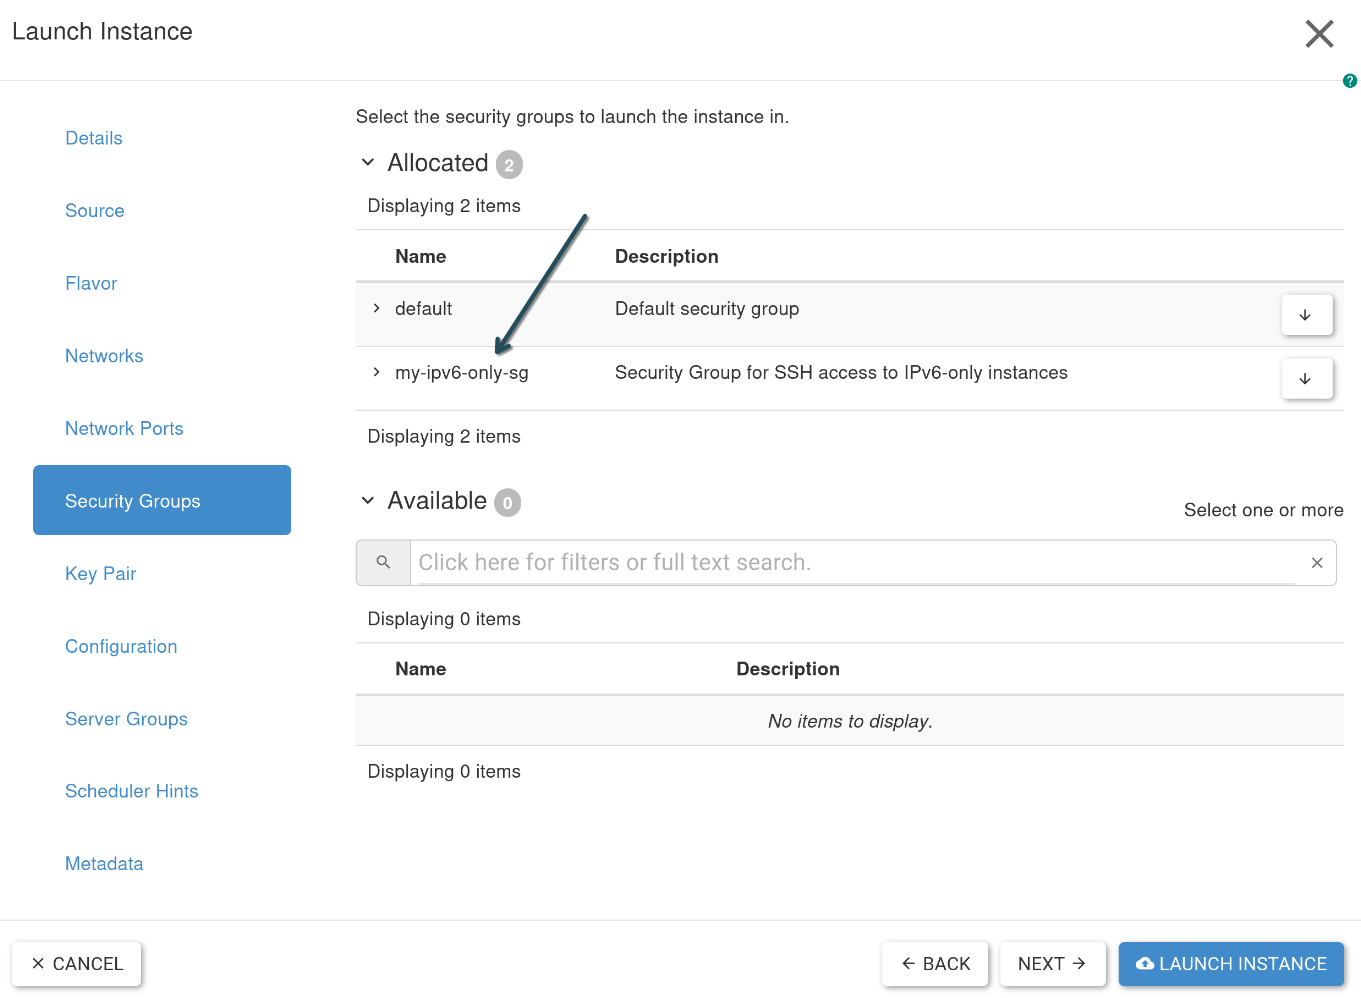
Make sure you add my-ipv6-only-sg under Security Groups.
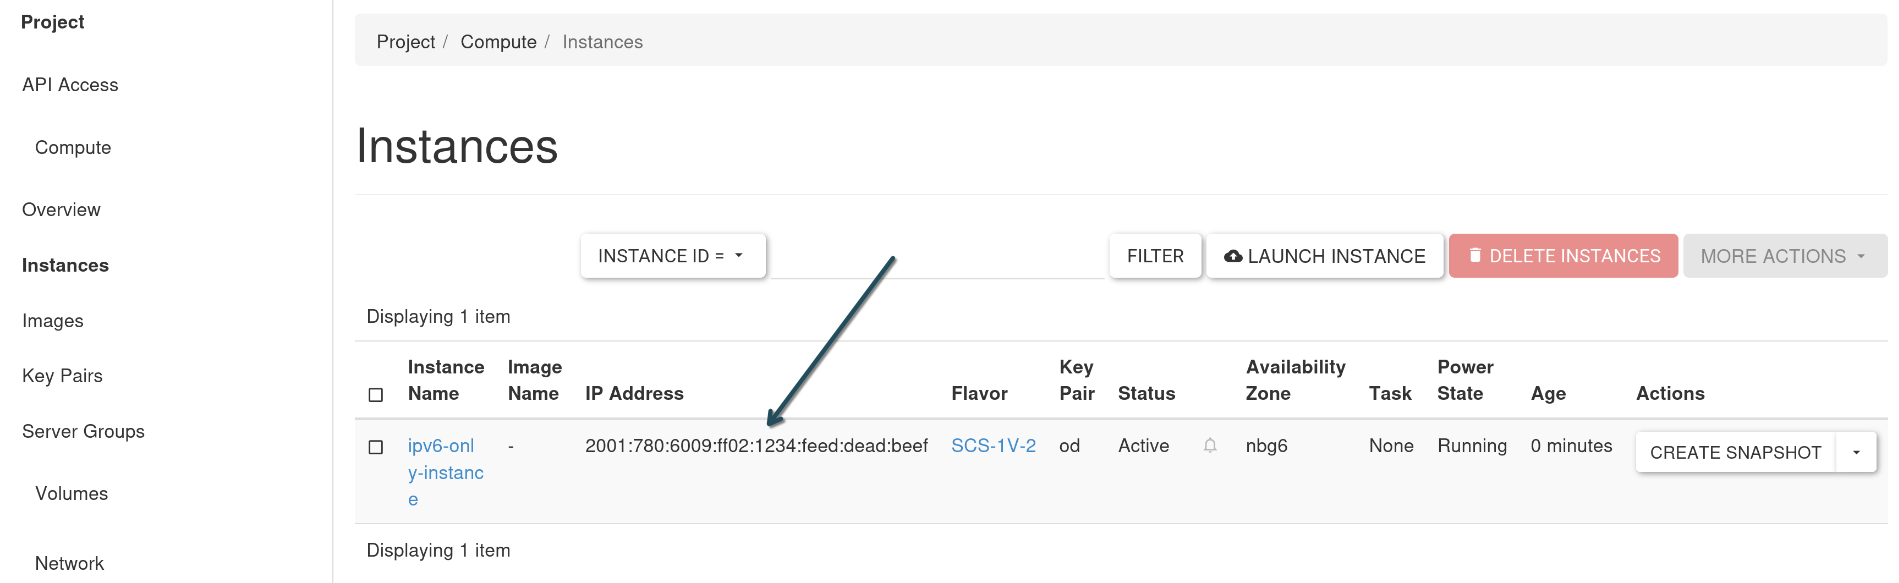
Under Compute → Instances you can find the IPv6 Global Unicast Address (GUA) of your newly created instance.
You should now be able to reach your IPv6-only instance:
(local)$ ping -c1 2001:780:6009:ff02:1234:feed:dead:beefPING 2001:780:6009:ff02:1234:feed:dead:beef (2001:780:6009:ff02:1234:feed:dead:beef) 56 data bytes64 bytes from 2001:780:6009:ff02:1234:feed:dead:beef: icmp_seq=1 ttl=245 time=225 ms
--- 2001:780:6009:ff02:1234:feed:dead:beef ping statistics ---1 packets transmitted, 1 received, 0% packet loss, time 0msrtt min/avg/max/mdev = 224.863/224.863/224.863/0.000 ms
You may now access your instance via SSH as well:
(local)$ ssh -i my_ssh_key.pem debian@2001:780:6009:ff02:1234:feed:dead:beefdebian@ipv6-only-instance:~$Congratulations, you made it! You successfully set up an IPv6-only network environment in the nSC OpenStack.