Zitadel IAM
The noris Sovereign Cloud (nSC)‘s Identity and Access Management (IAM) implements the ability to self-manage users, projects, and their access to each other. It is built using Zitadel, see their documentation for additional information.
Getting started
Section titled “Getting started”This guide walks you through creating, managing, and deleting users, projects, and their roles in our Zitadel IAM.
Access the dashboard
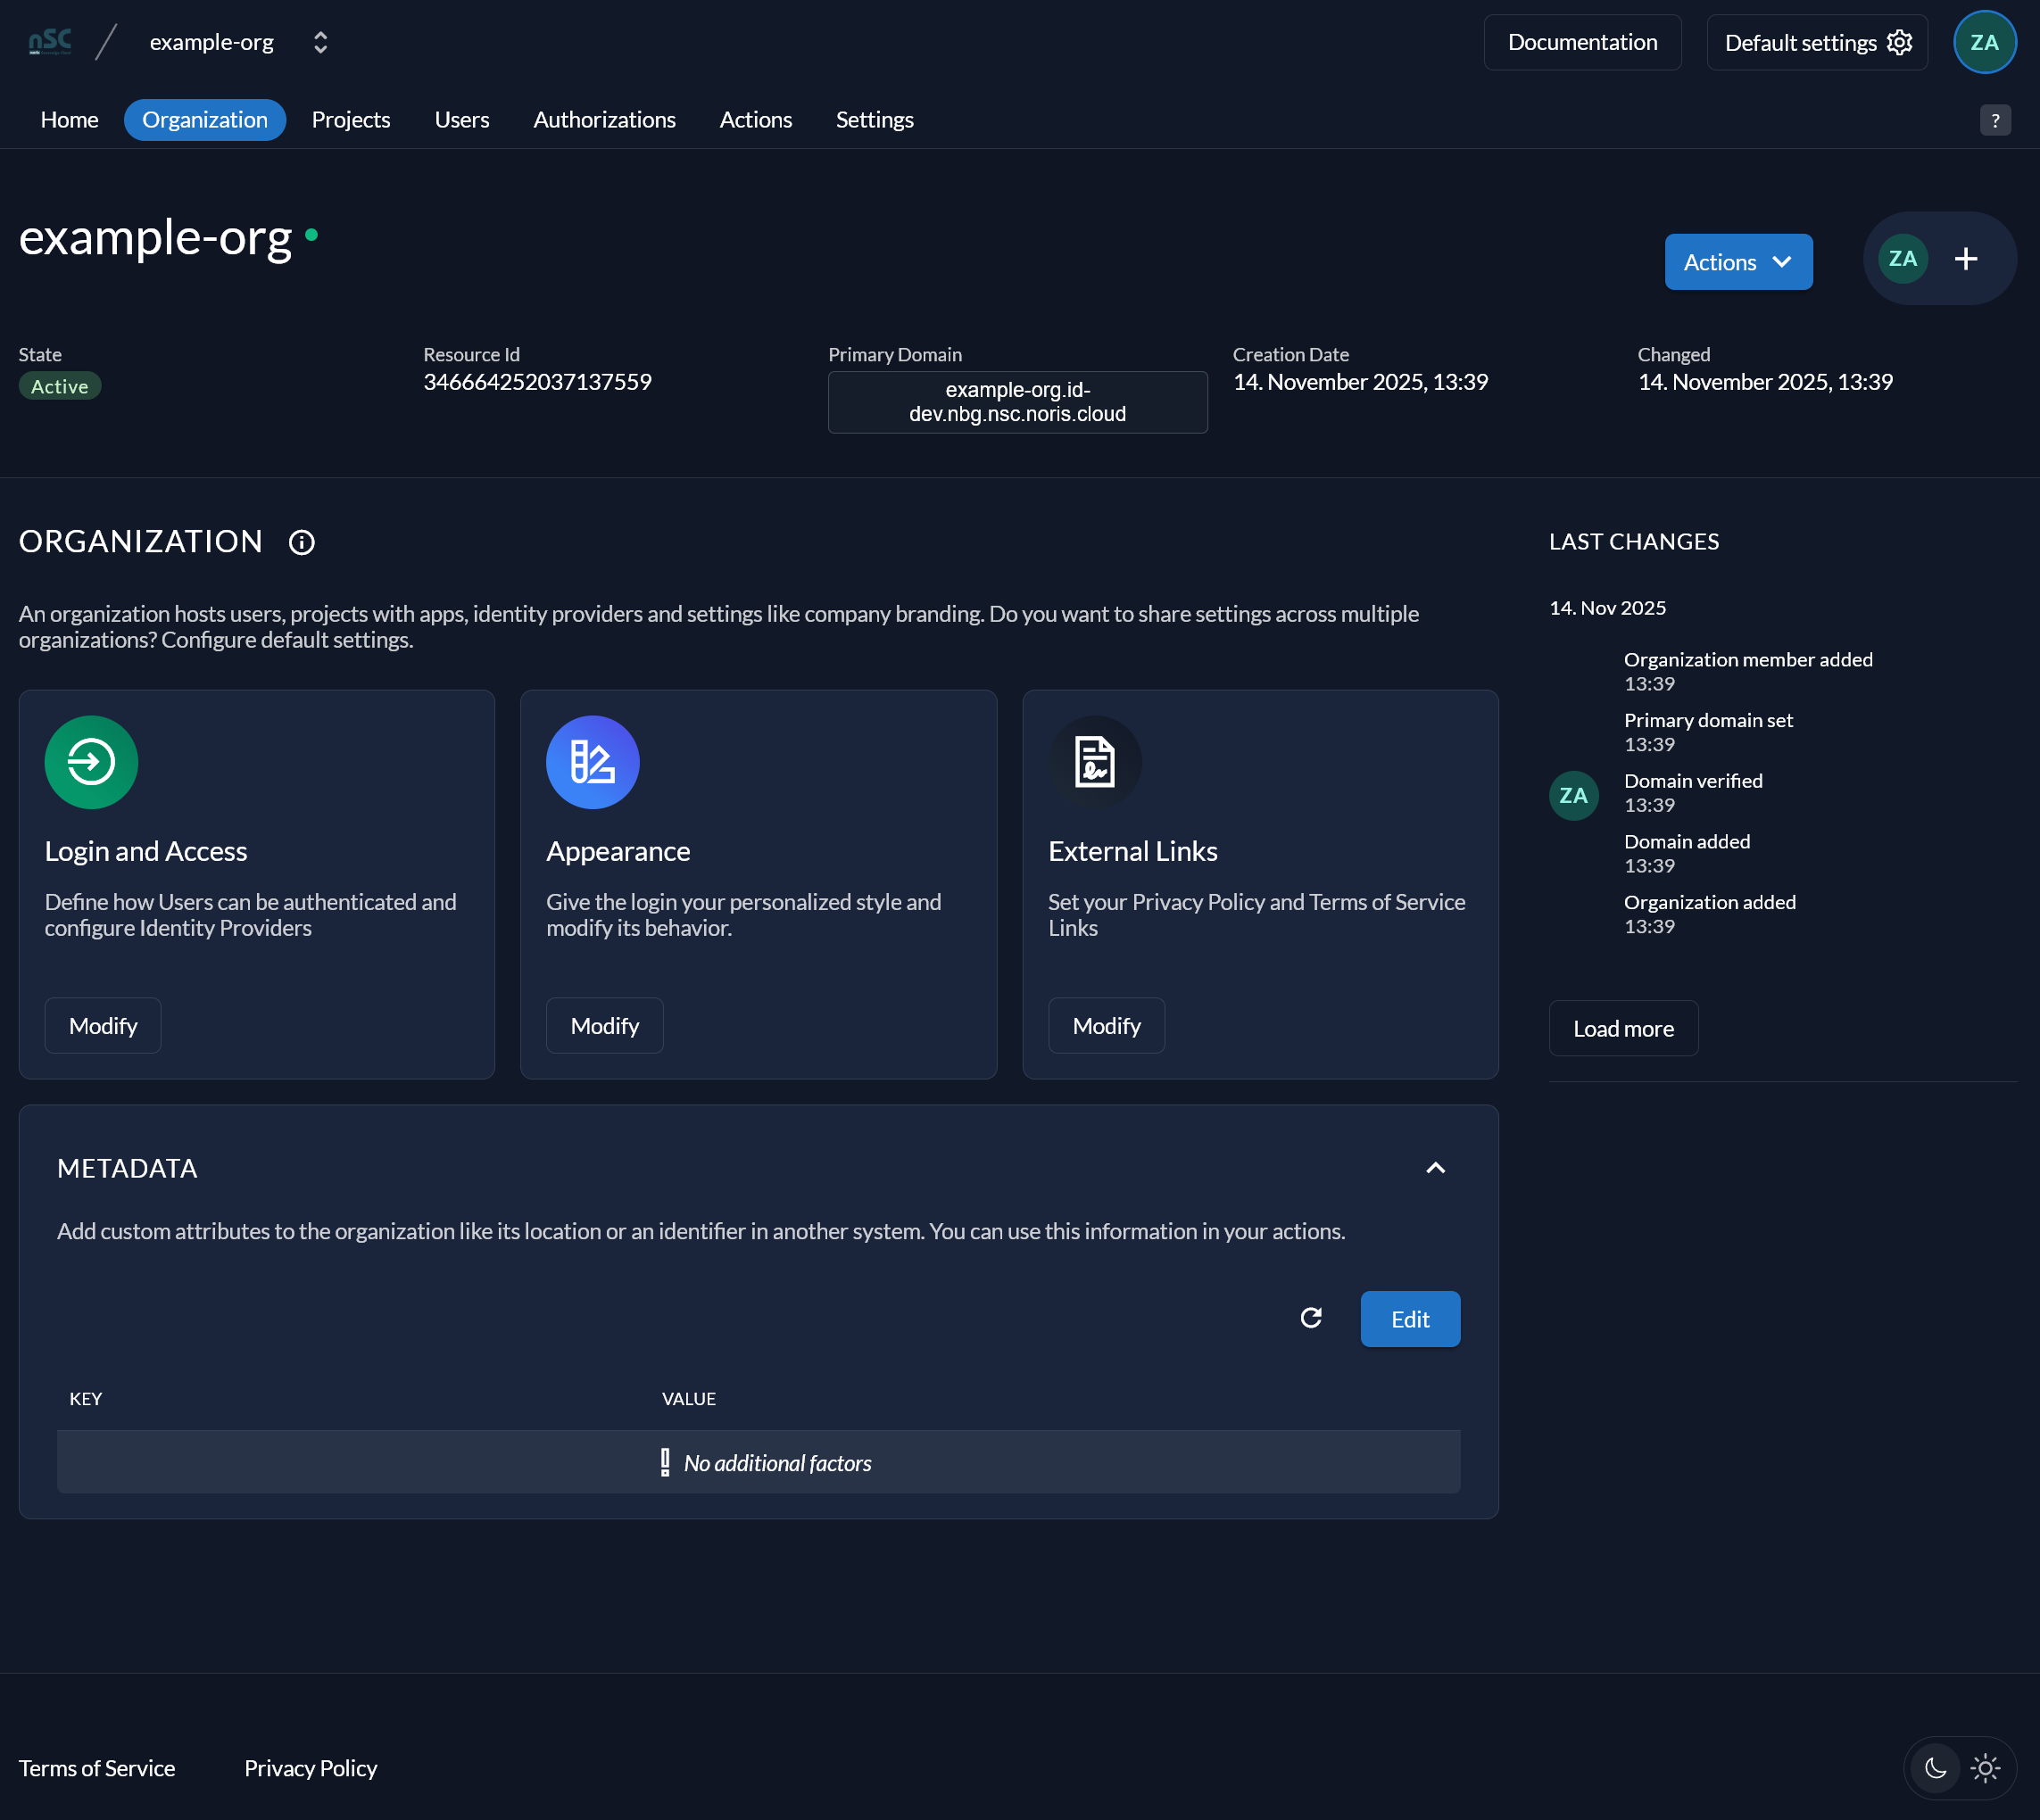
Section titled “Access the dashboard”You can log into the Zitadel Dashboard with the user account we sent you. The Nürnberg IAM can be accessed at: id.nbg.nsc.noris.cloud/ui/console
User Management
Section titled “User Management”User dashboard
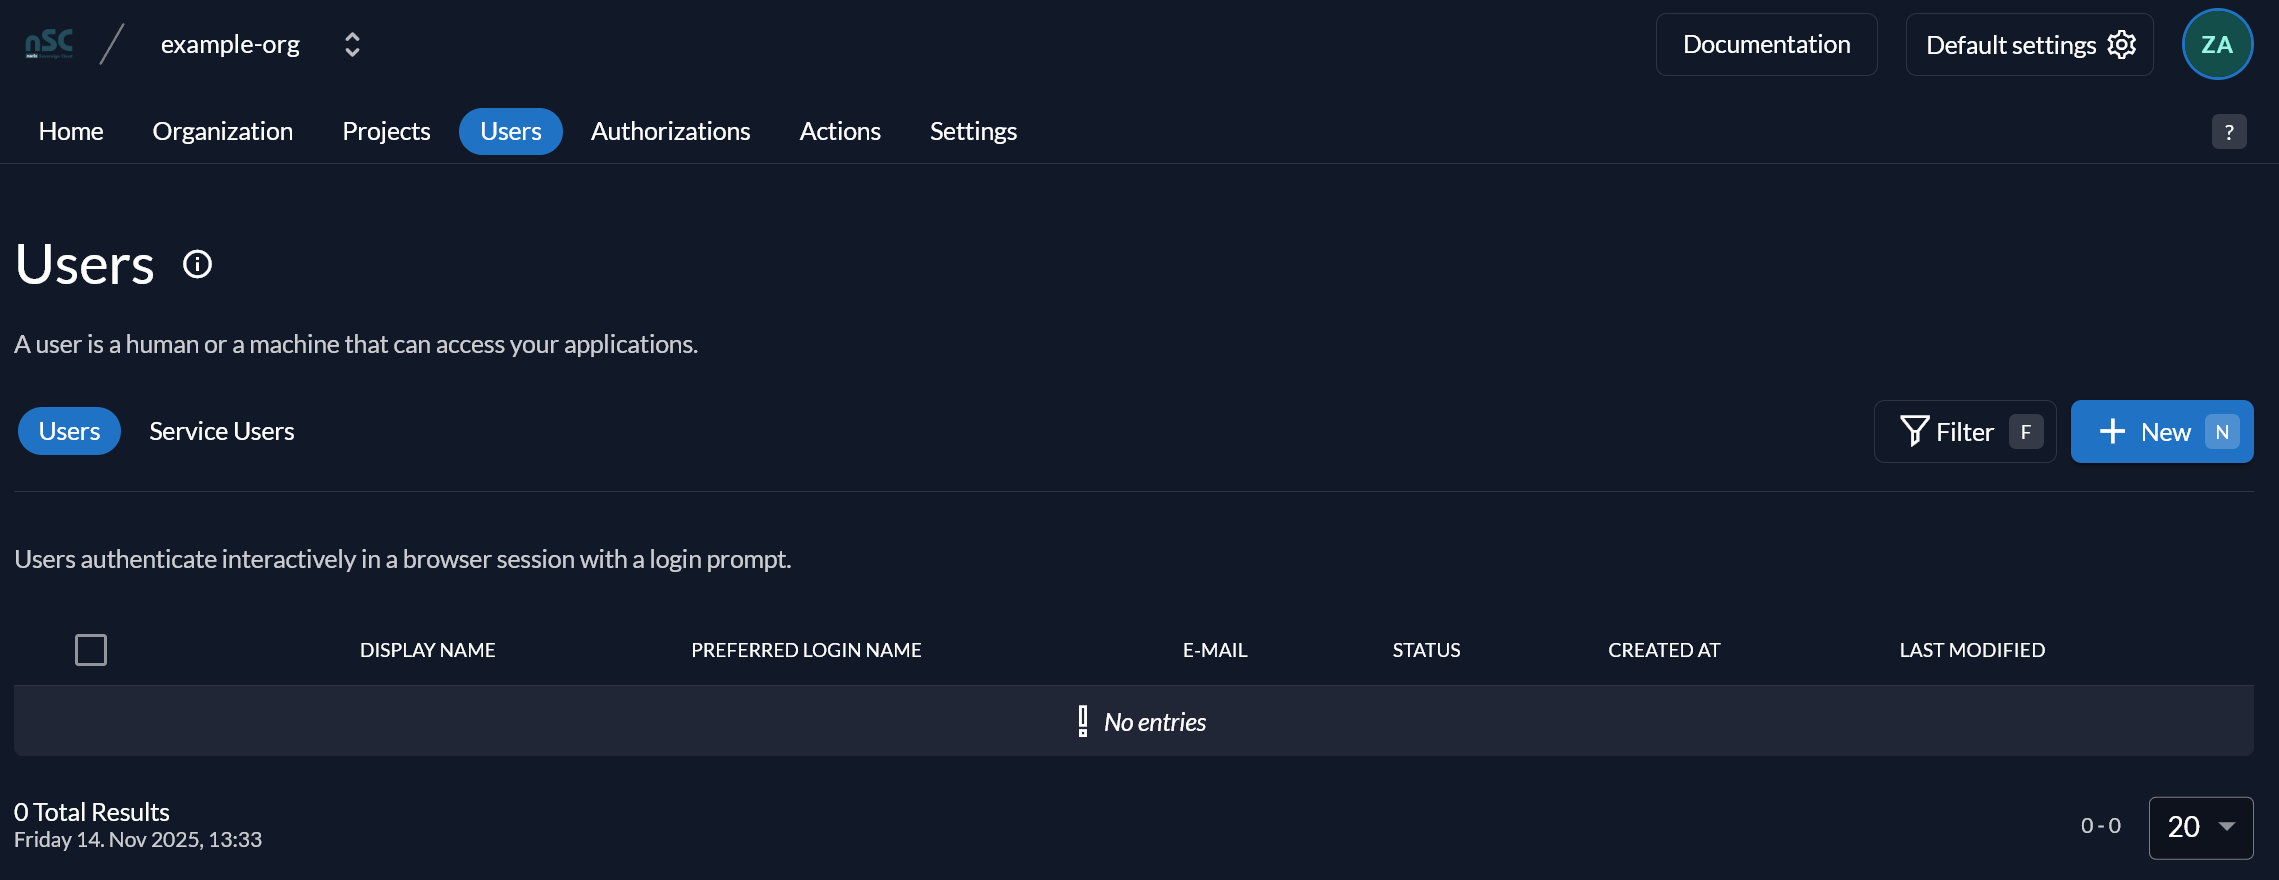
Section titled “User dashboard”Click on the Users tab to get to an overview of all user accounts:
Create a user
Section titled “Create a user”Click the blue New button to create a new user:
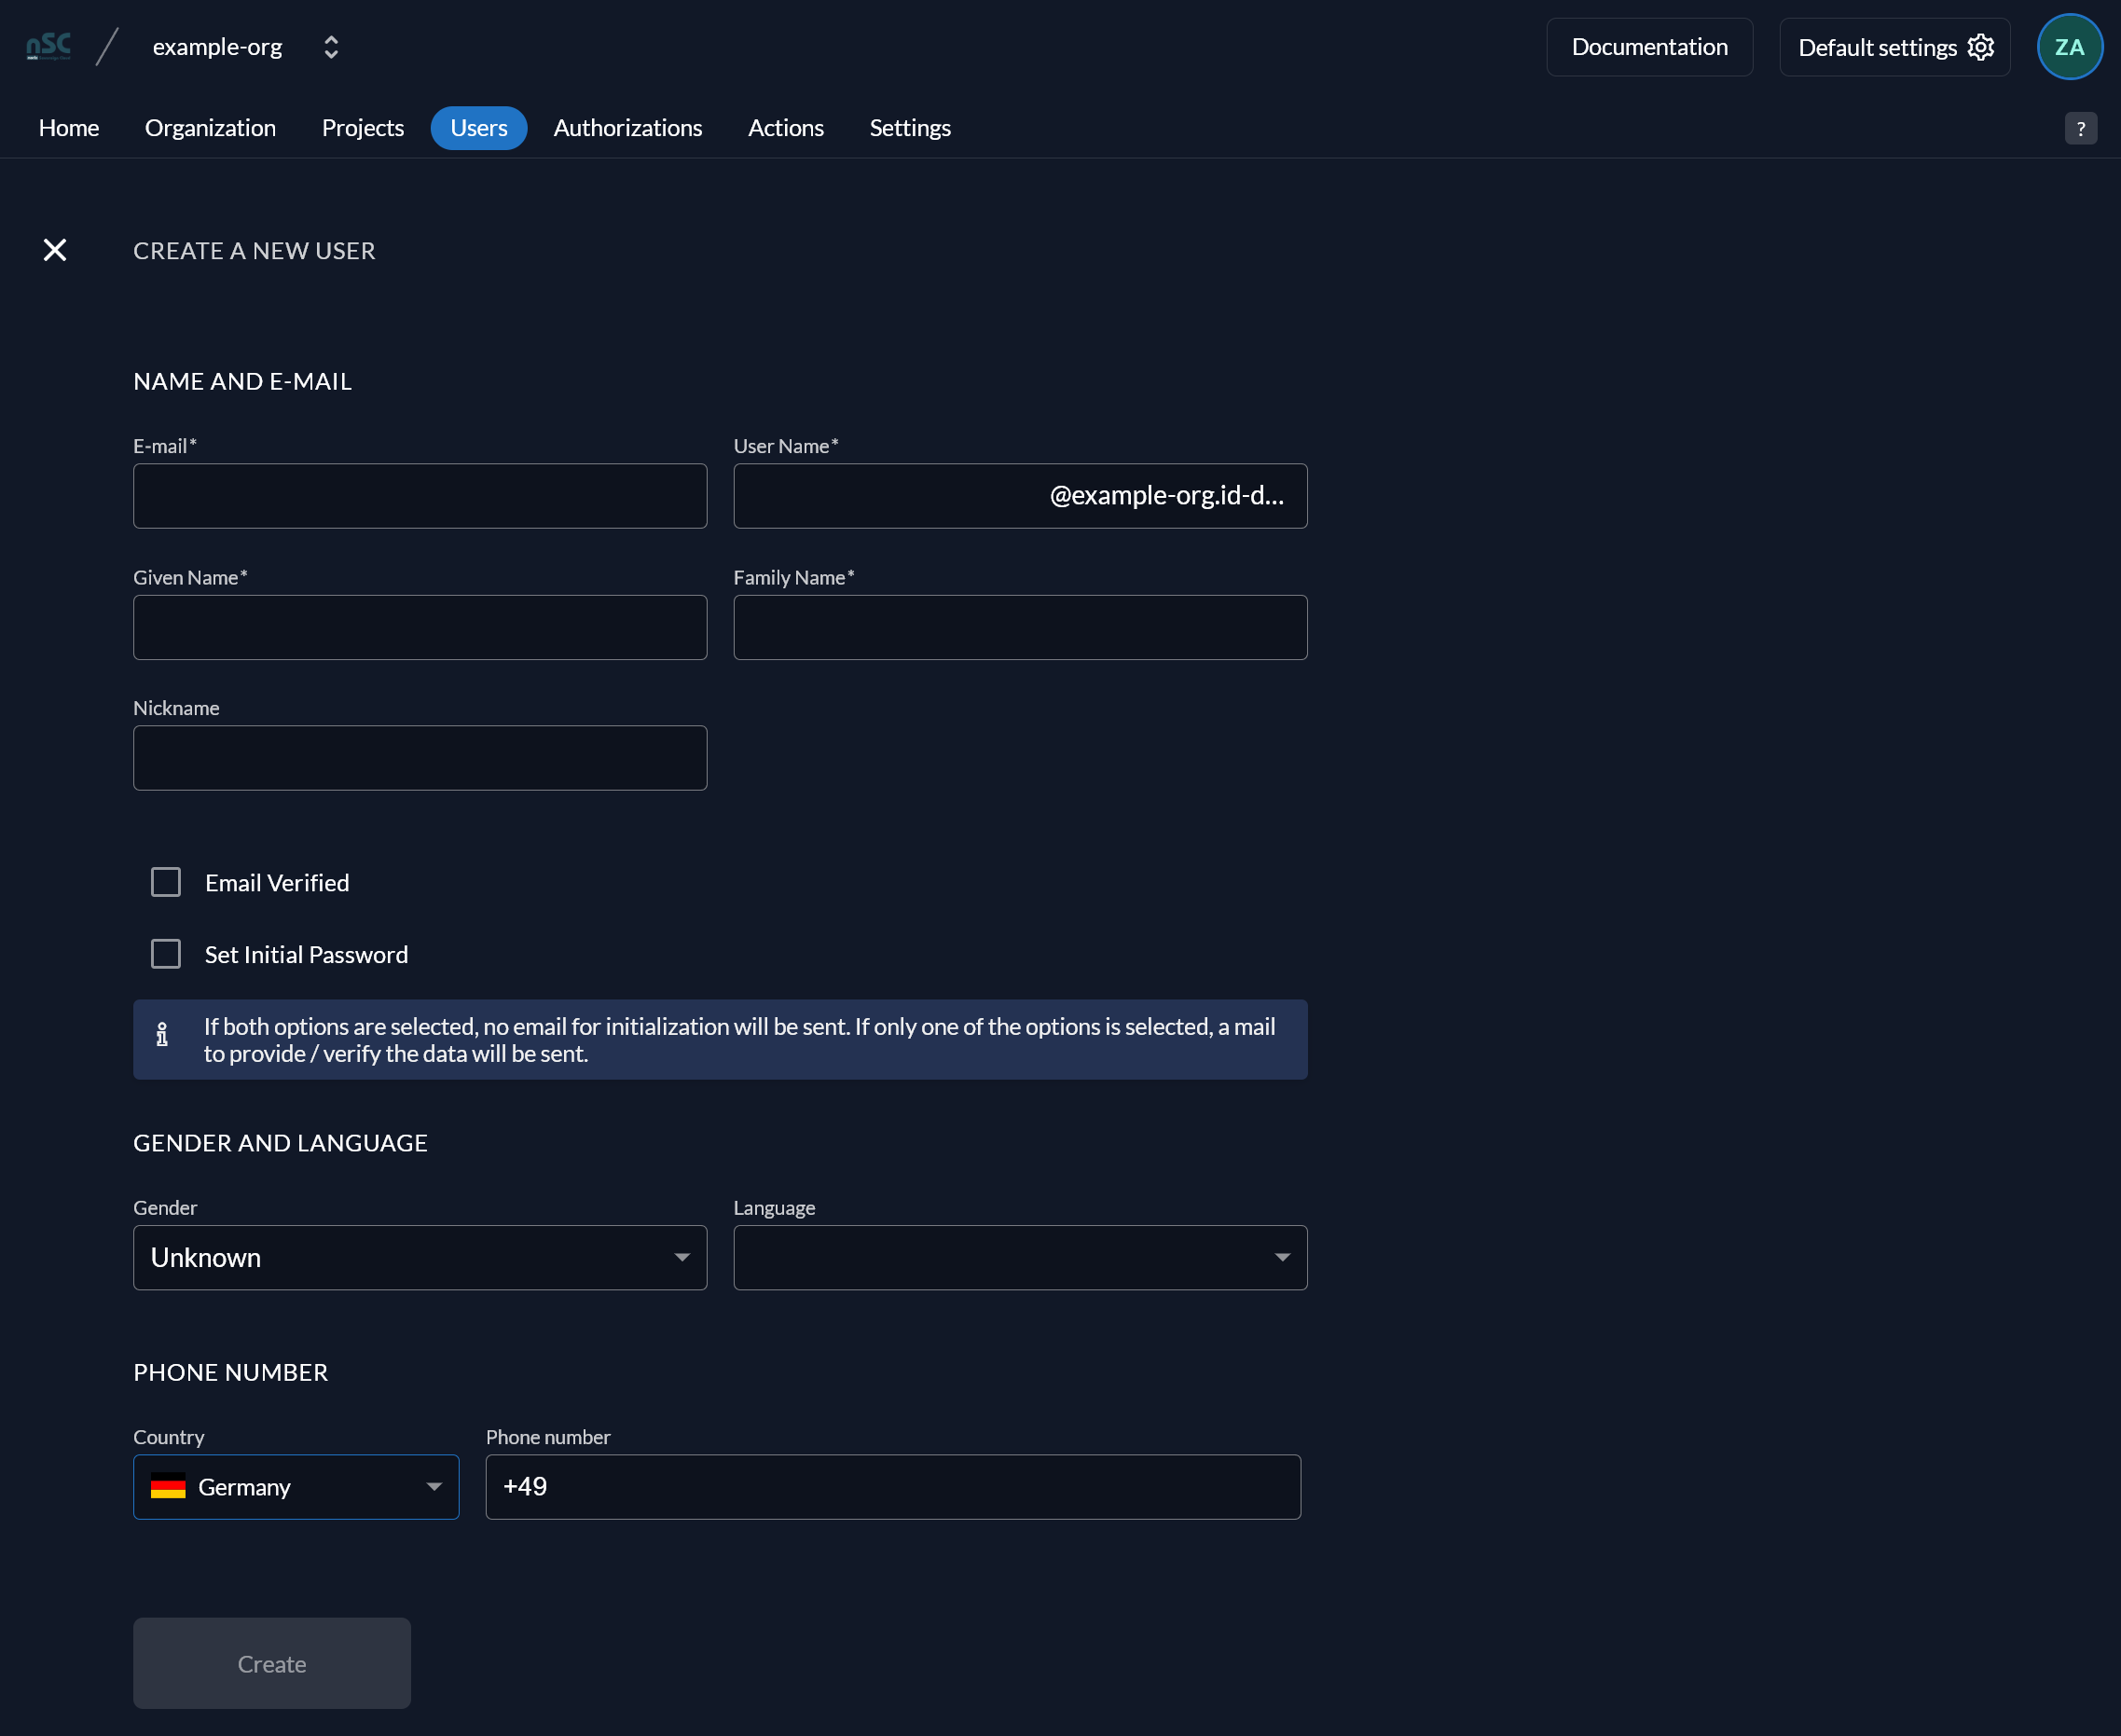
Mandatory fields:
- E-mail address: the user’s e-mail address. The user will be sent a registration code to this address, so it is important to provide a valid one.
- Username: the username used for the new user. This can be set to the user’s e-mail address again for simplicity.
- Given Name: the forename(s) of the user.
- Family Name: the surname of the user.
Optional fields:
- Nickname: used as display name if set.
- Email Verified: marks the given e-mail address as already verified. If unset, the user will be sent a verification code. Leave this in the default (unset) state to ensure users verify their e-mail address.
- Set Initial Password: you can set an initial password for the user. If unset, the user will have to set a password during registration.
- Gender: the gender of the user.
- Language: the preferred language of the user.
- Phone Number: the user’s phone number, used for sending text messages.
Click the blue Create button to create the user.
Service accounts
Section titled “Service accounts”Service accounts are used for non-human interaction with Zitadel itself. If you are looking to interact with OpenStack, see our separate article on OpenStack Application Credentials.
Project Management
Section titled “Project Management”Projects can be used to set up separate workspaces for teams, business units, technologies, or subcontractors. Zitadel projects are synchronized with OpenStack and Gardener.
Project dashboard
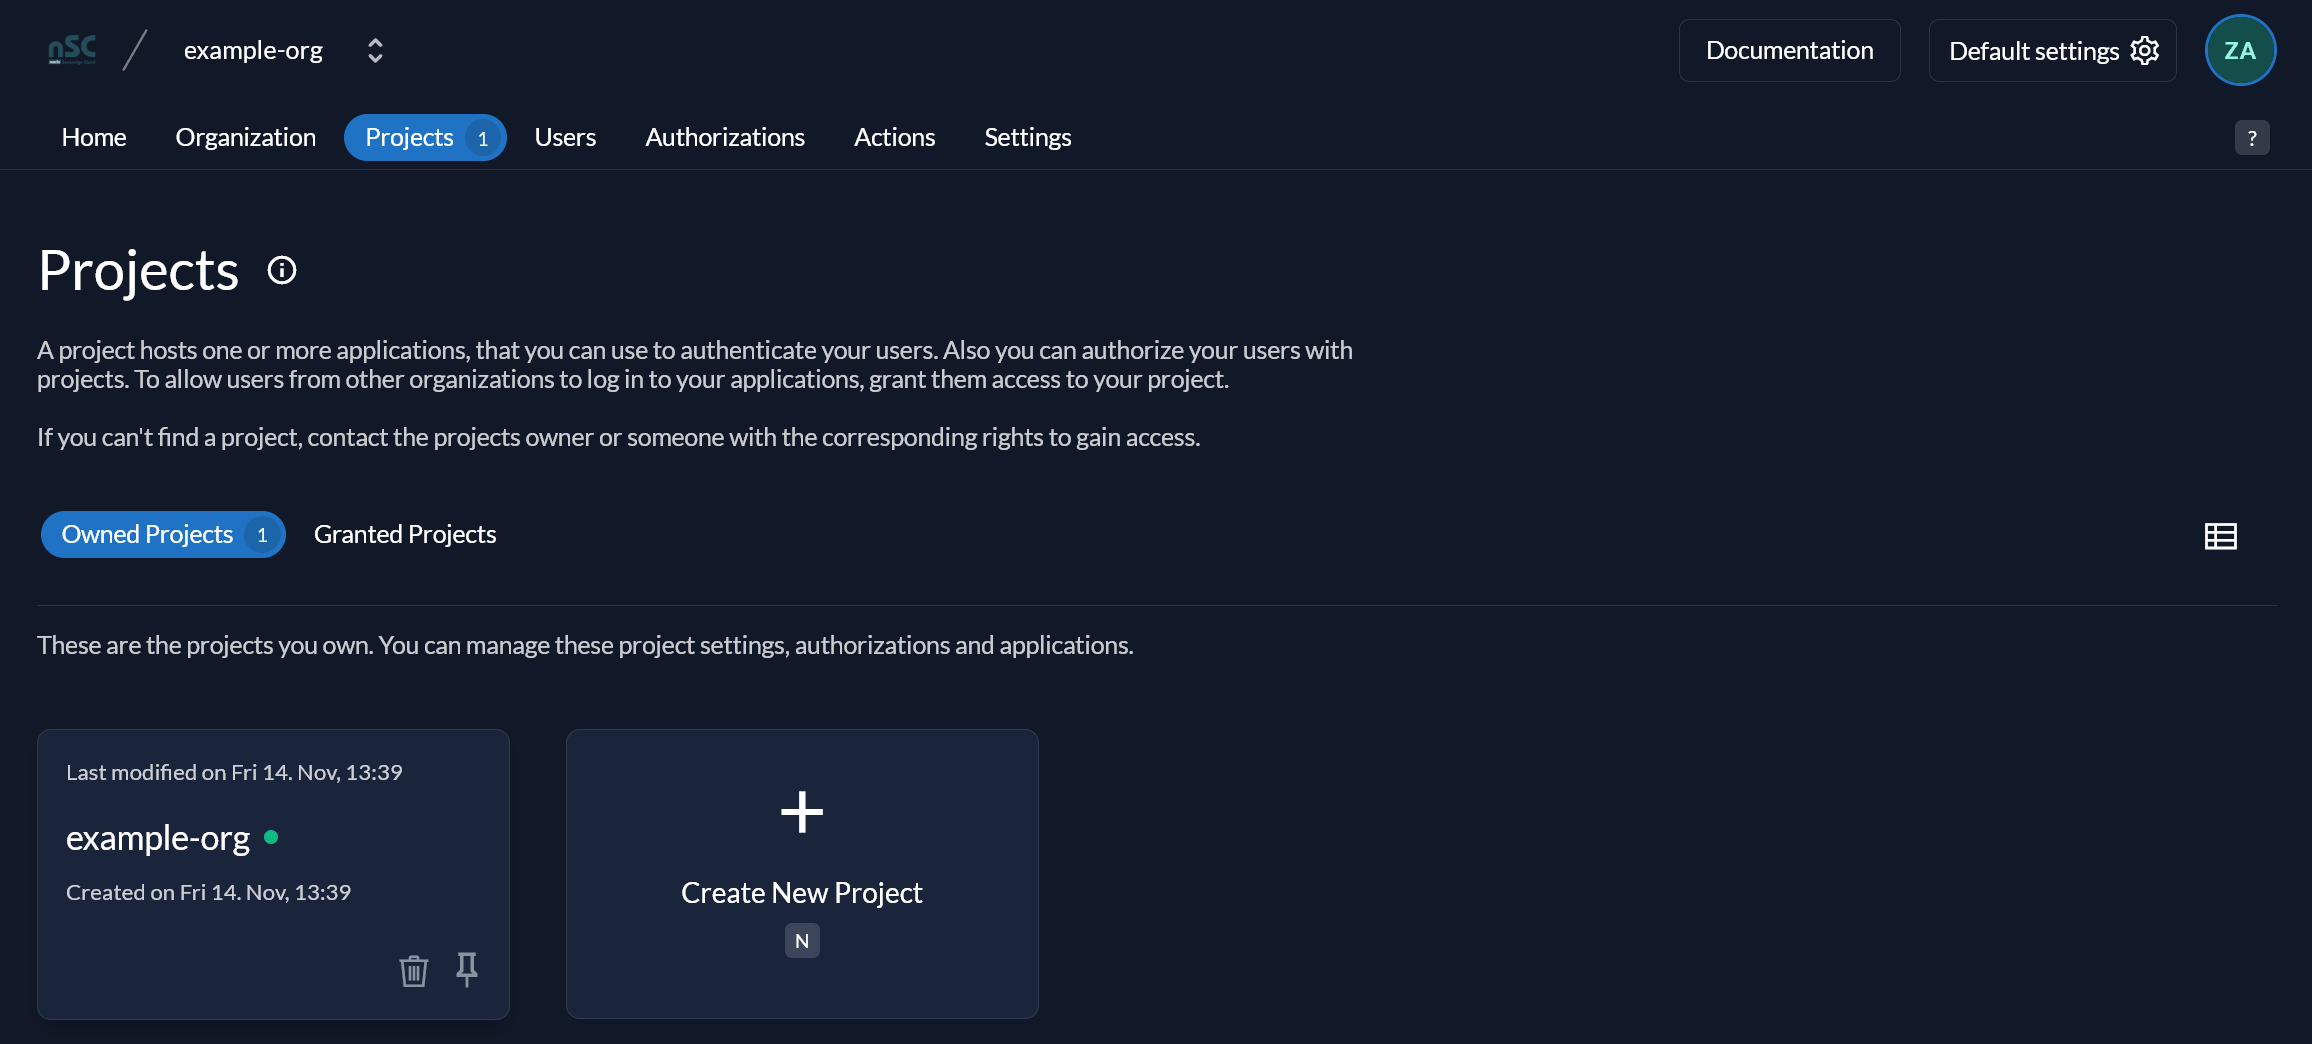
Section titled “Project dashboard”On the dashboard, click on the Projects tab to see an overview of all projects in the organisation:
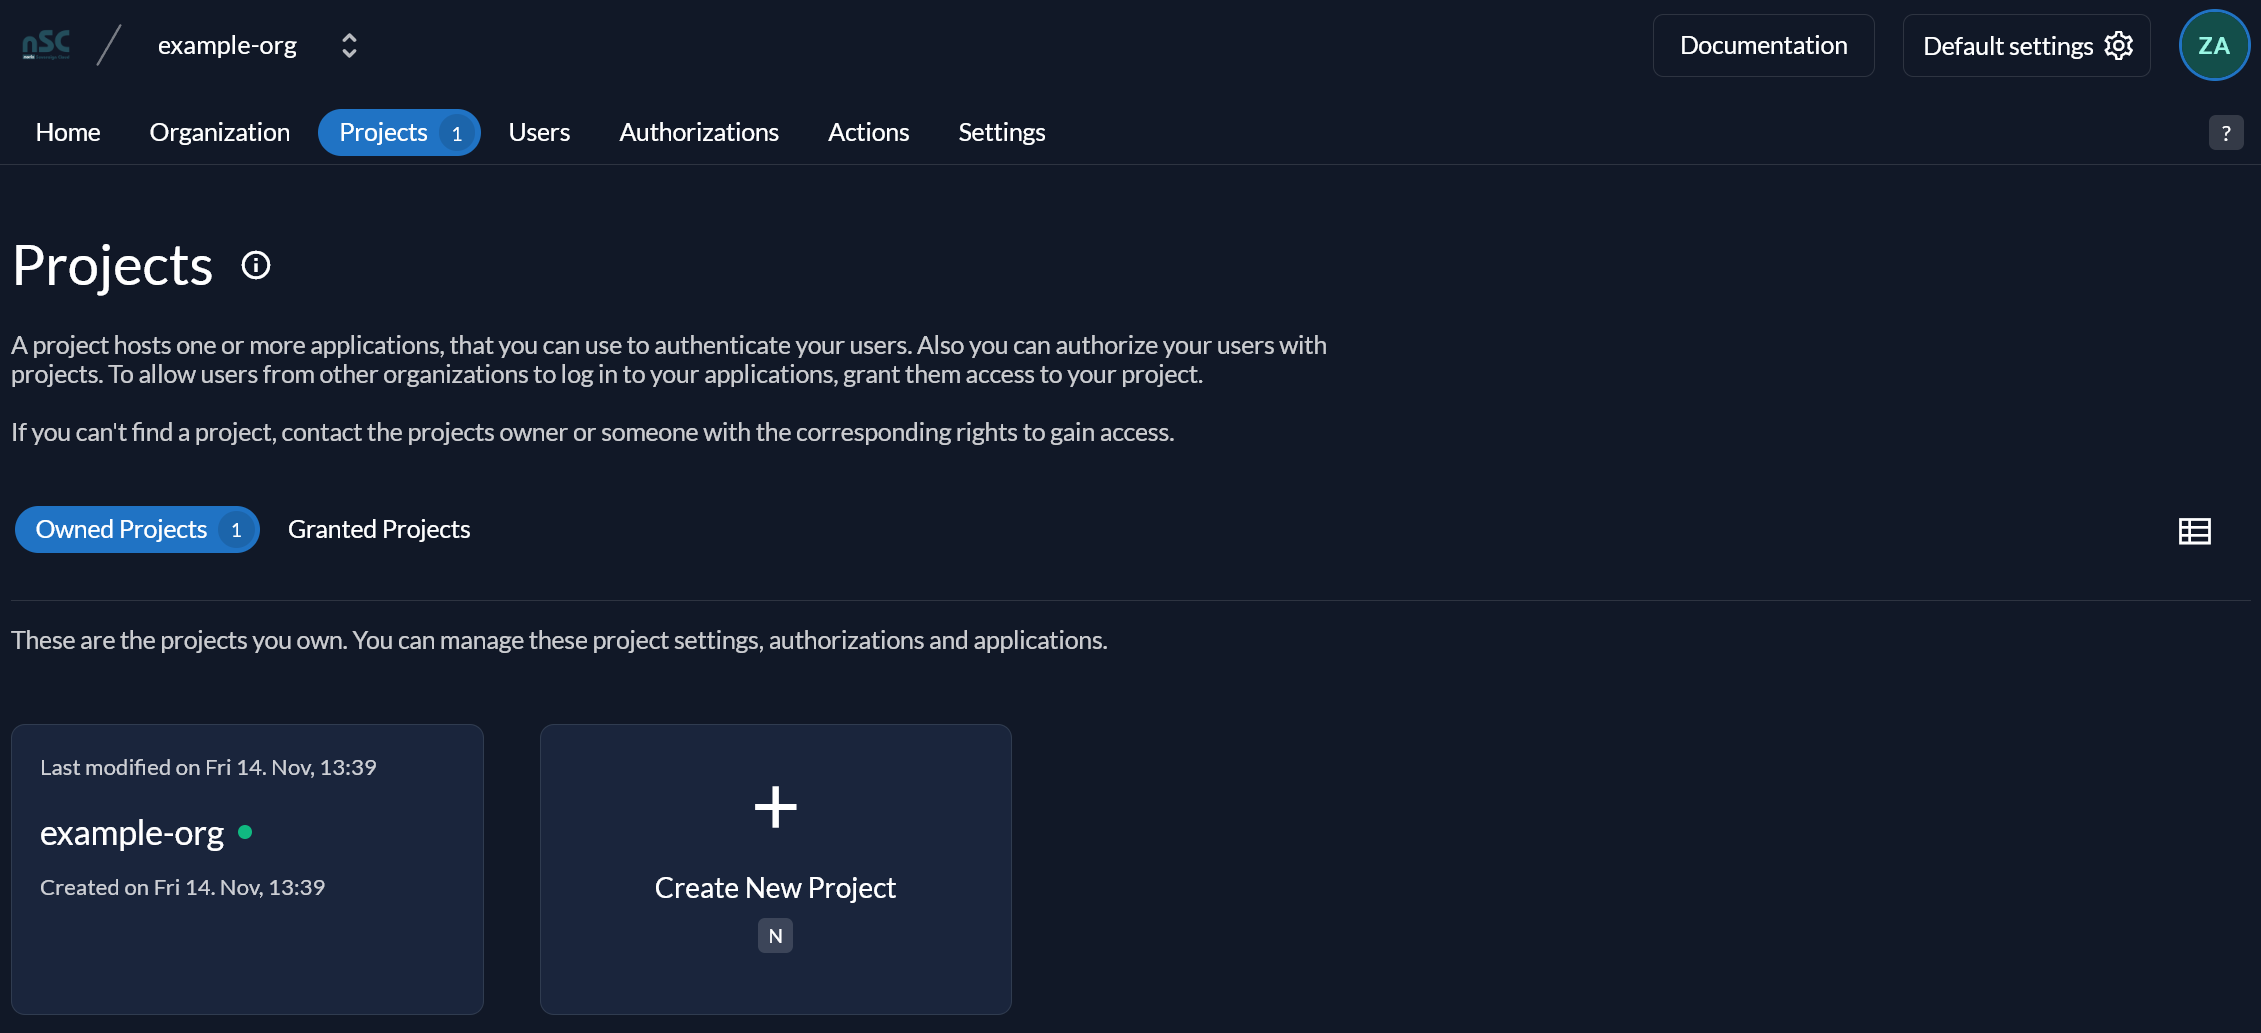
You will see that nSC has already created a default project (example-org) for you.
Create a project
Section titled “Create a project”To add a new project, click on “Create New Project”:
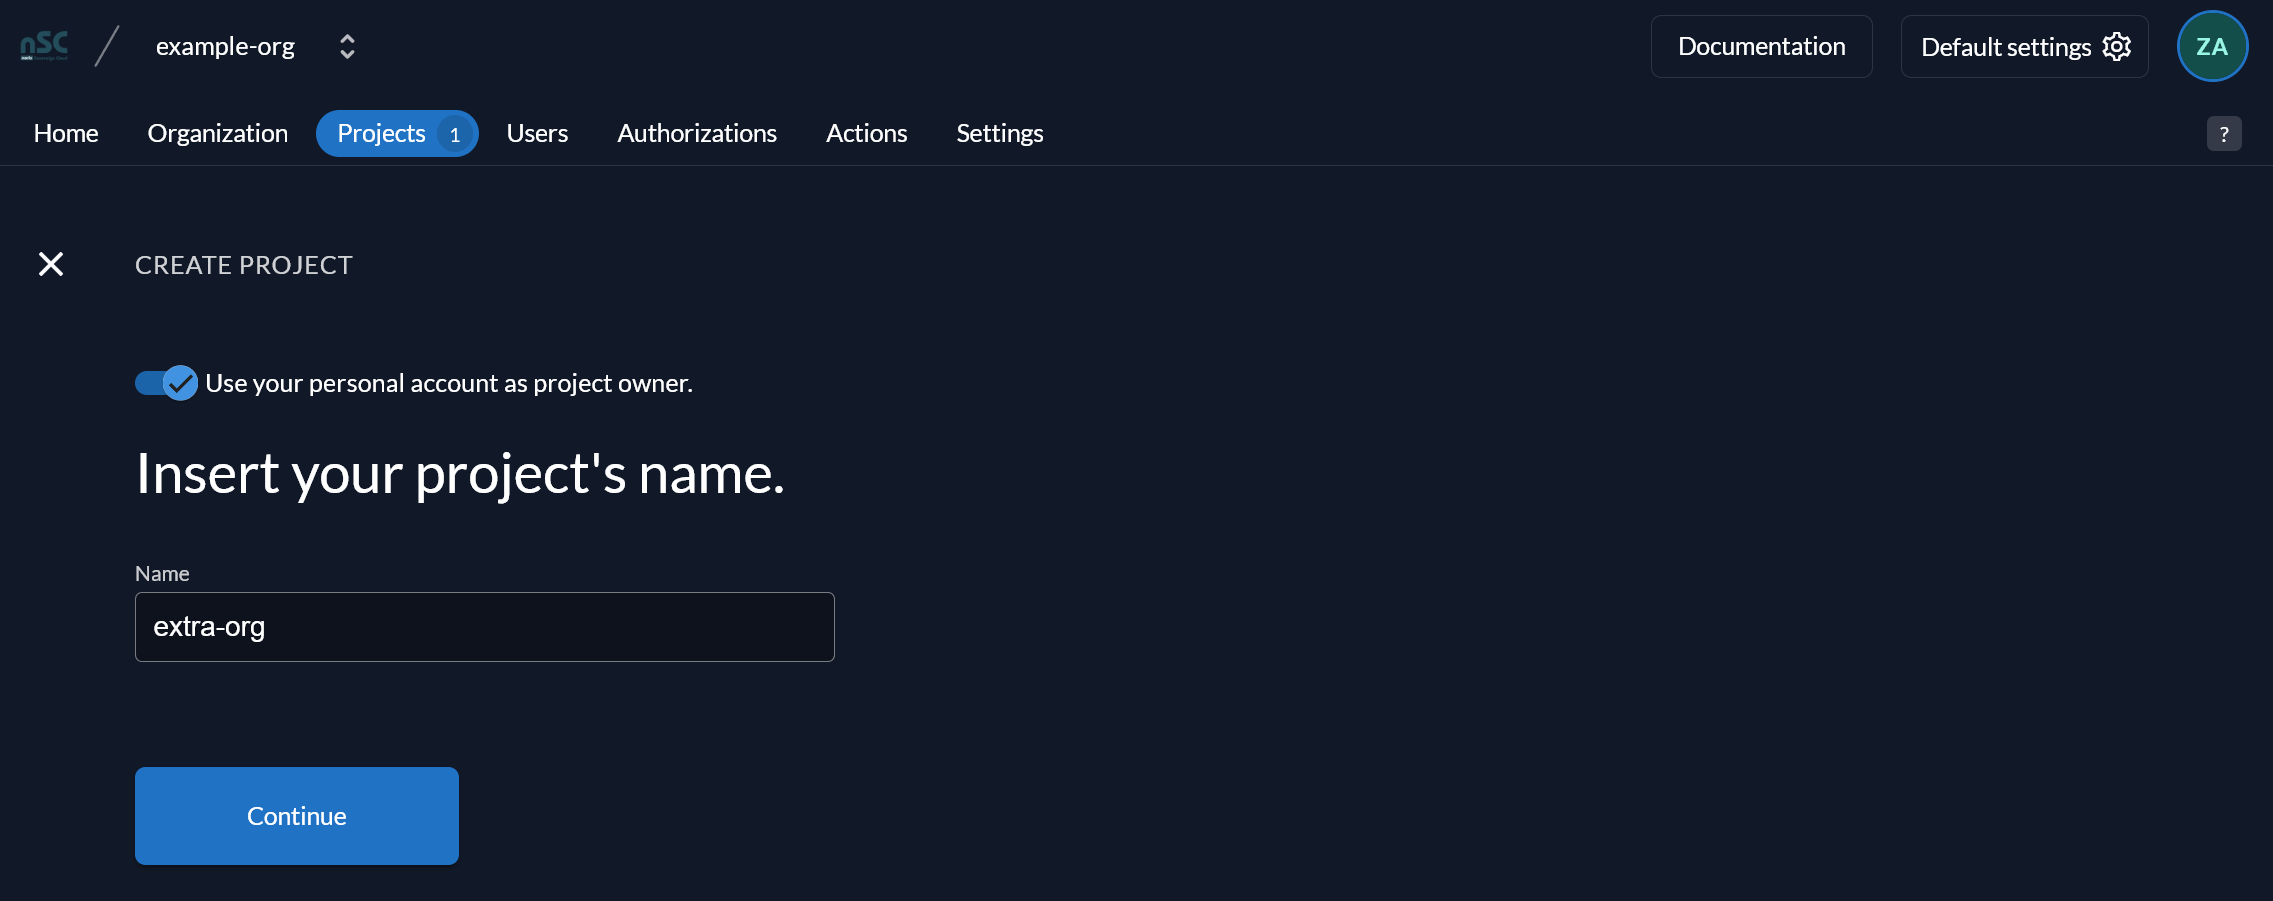
After entering a suitable name for your new project, click the blue Continue button to create it. This project won’t be visible to you in OpenStack and Gardener until roles are granted to your user, as described in the next step.
Delete a project
Section titled “Delete a project”Project deletion can be triggered by a service request, please use your usual support channel. Self-service project deletion is a planned feature.
Role Management
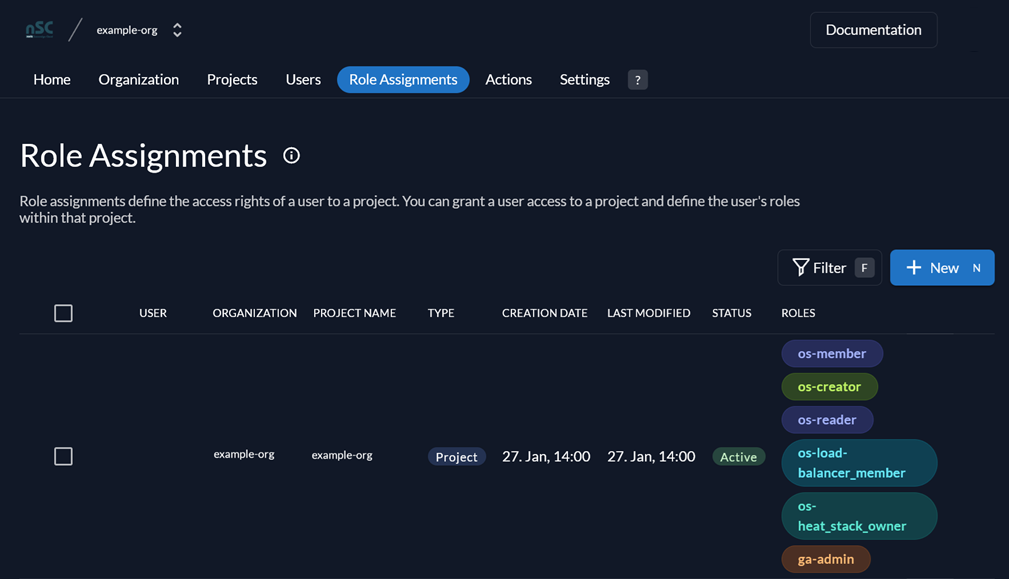
Section titled “Role Management”On the dashboard, click on the Role Assignments tab to see an overview of all authorizations that are currently in place.
If you open this for the first time, you will notice that nSC has already created a single default authorization for you. This authorization lets you access the default project with your initial user:
Add a role assignment
Section titled “Add a role assignment”To add a new authorization, click the blue New button. This opens a wizard that allows you to grant roles to users in specific projects. Be sure to choose your Project. Granted Projects is not what you are looking for:
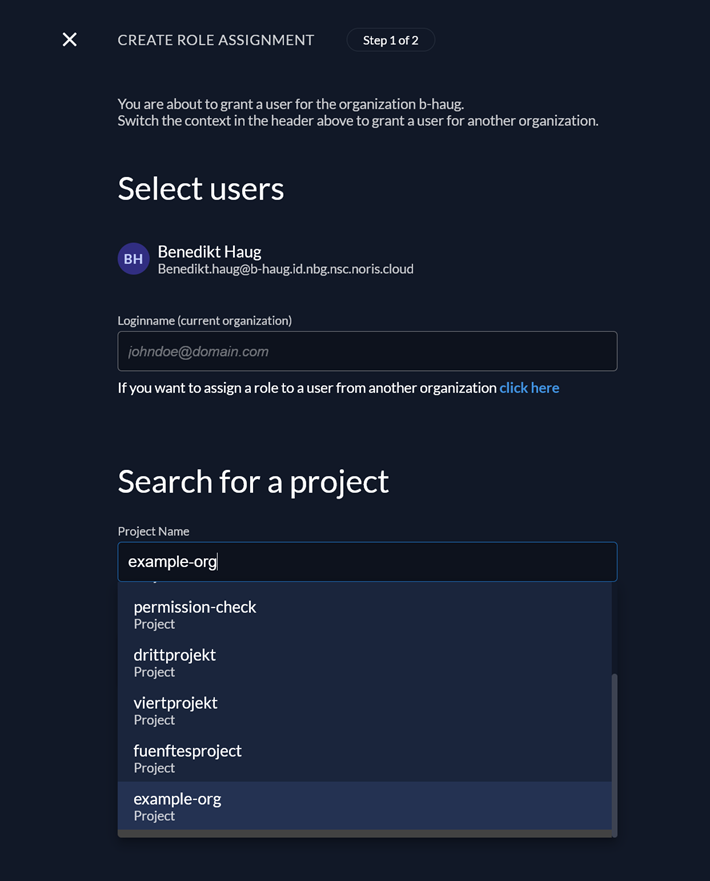
Select the users you want to authorize from the list of users, and select the project in which you want to grant roles. Click the blue Continue button to get to the next page.
Role selection
Section titled “Role selection”You can grant different roles to users in your projects, allowing for more fine-grained control over their permissions:
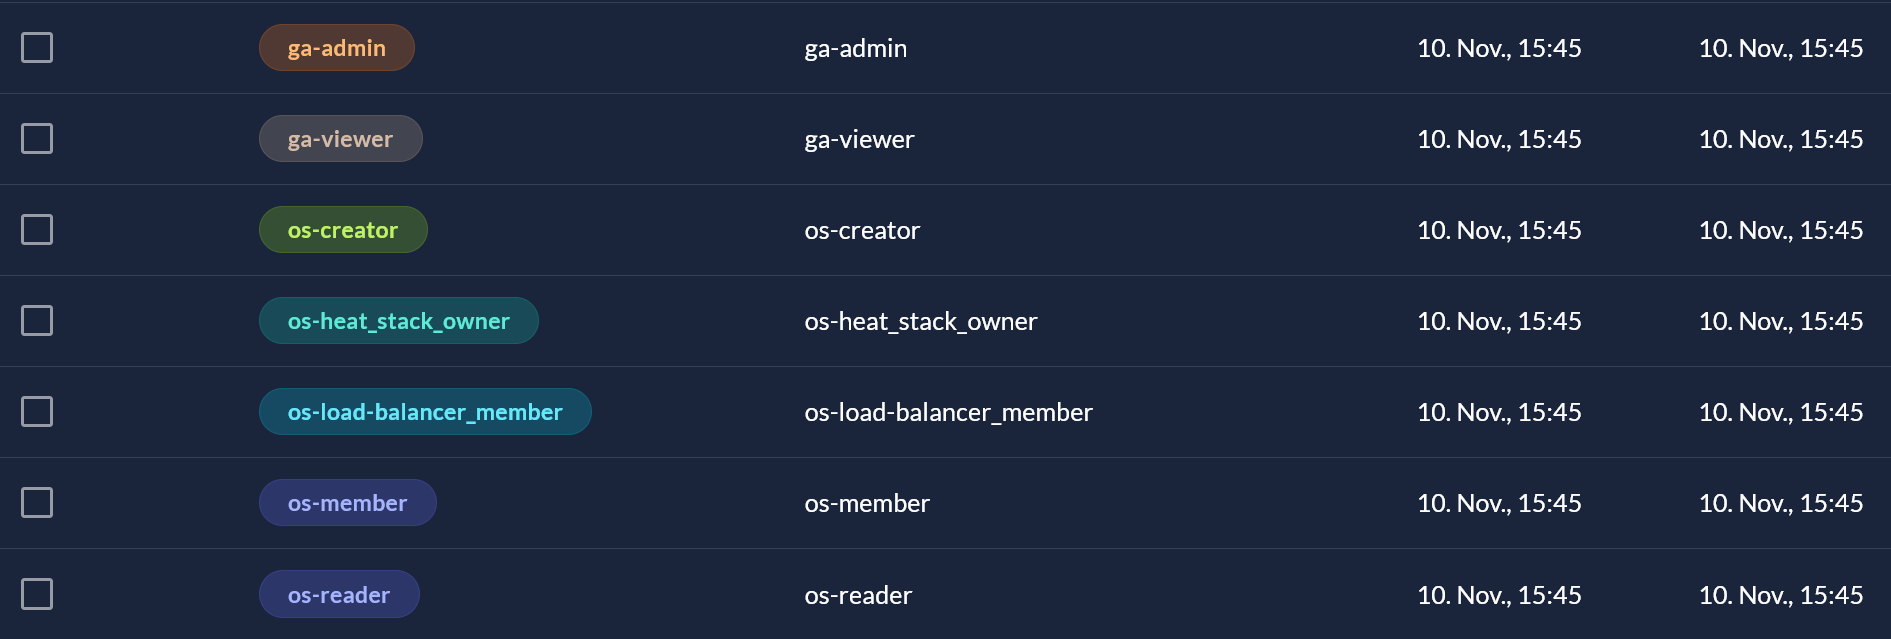
You can select from the following roles:
| Role | Service | Permissions |
|---|---|---|
ga-admin | Gardener Kubernetes | create, read, update and delete |
ga-viewer | Gardener Kubernetes | read |
os-creator | Barbican | create, read, update and delete |
os-heat_stack_owner | Heat | create, read, update and delete |
os-load-balancer_member | Octavia | create, read, update and delete |
os-member | OpenStack (all) | create, read, update and delete |
os-reader | OpenStack (all) | read |
Once you are happy with your selection, click the blue Save button. Within 60 seconds, the projects should appear within OpenStack and Gardener.
OIDC Authentication
Section titled “OIDC Authentication”Zitadel can also be used as an OIDC provider. This is especially useful in the context of Gardener’s structured authentication, to put users into fitting roles.
Create an OIDC client
Section titled “Create an OIDC client”Click on “Projects”, then select the project of your choosing:
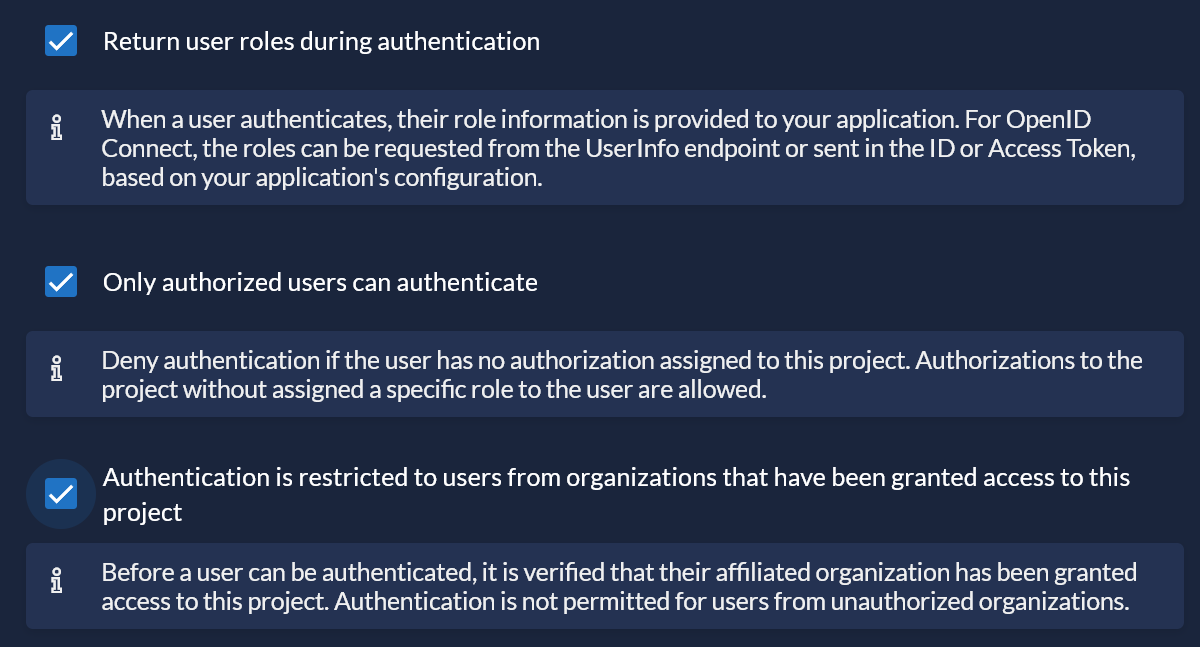
Select the settings according to the picture below:
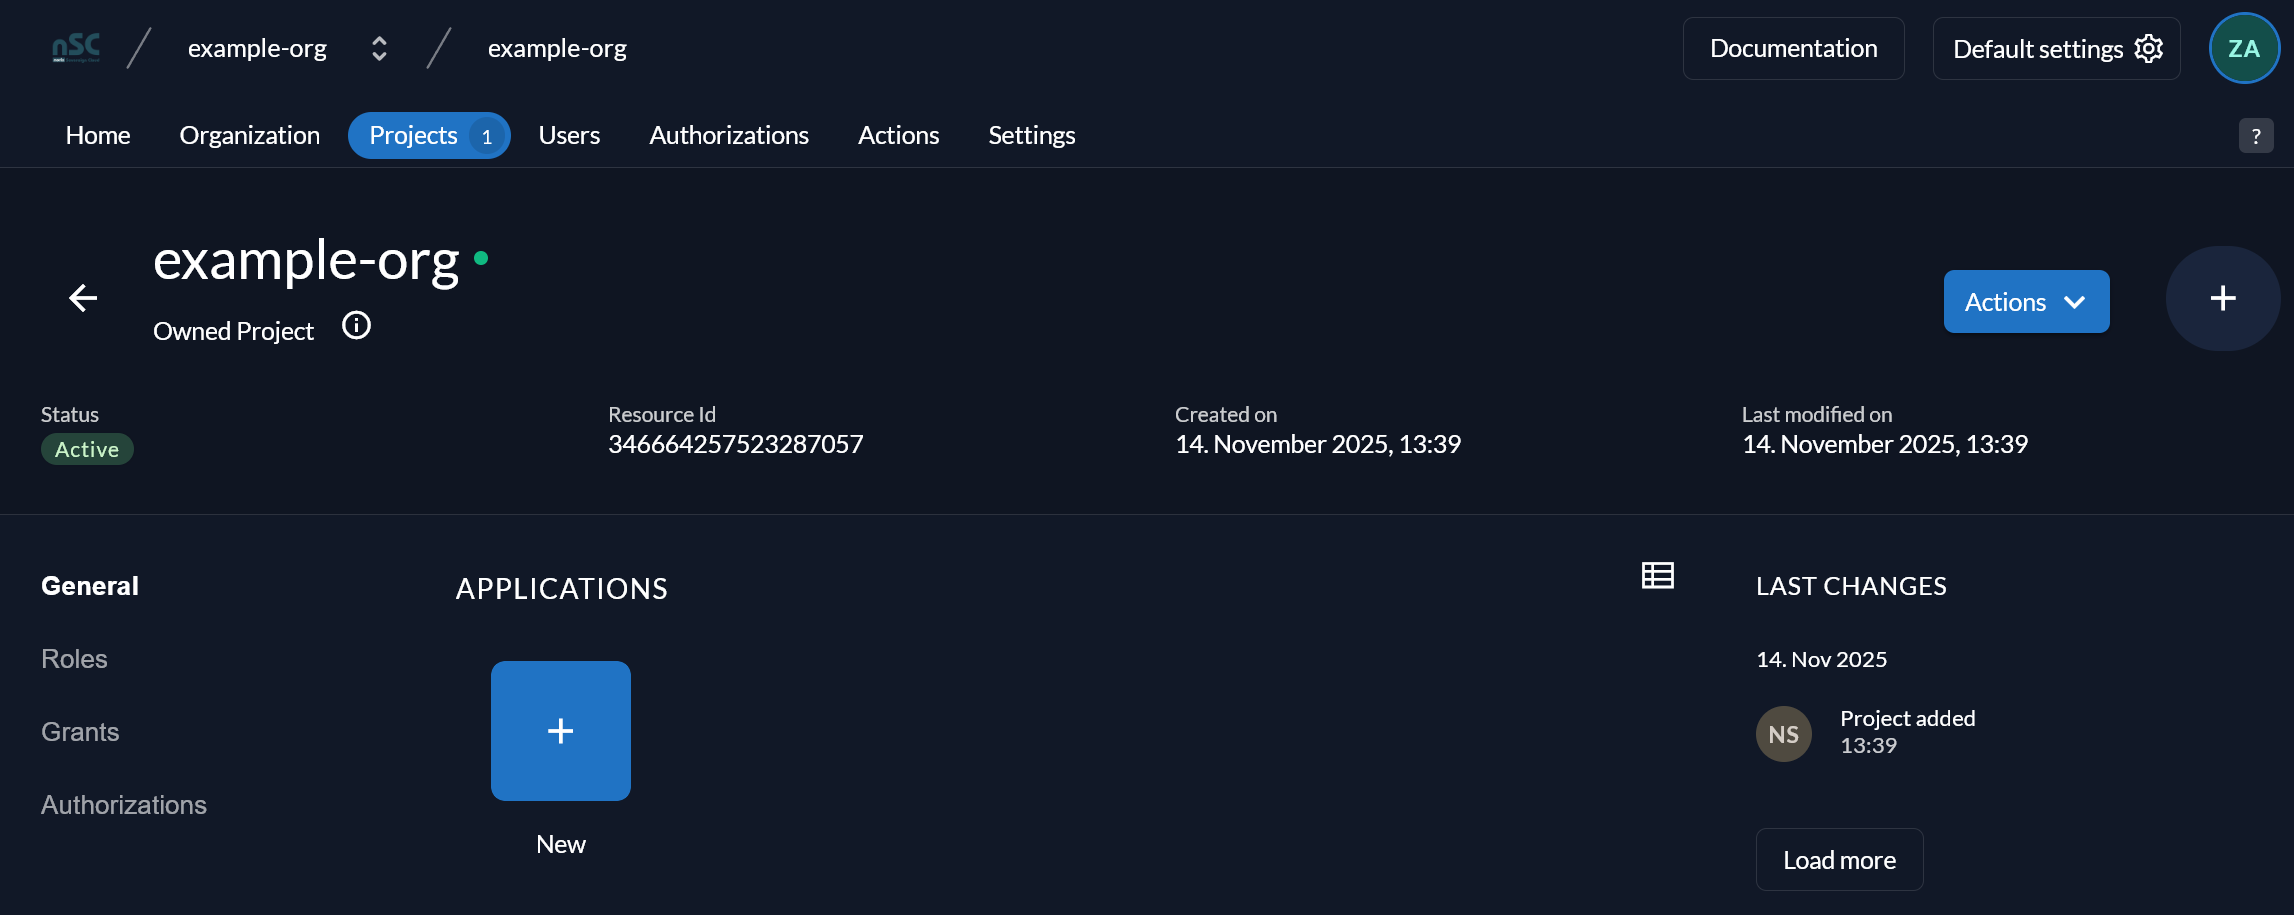
Save those settings, then click “New” to create a new application:
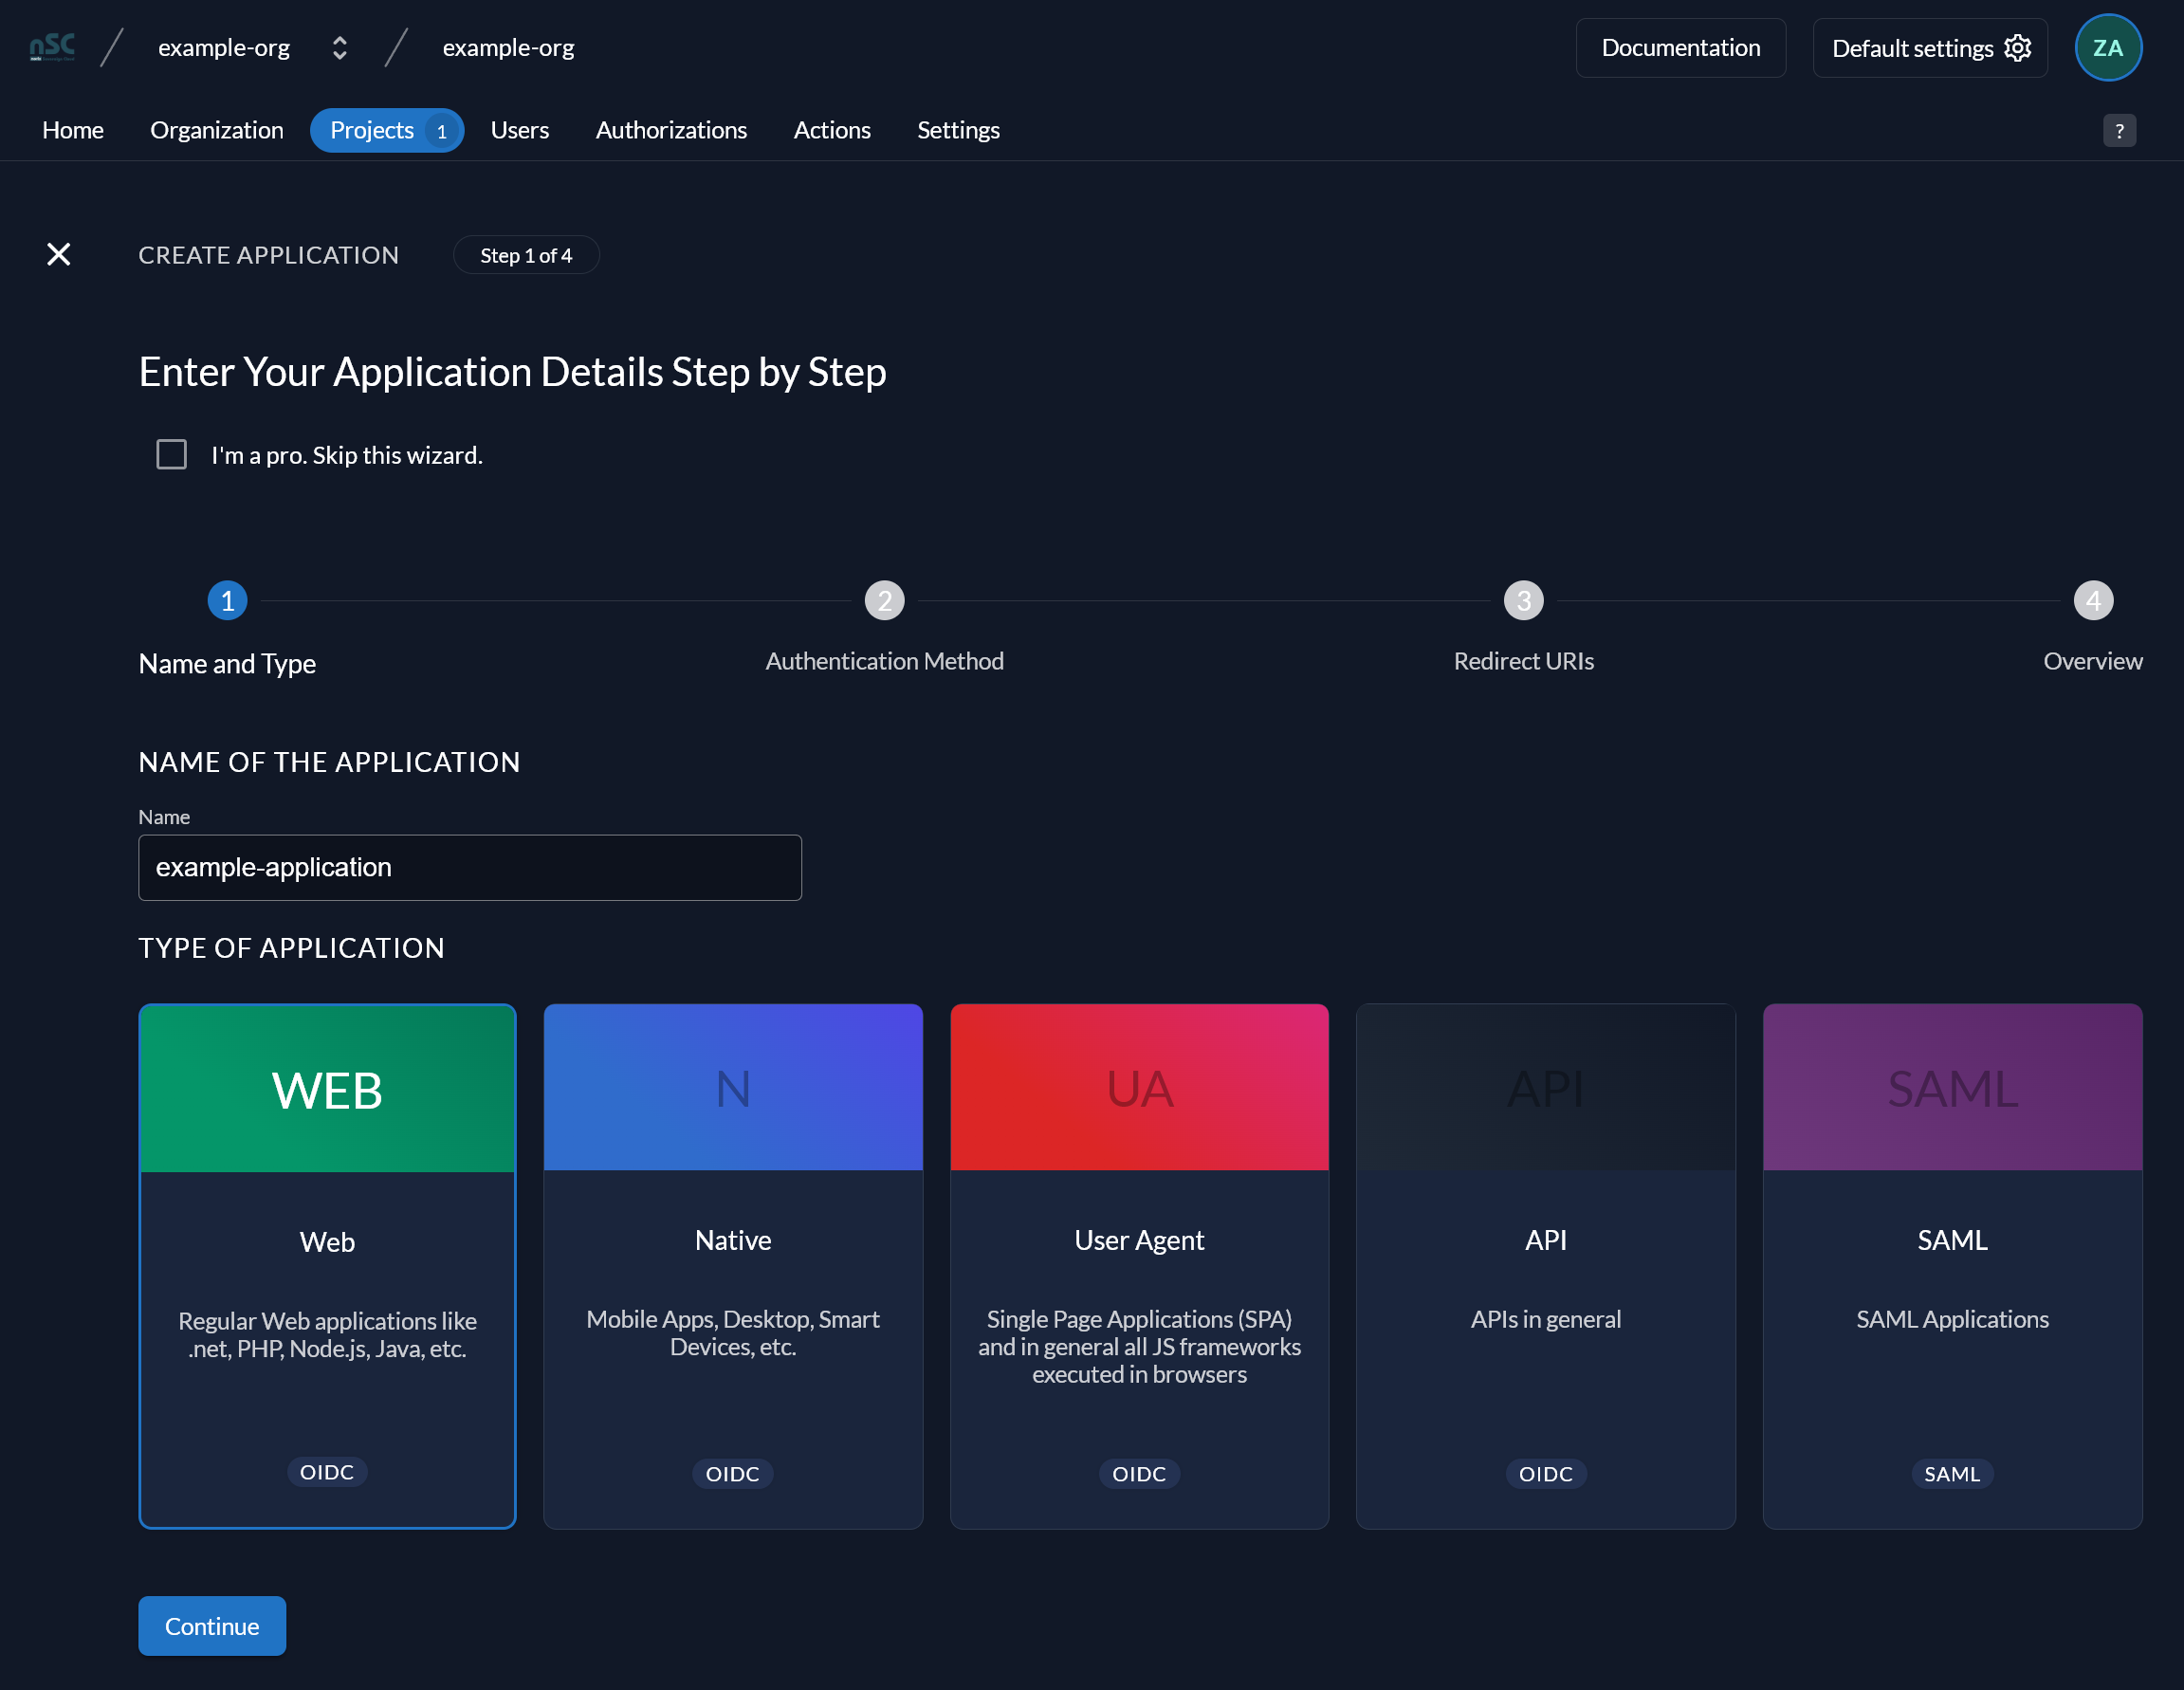
Set a name of your choosing, then select “WEB” as the application type as shown in the picture below. Click “Continue”.
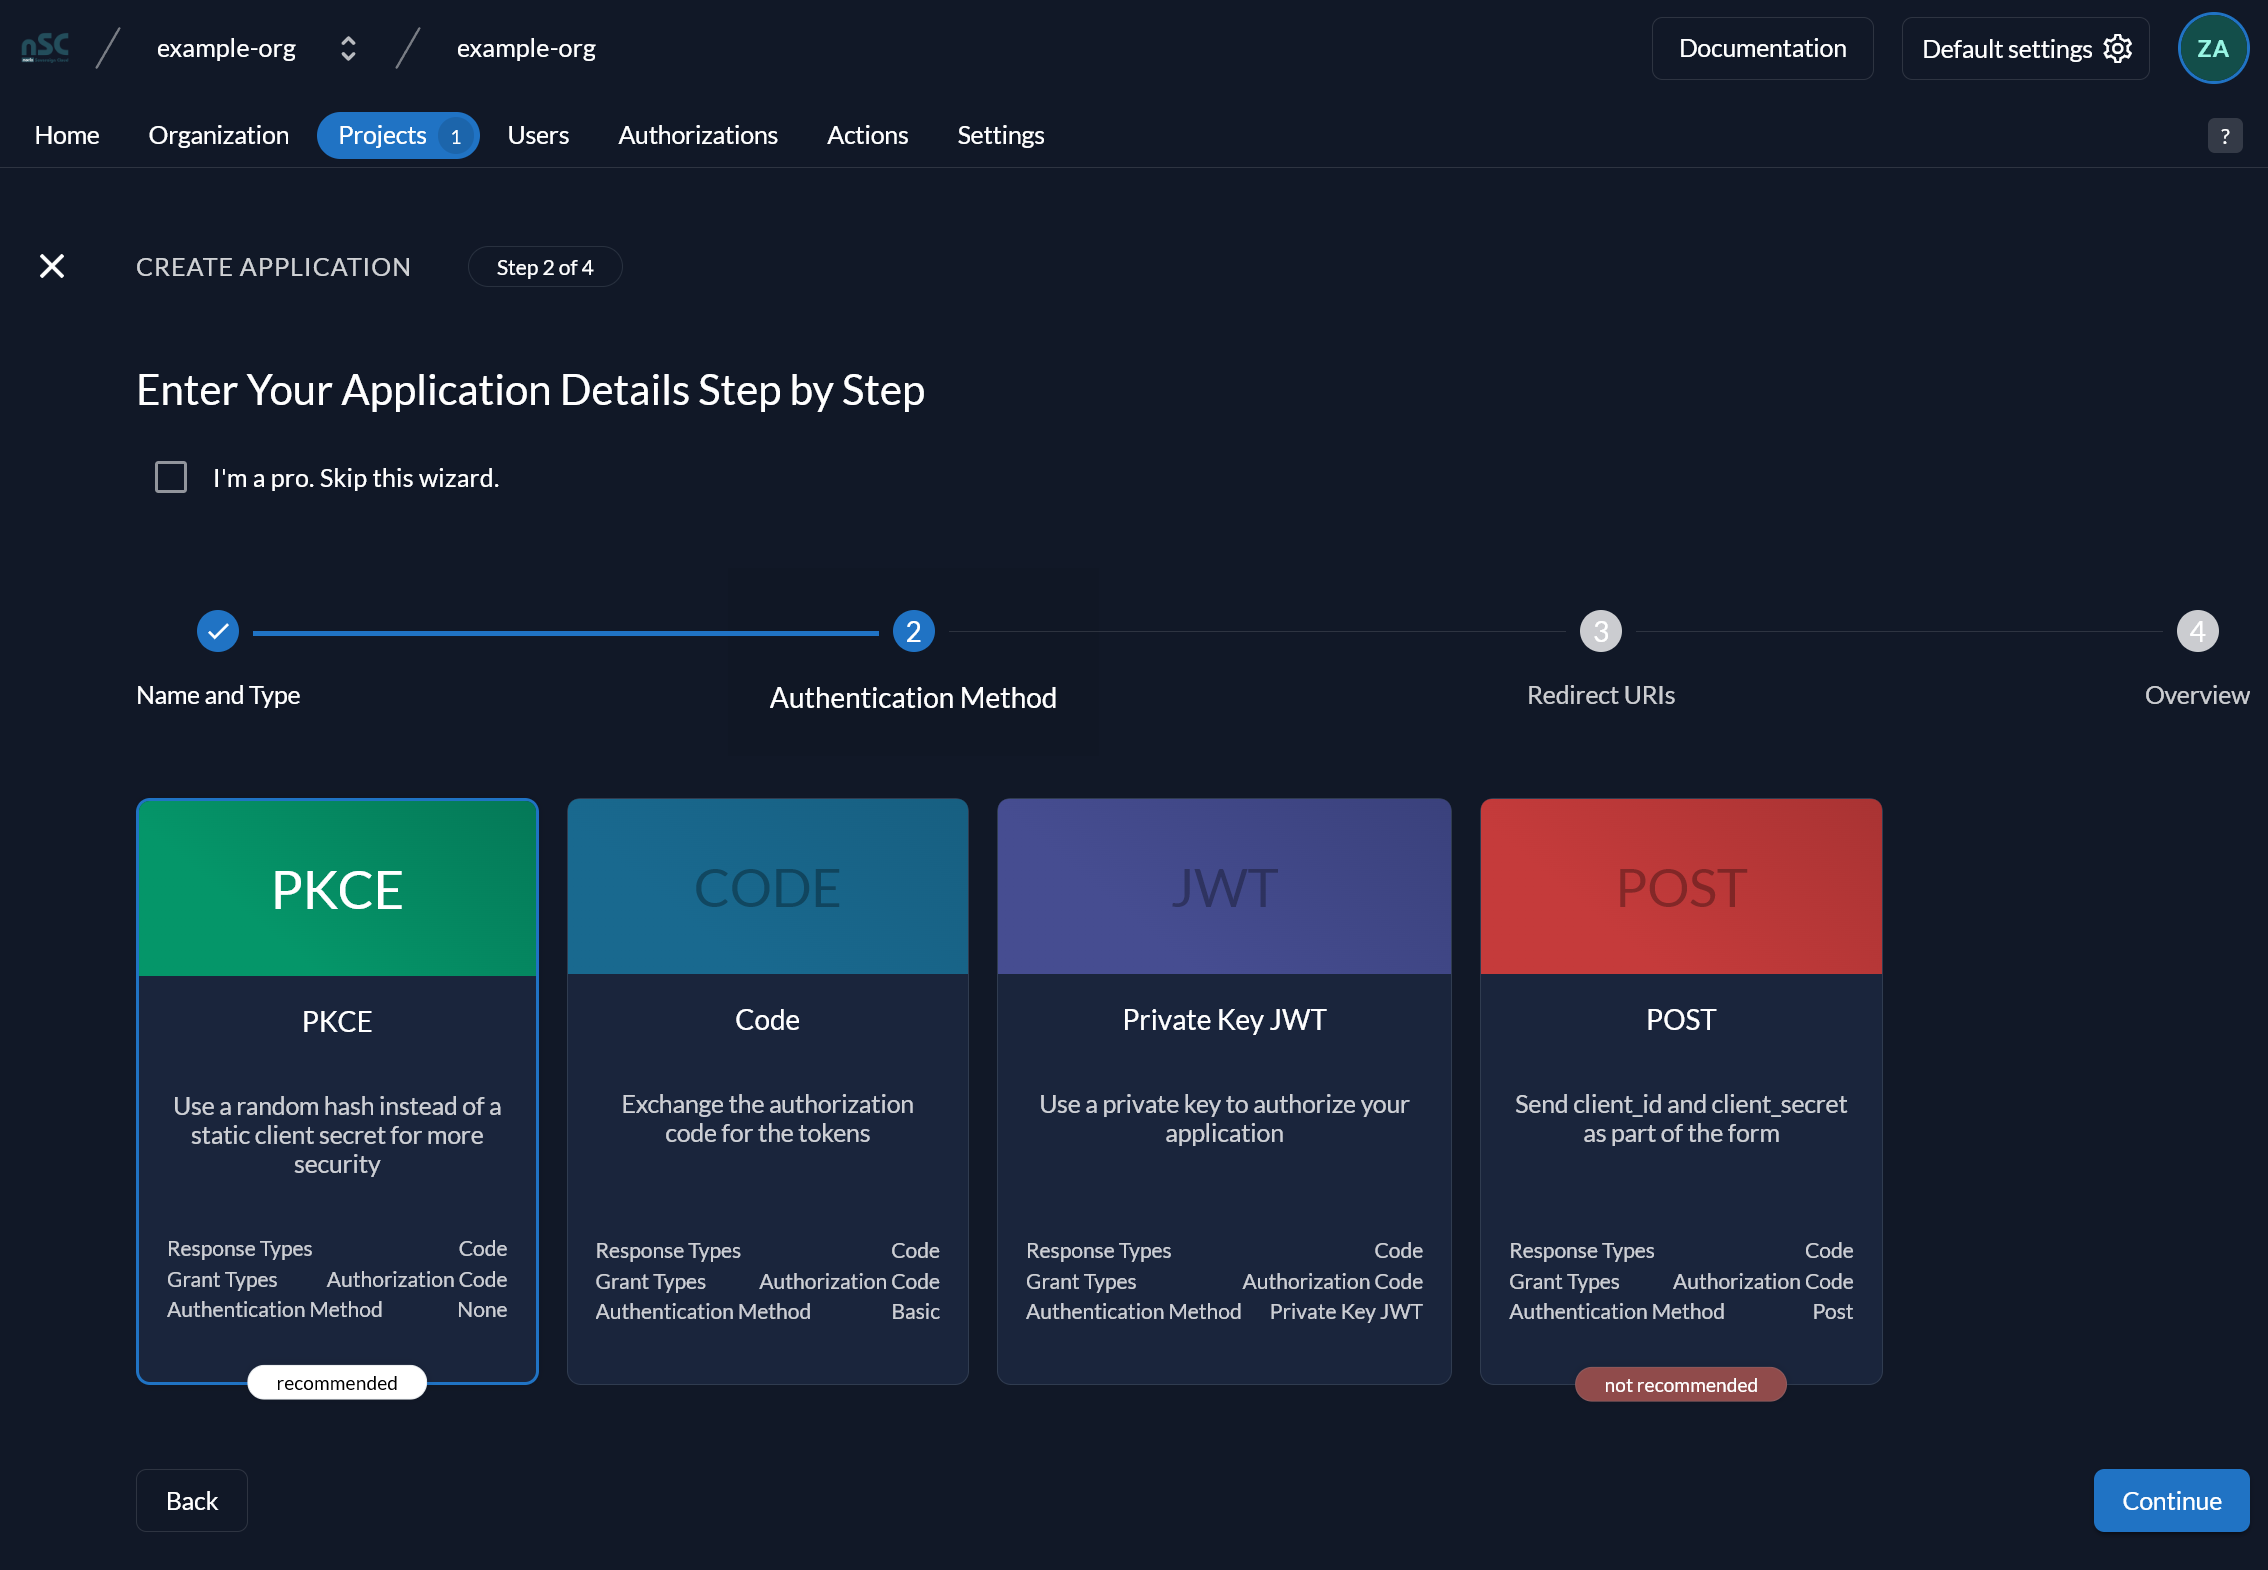
Select “PKCE” as authentication method, then click “Continue”.
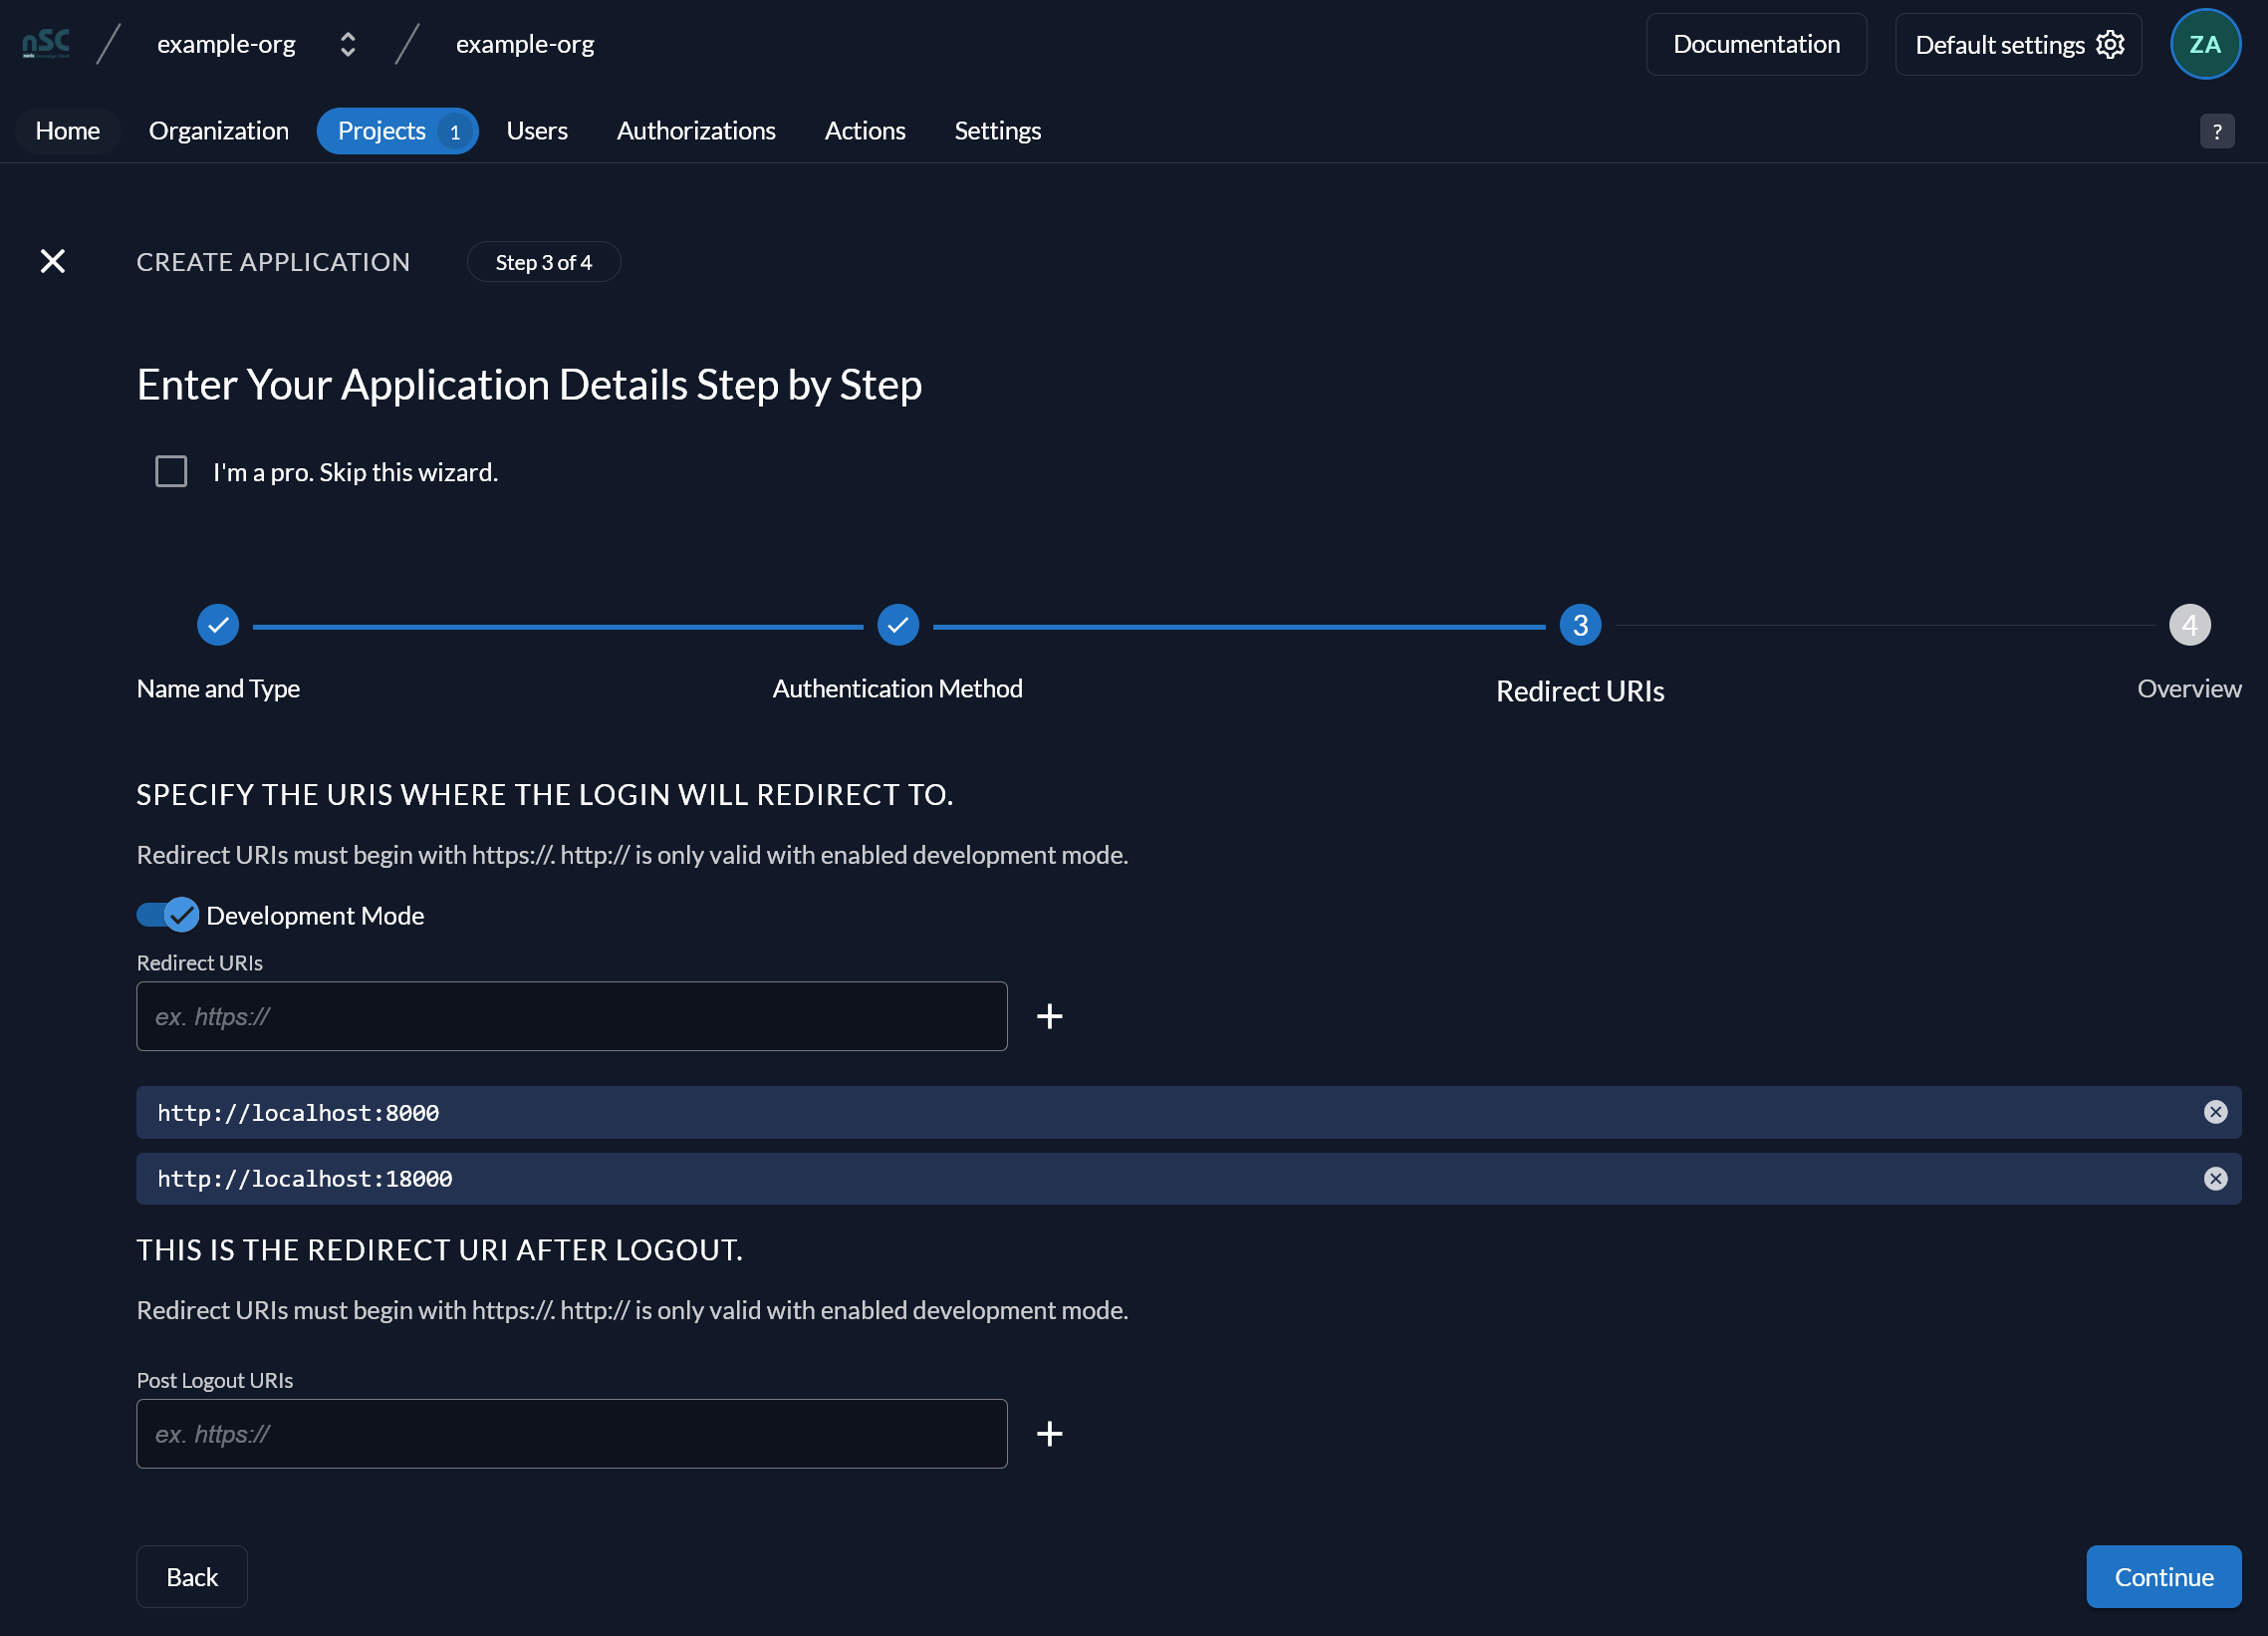
Enable “Development Mode”, because the kubectl plugin for oidc-login does not offer a local TLS mode (only HTTP). Add the default return URLs (http://localhost:8000, http://localhost:18000) as redirect URIs, then click “Continue”:
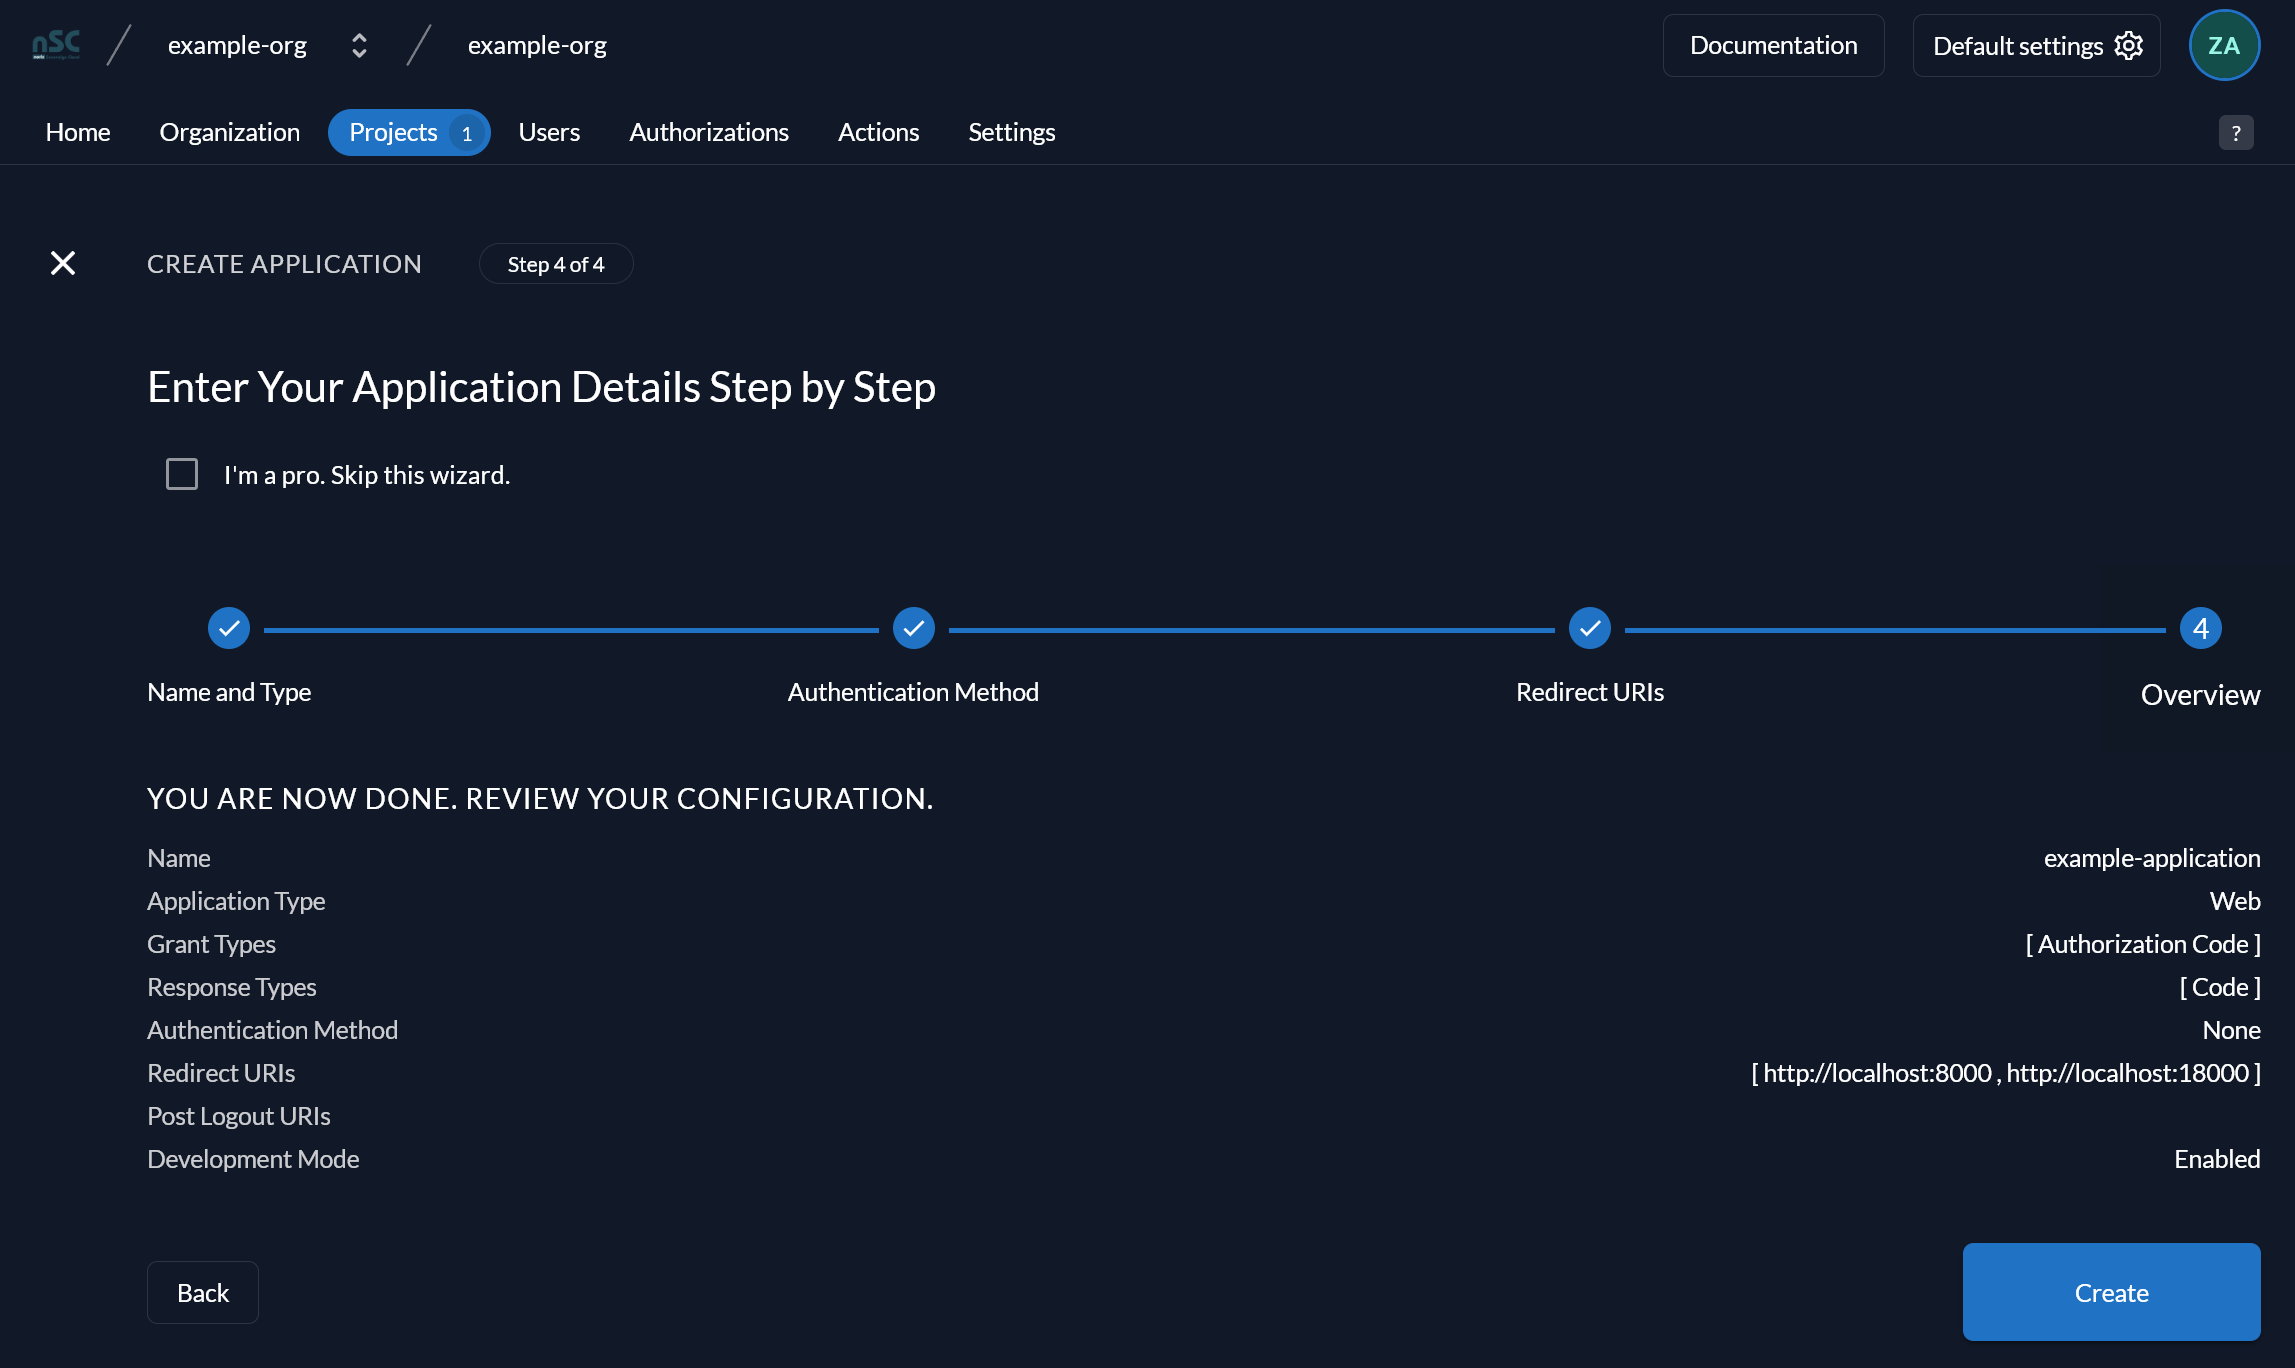
Click “Create” on the summary page to confirm your entries and create the OIDC client application:
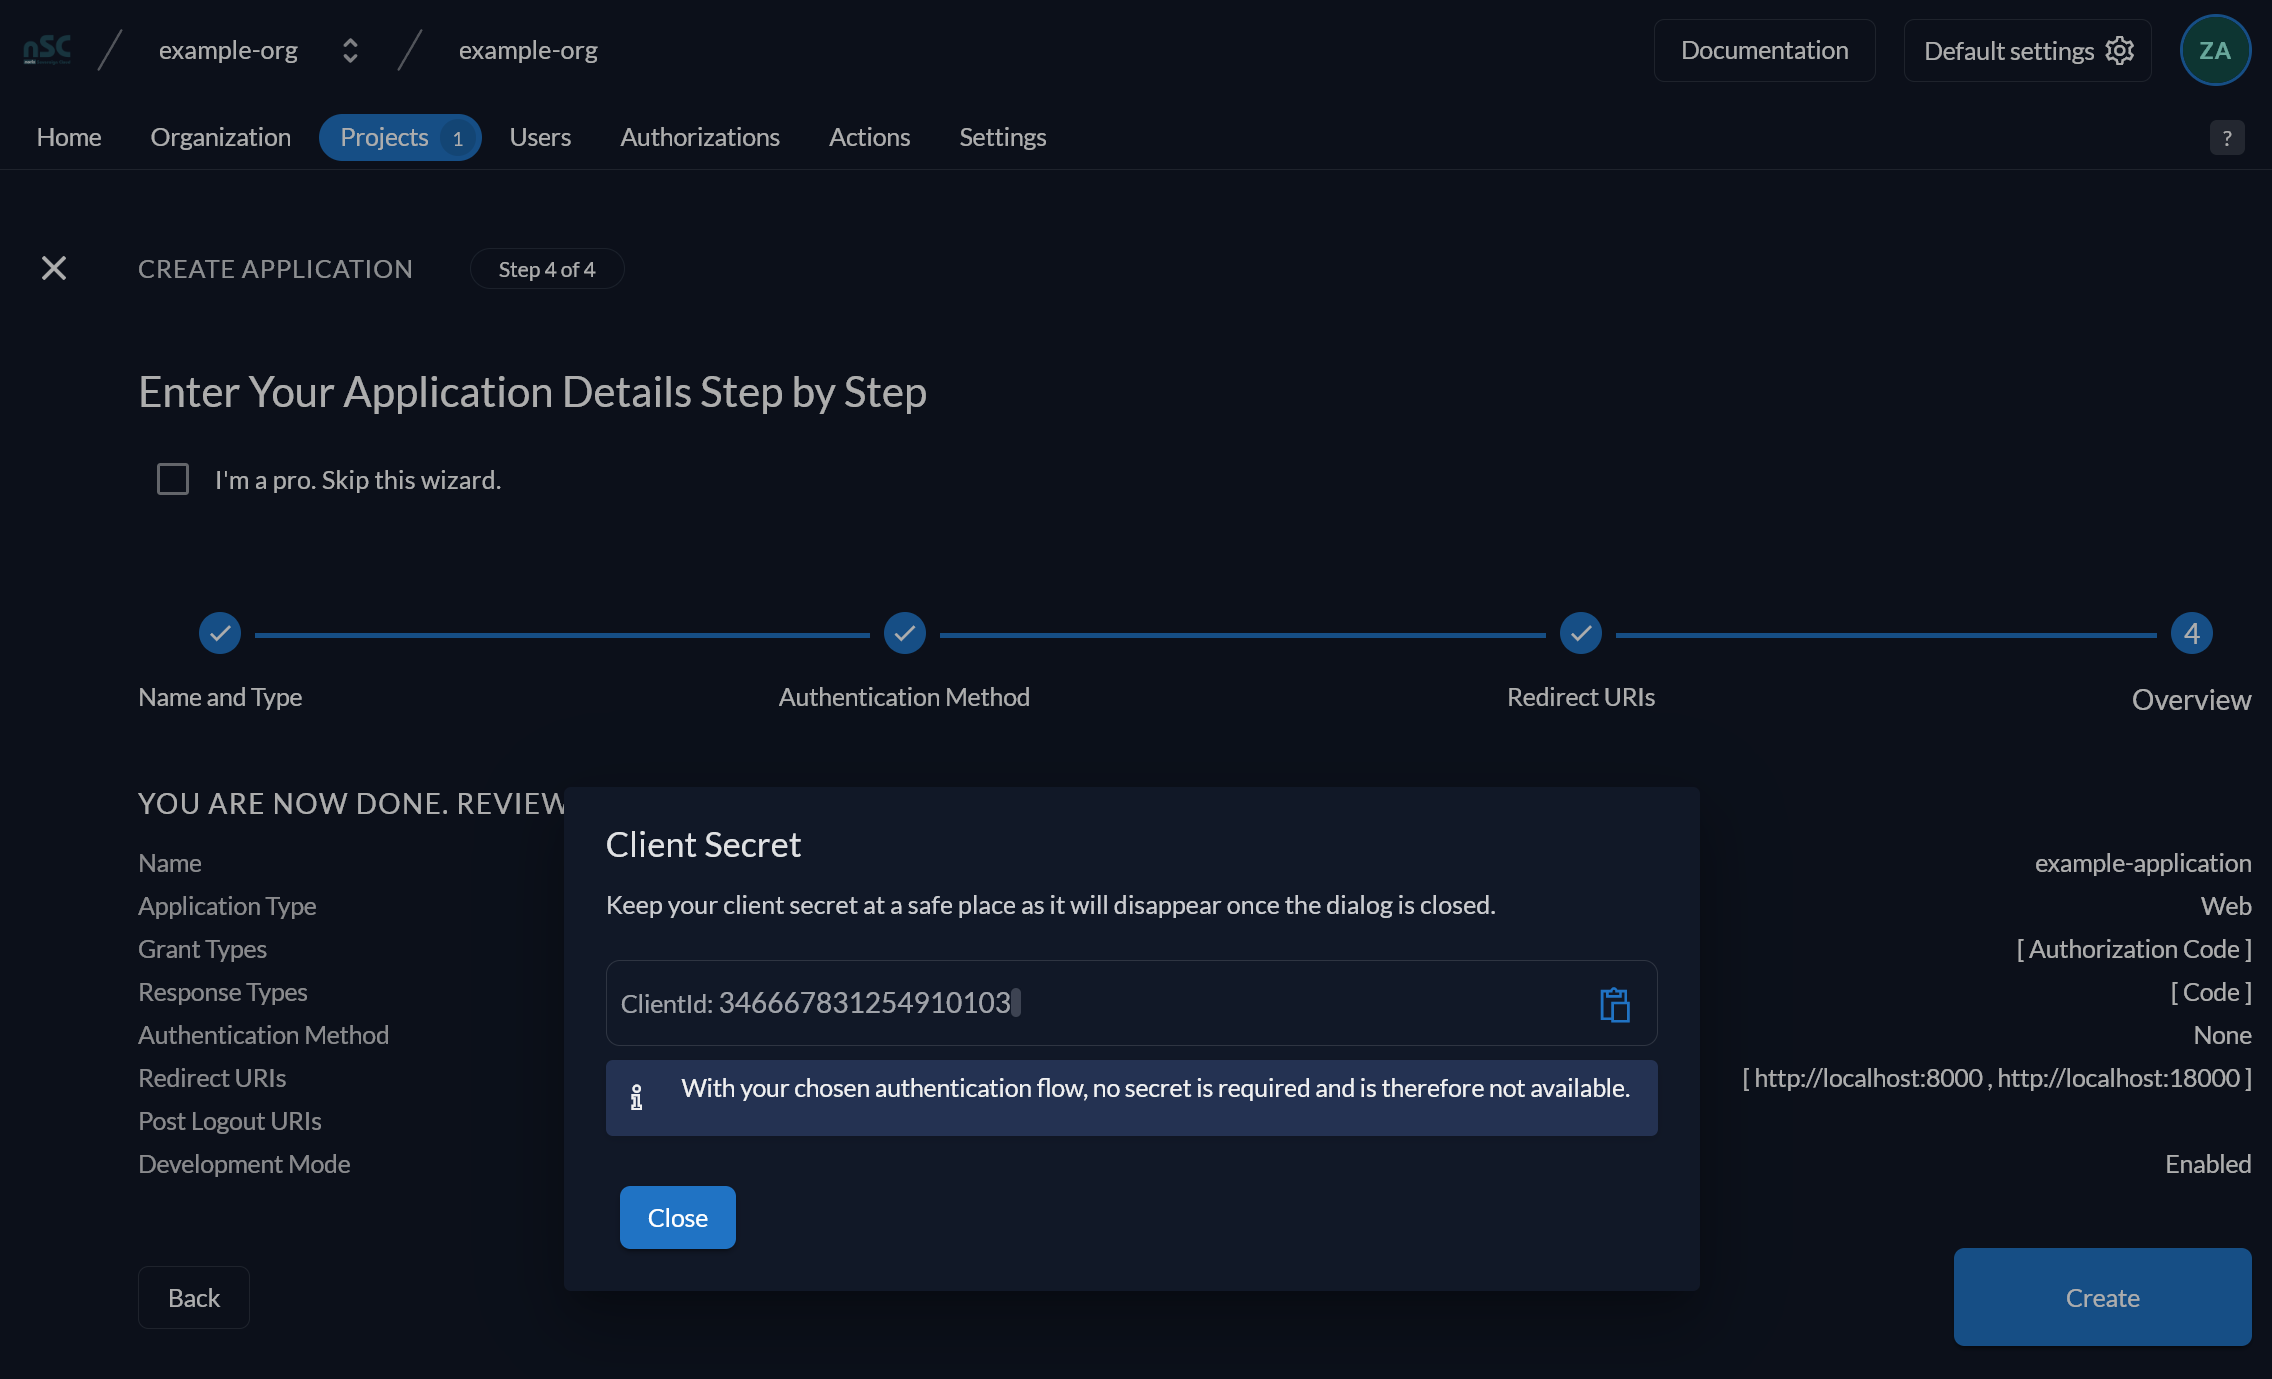
Finally, you will be shown a “ClientId”, which you will need to save for a later step. Afterwards, click “Close” to continue with the setup:
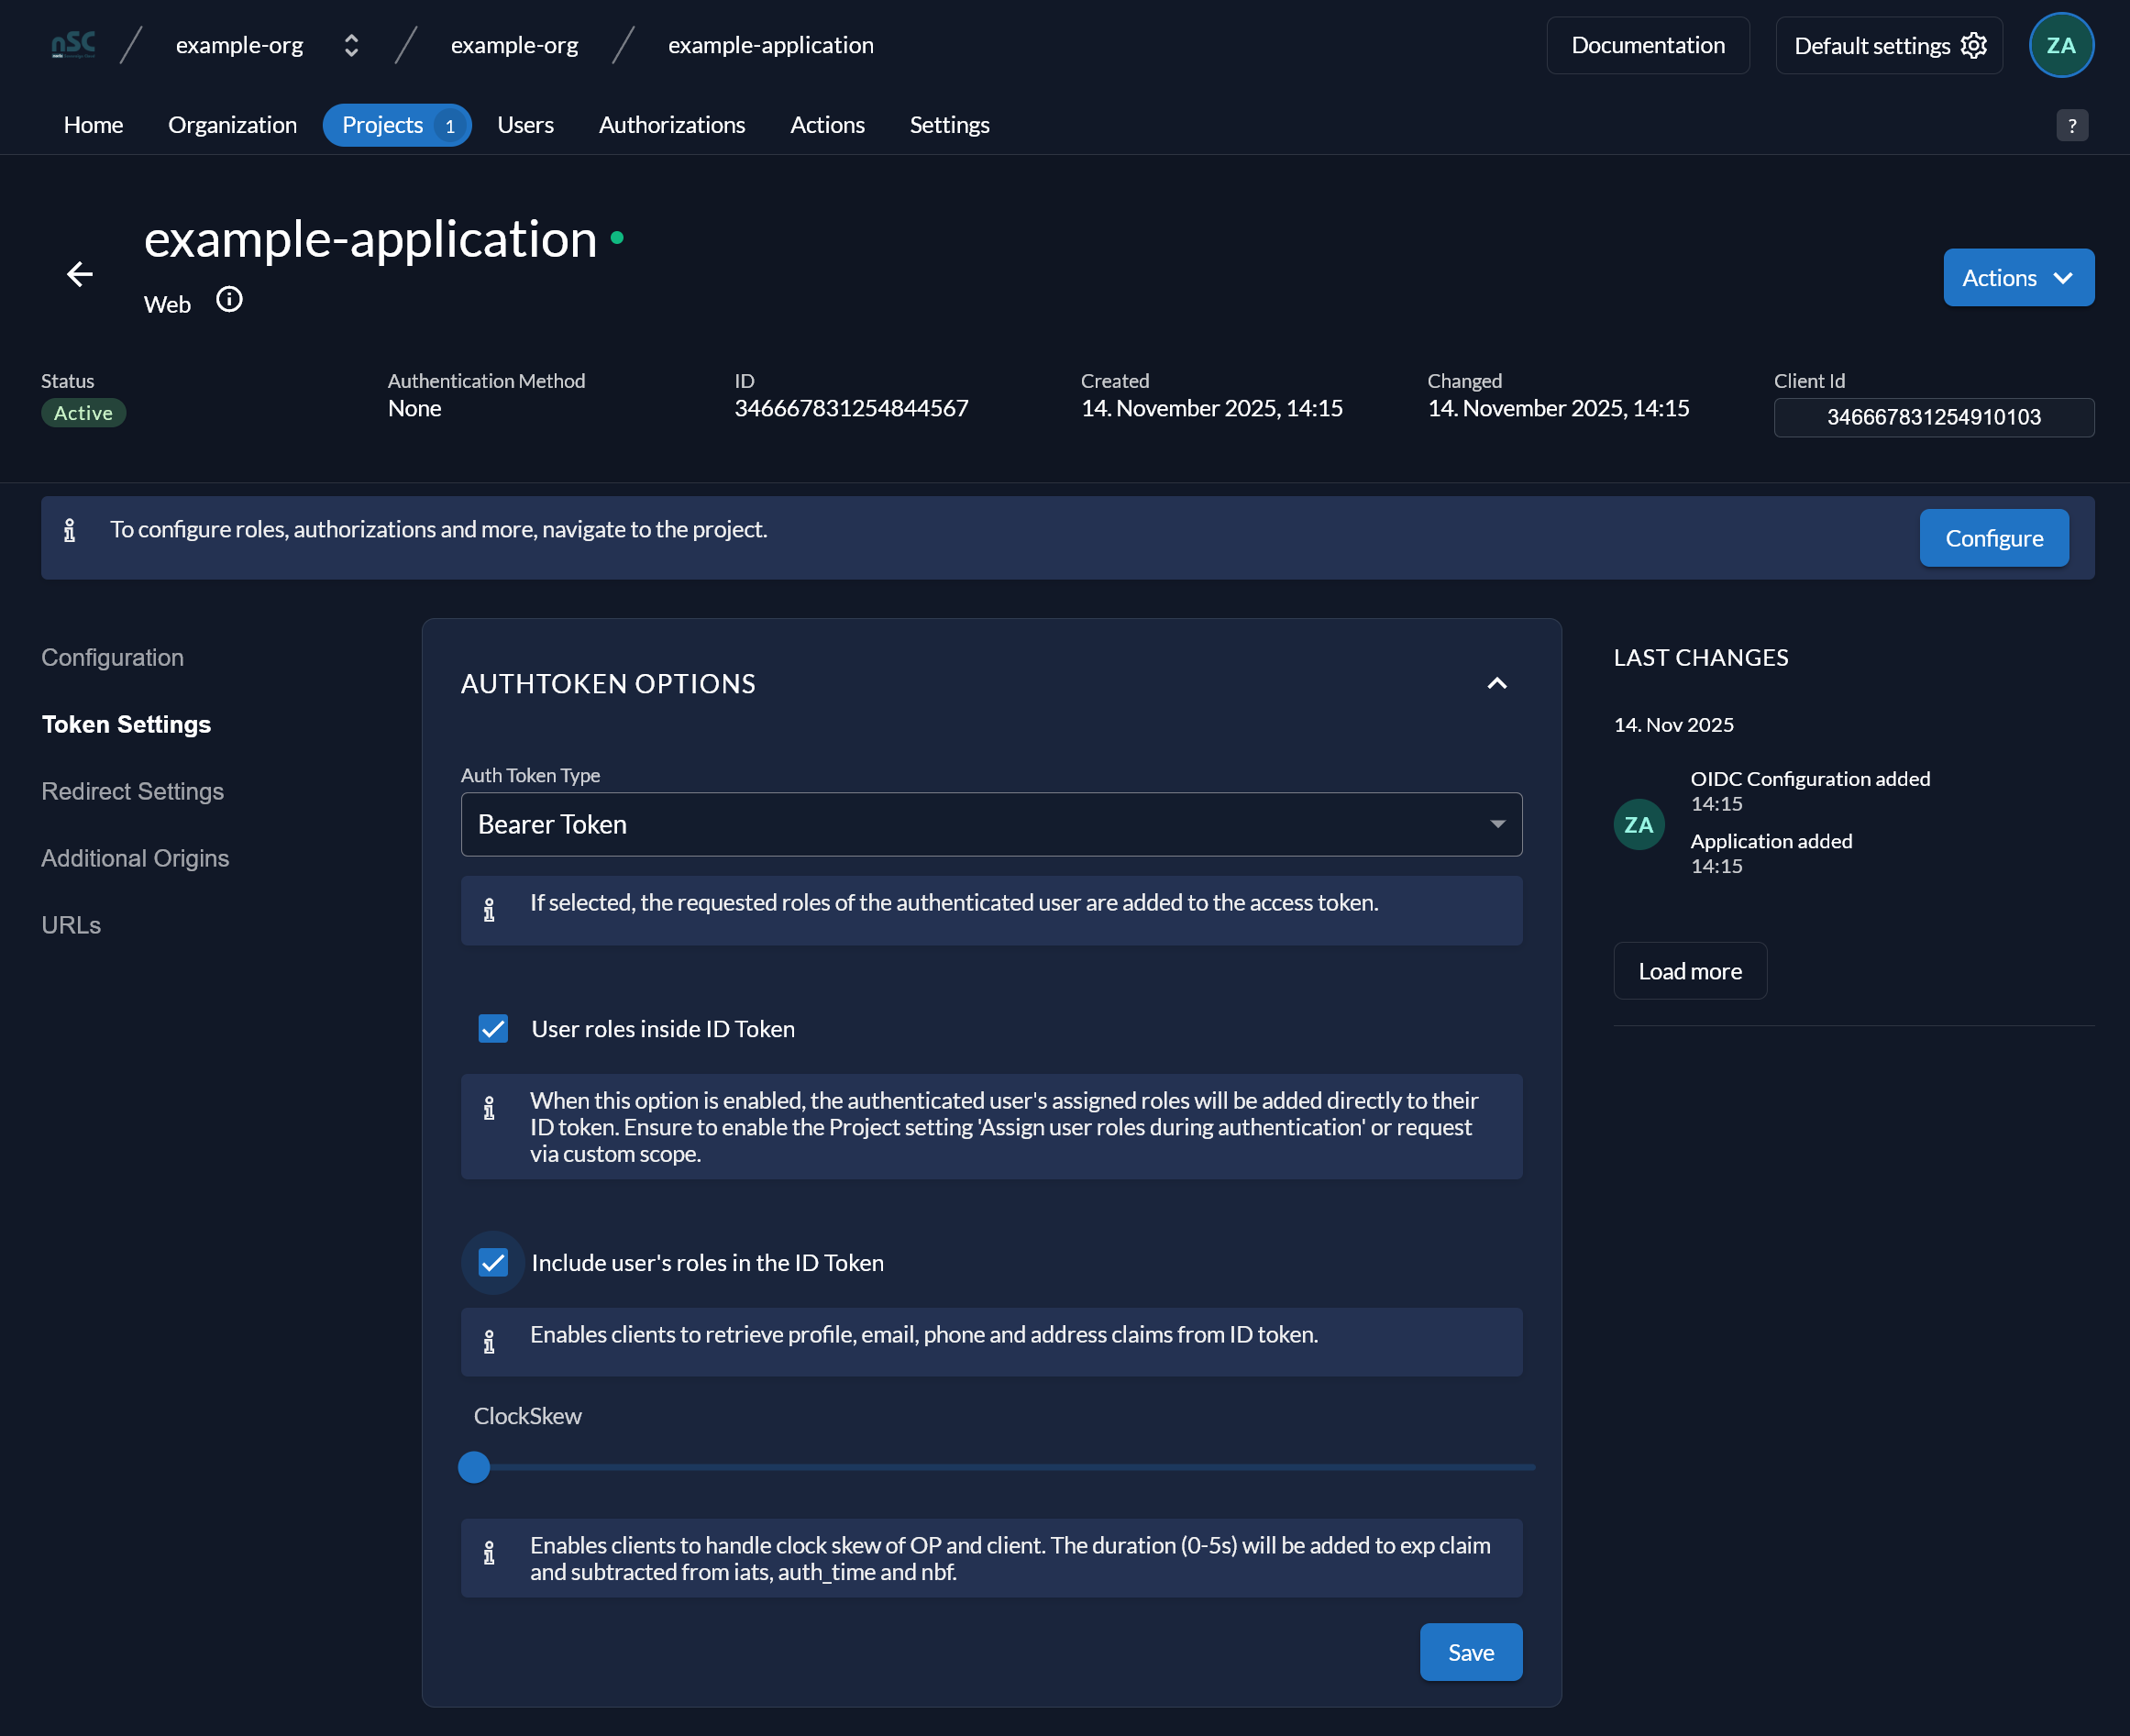
On the application overview page, click “Token Settings” and adjust the settings according to the picture below, ticking the
- “User roles inside ID Token”
- “Include user’s roles in the ID Token”
checkboxes, and persist with “Save”:
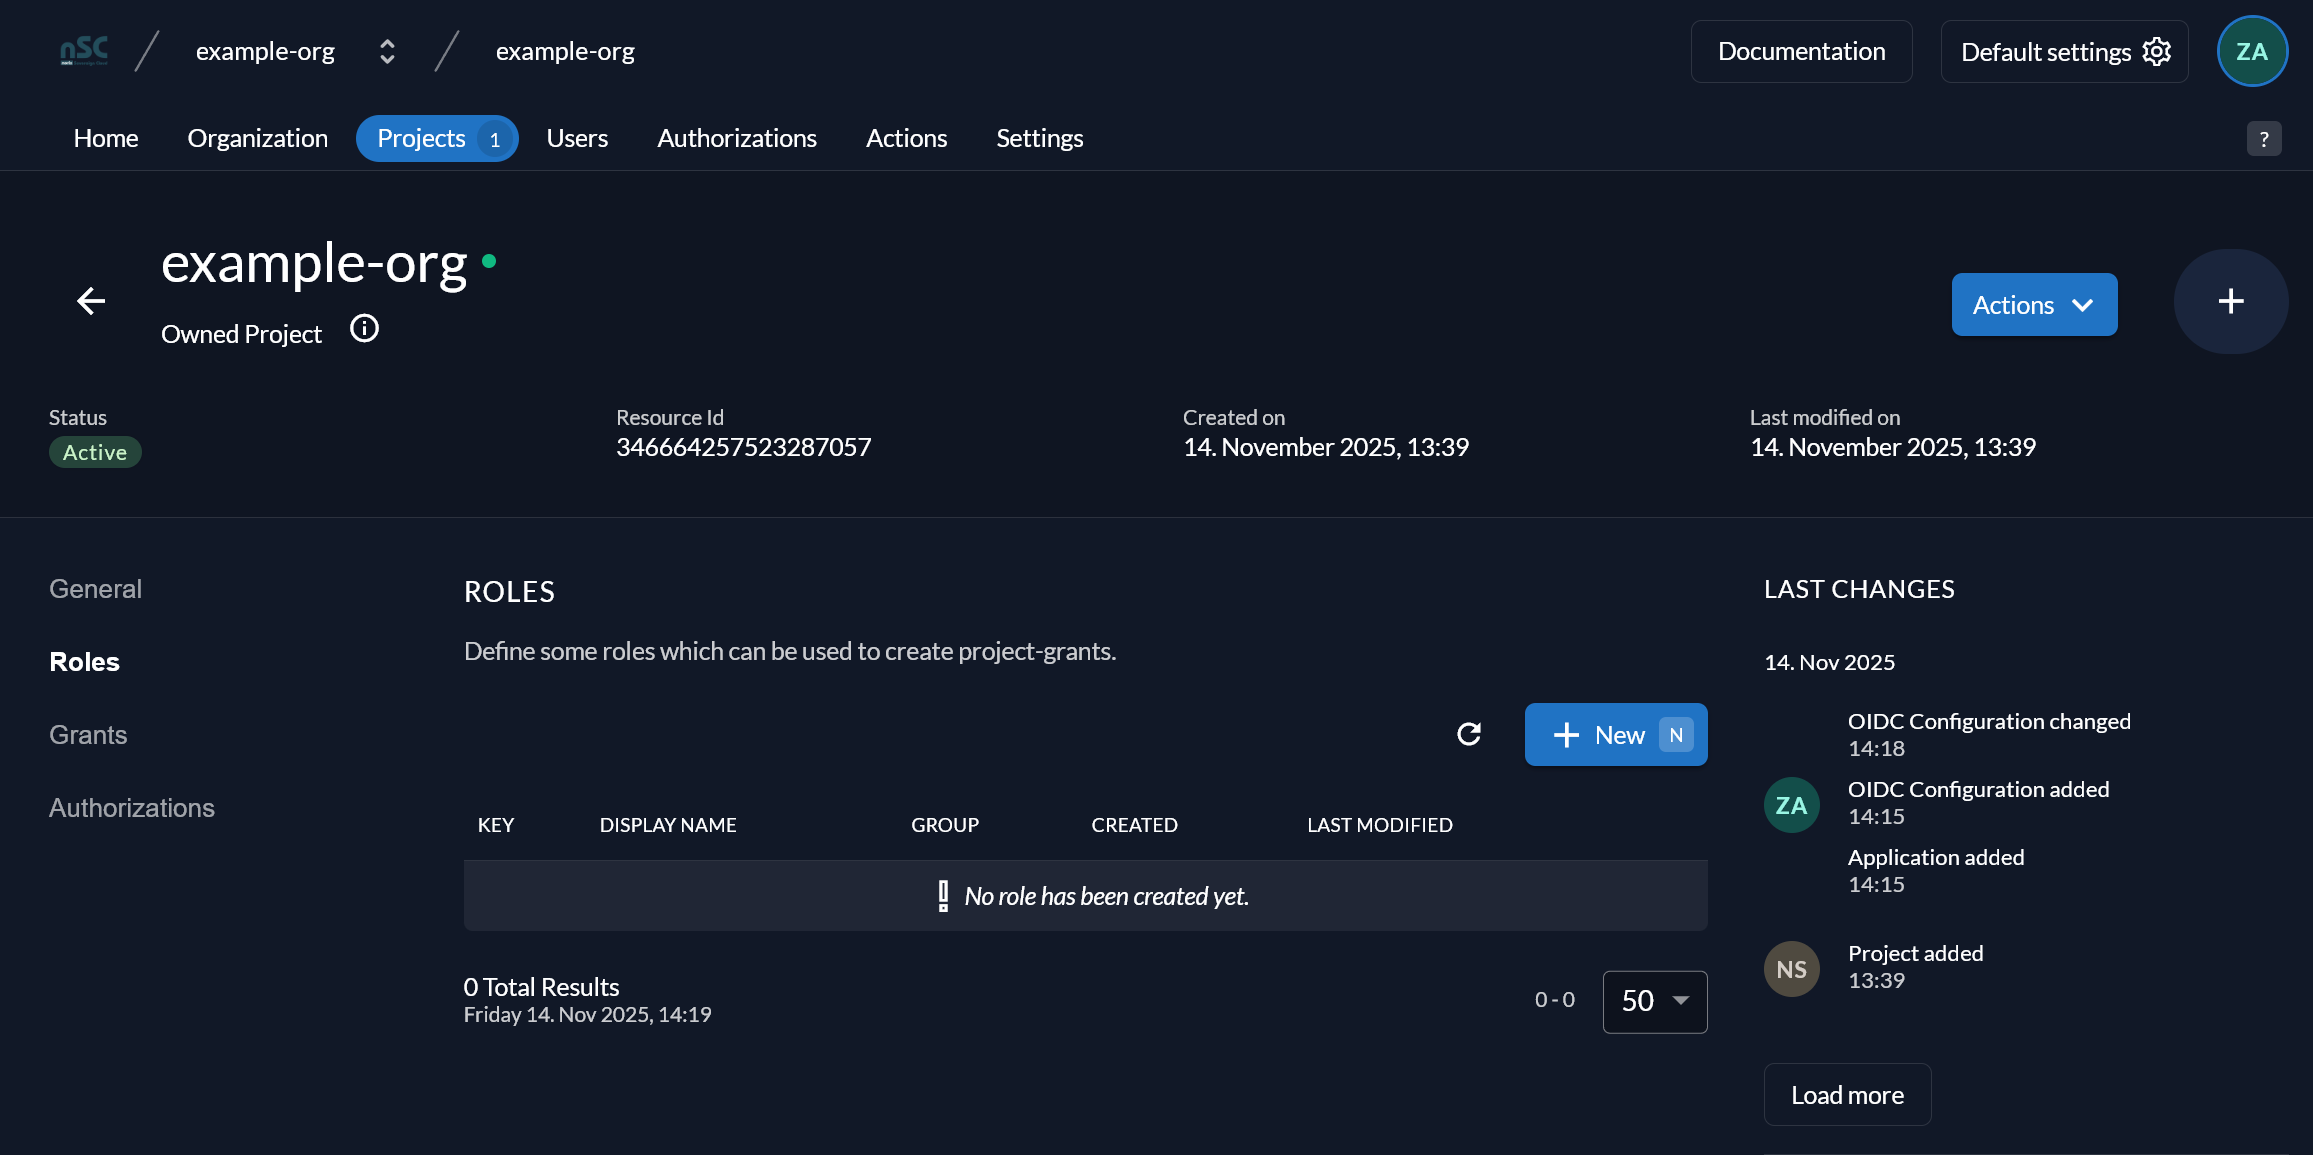
Head back to the Project, switch to “Roles”, and click “New”:
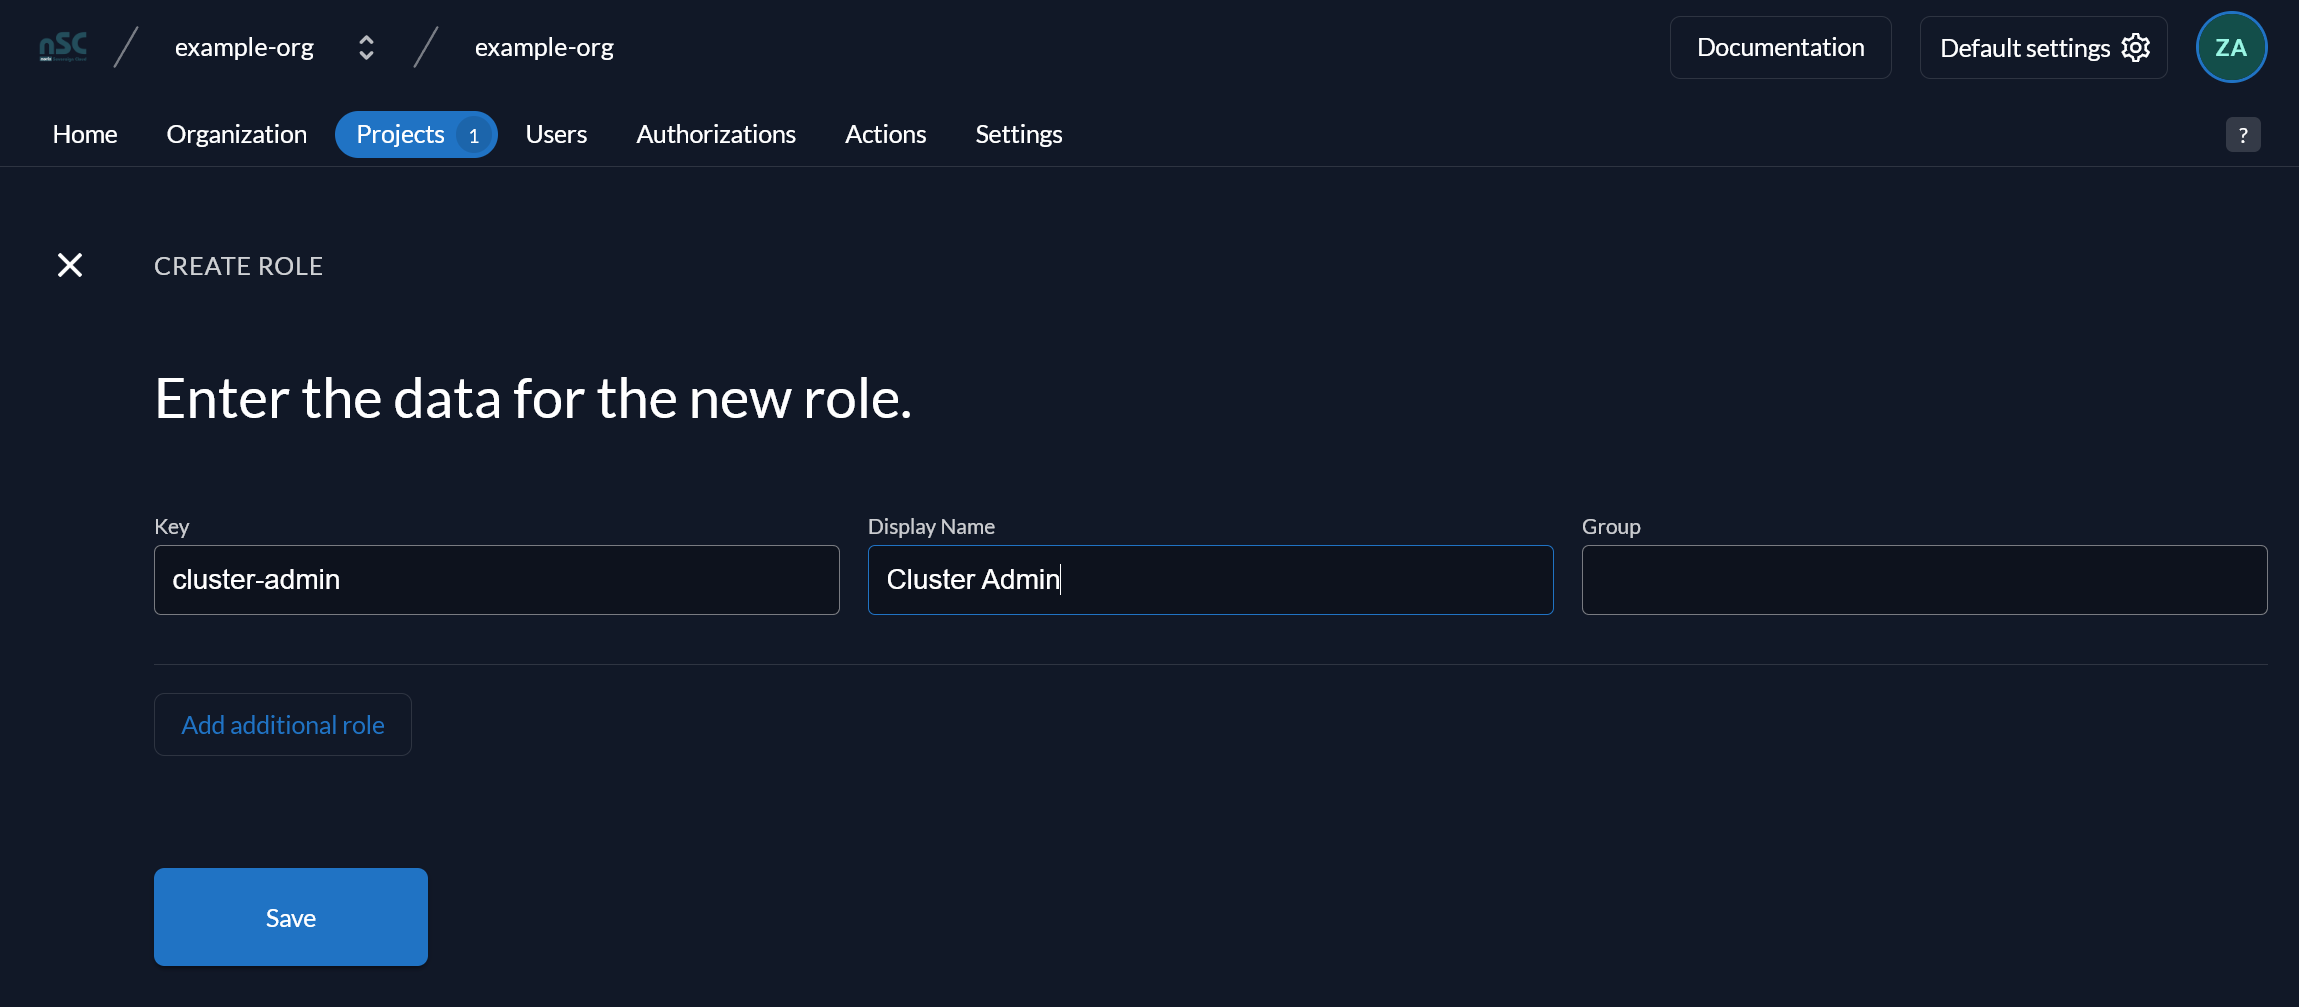
Under “Key”, fill in the name of the role. This field is case sensitive and must match the role name in the RoleBinding in Gardener. Set a display name, which is only used for human readability in Zitadel. Add as many roles as you’d like. Finally, click “Save”:
Back on the “Roles” overview, click on “Authorizations” to assign roles to your users. Click “New”:
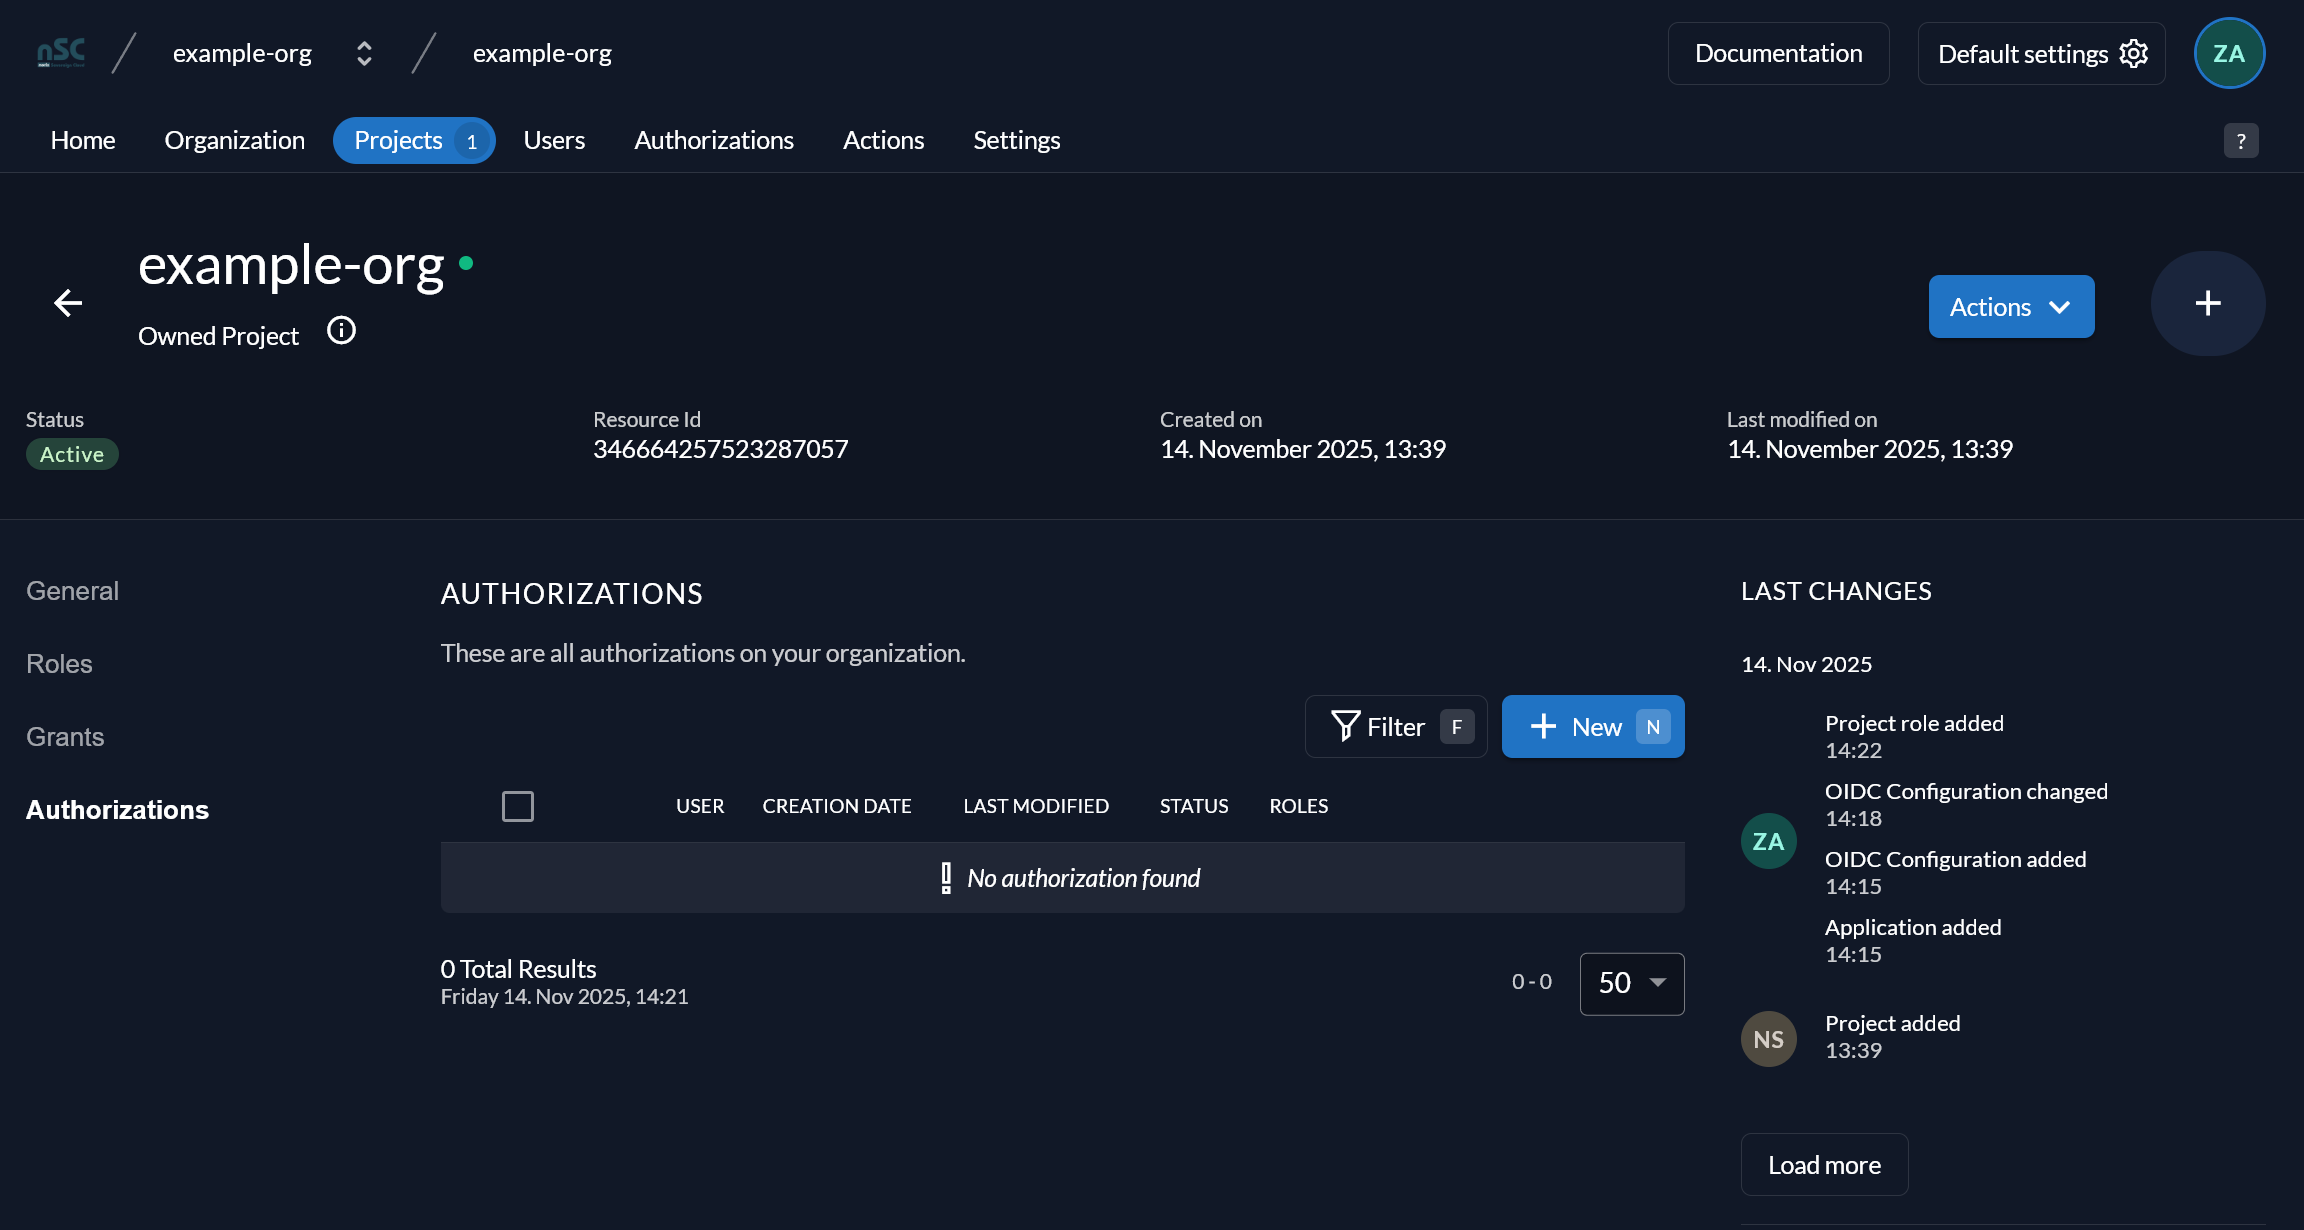
Select the users you would like to assign roles to, and click “Continue”:
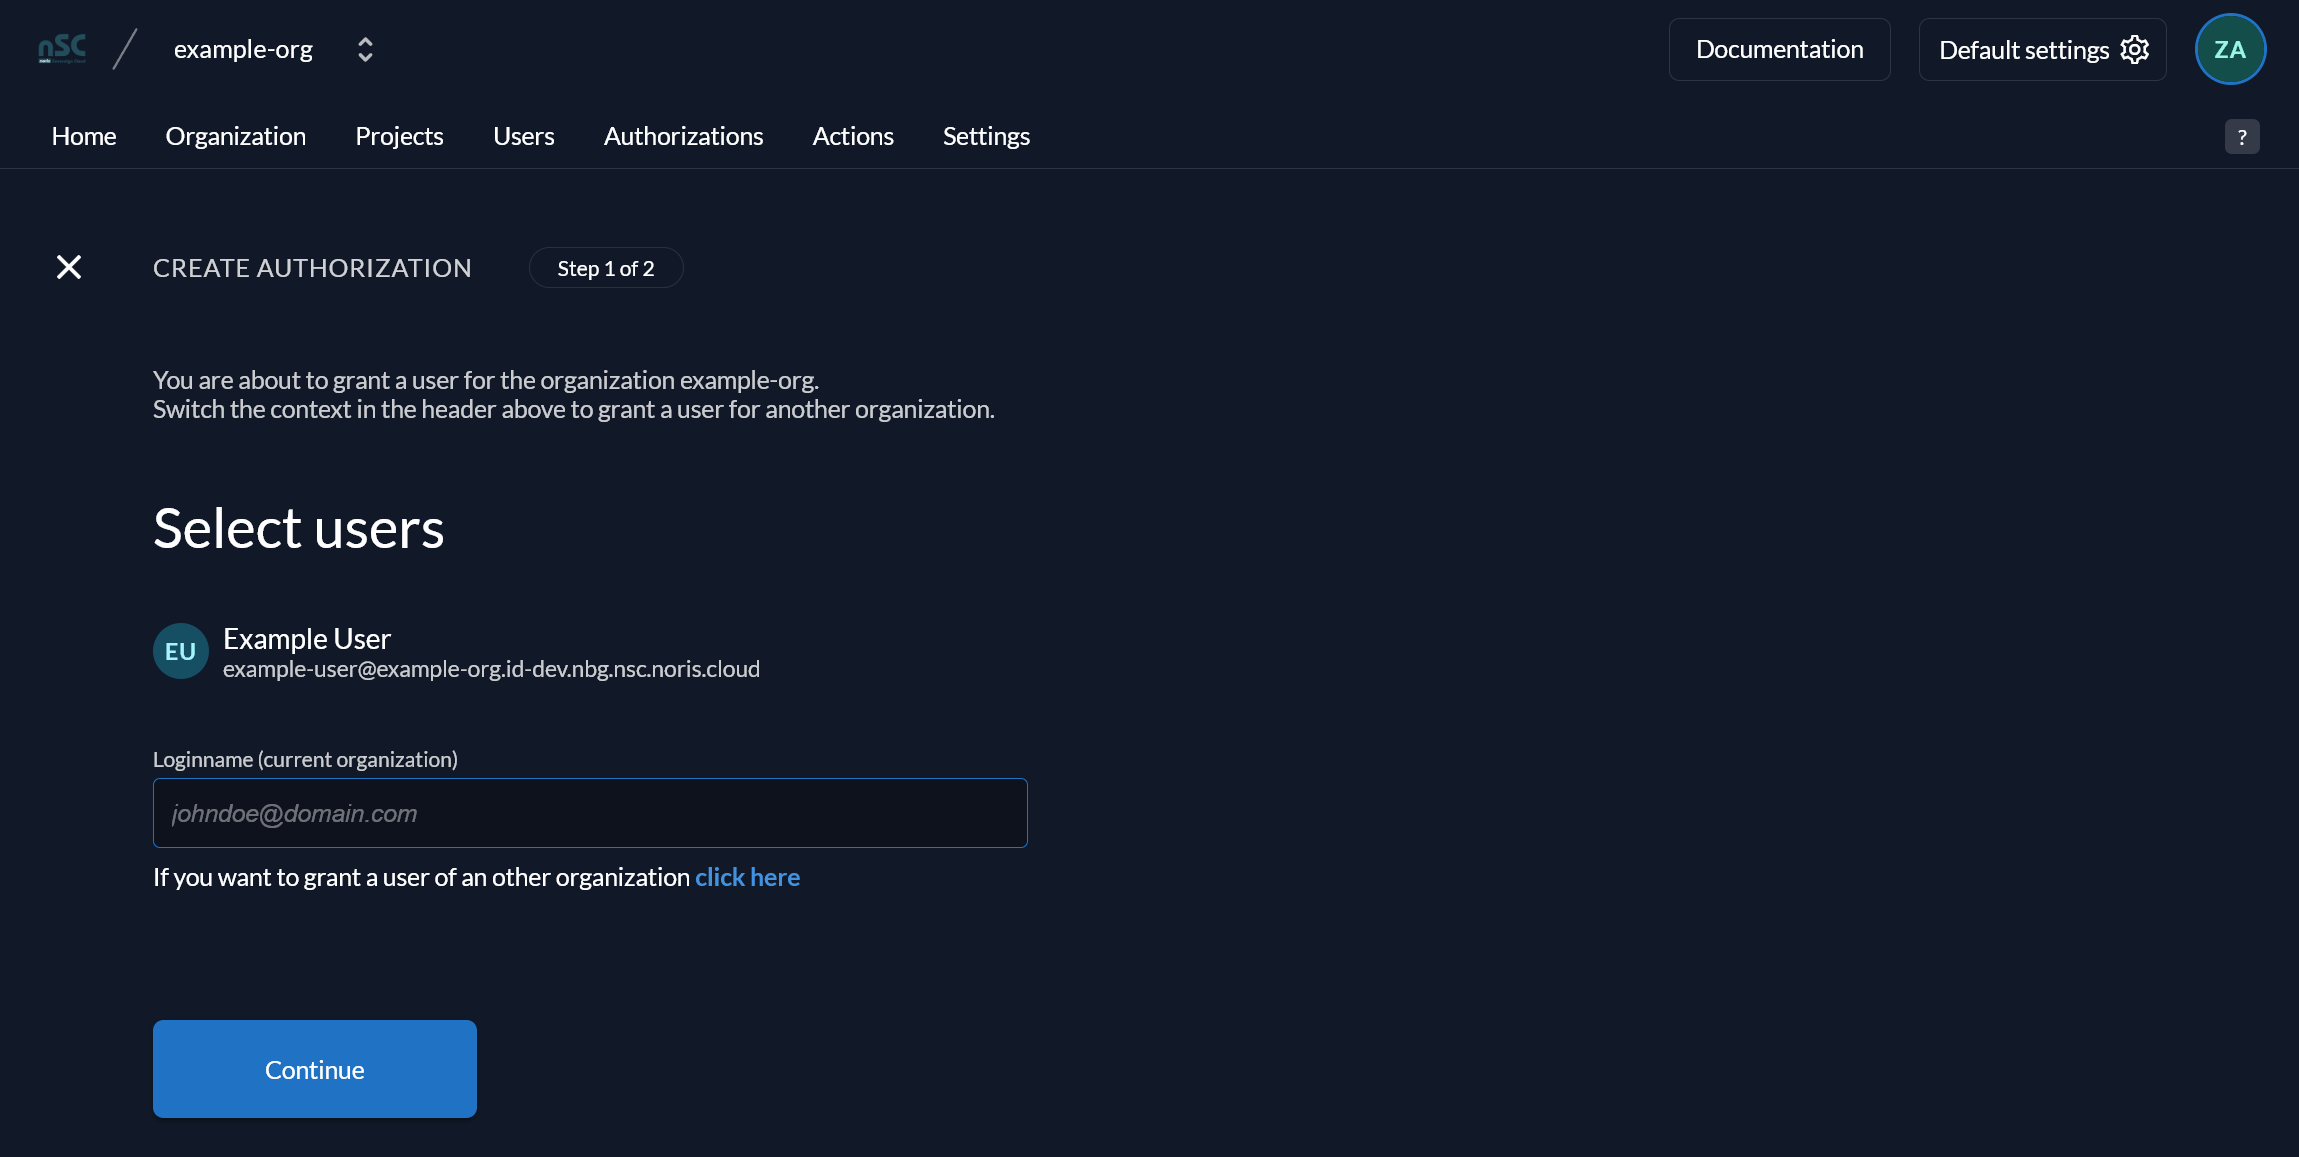
Select the roles you would like to assign to the selected users, and click “Save”:
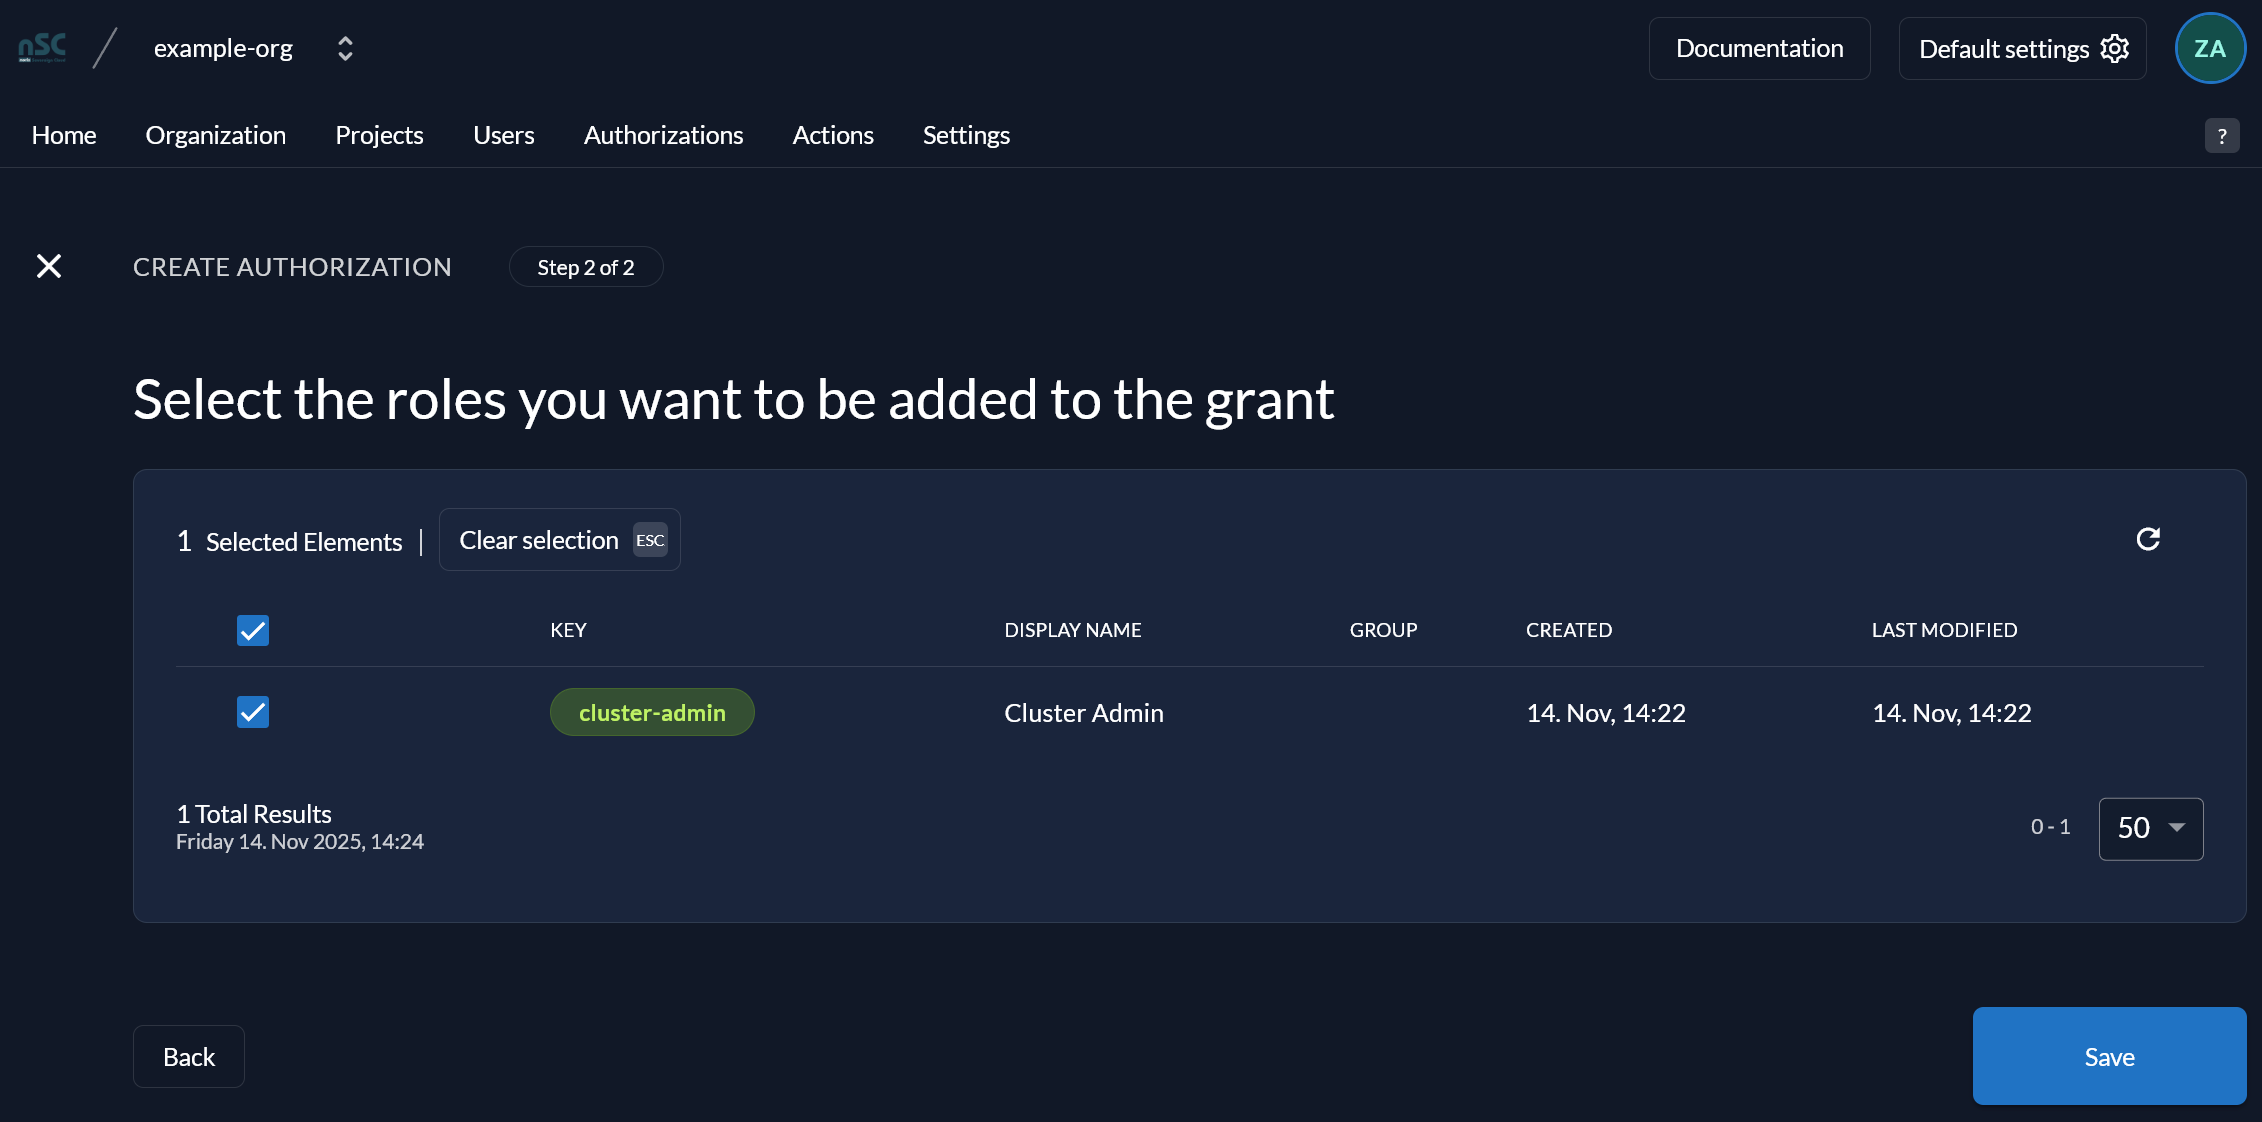
You have now successfully set up an OIDC client in Zitadel.
Make Zitadel use flat roles inside the ID token
Section titled “Make Zitadel use flat roles inside the ID token”Click on “Actions” and click “New”:
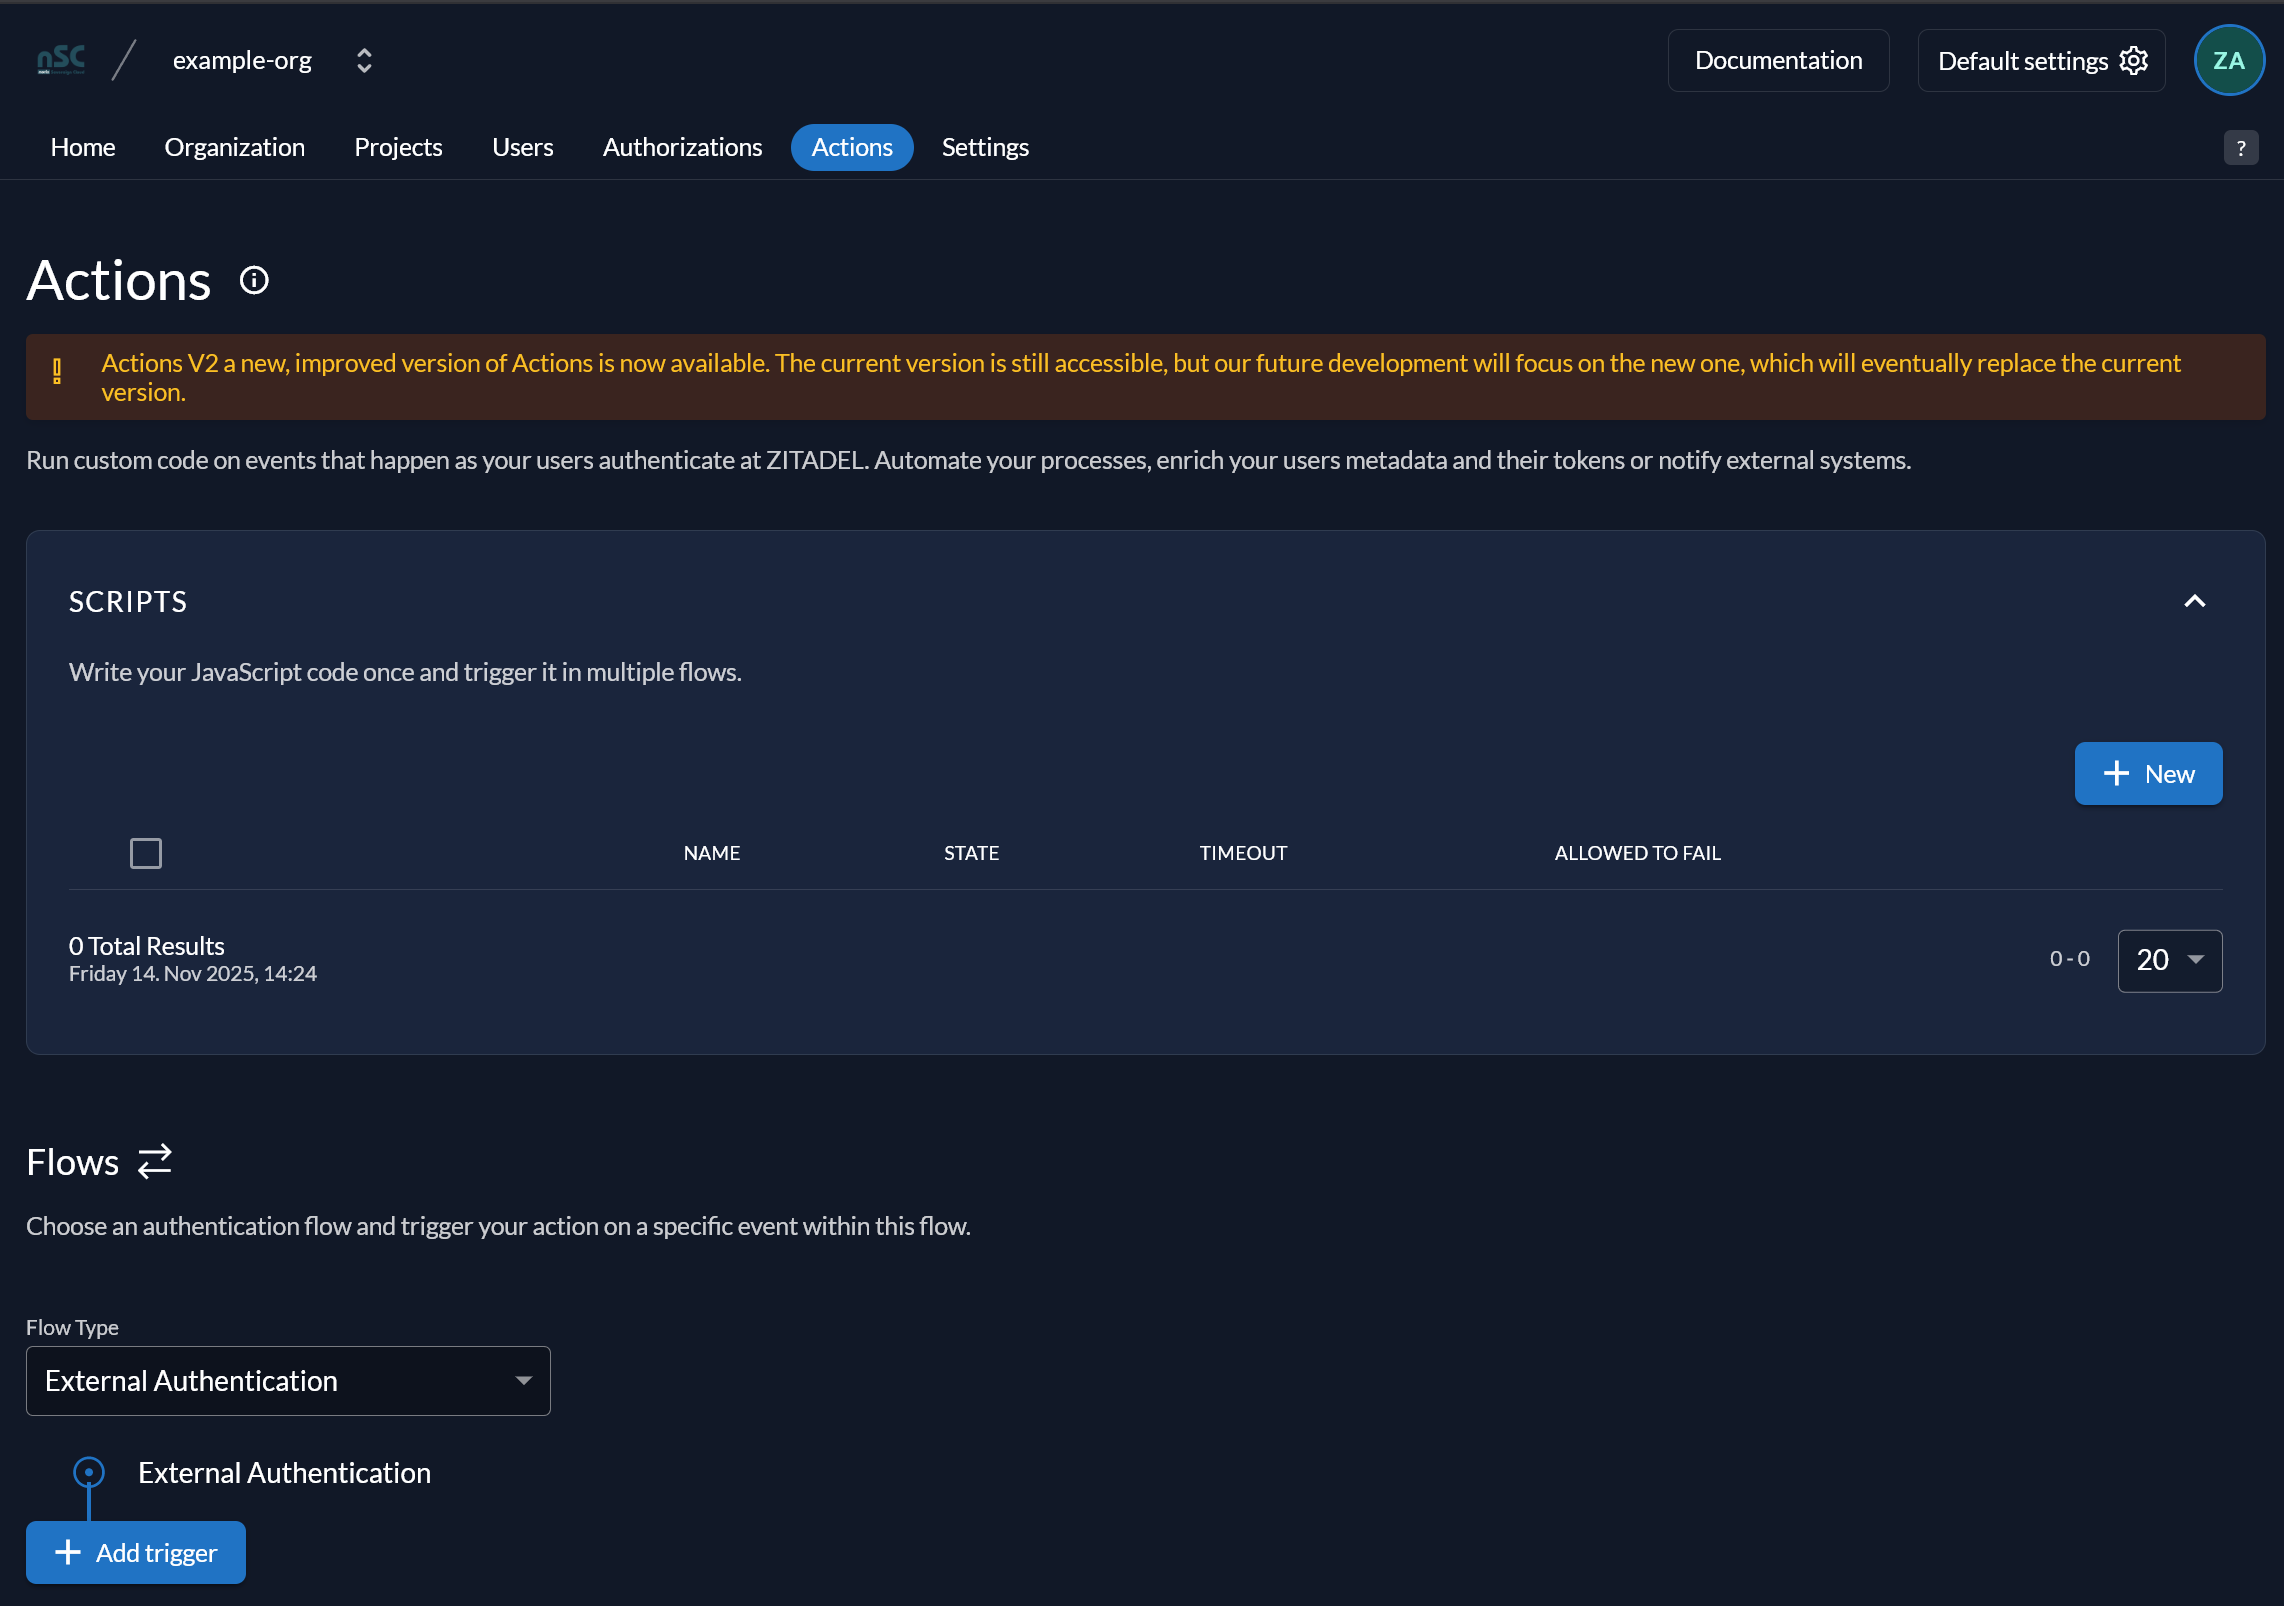
Add the name flatRoles, corresponding to the function name:
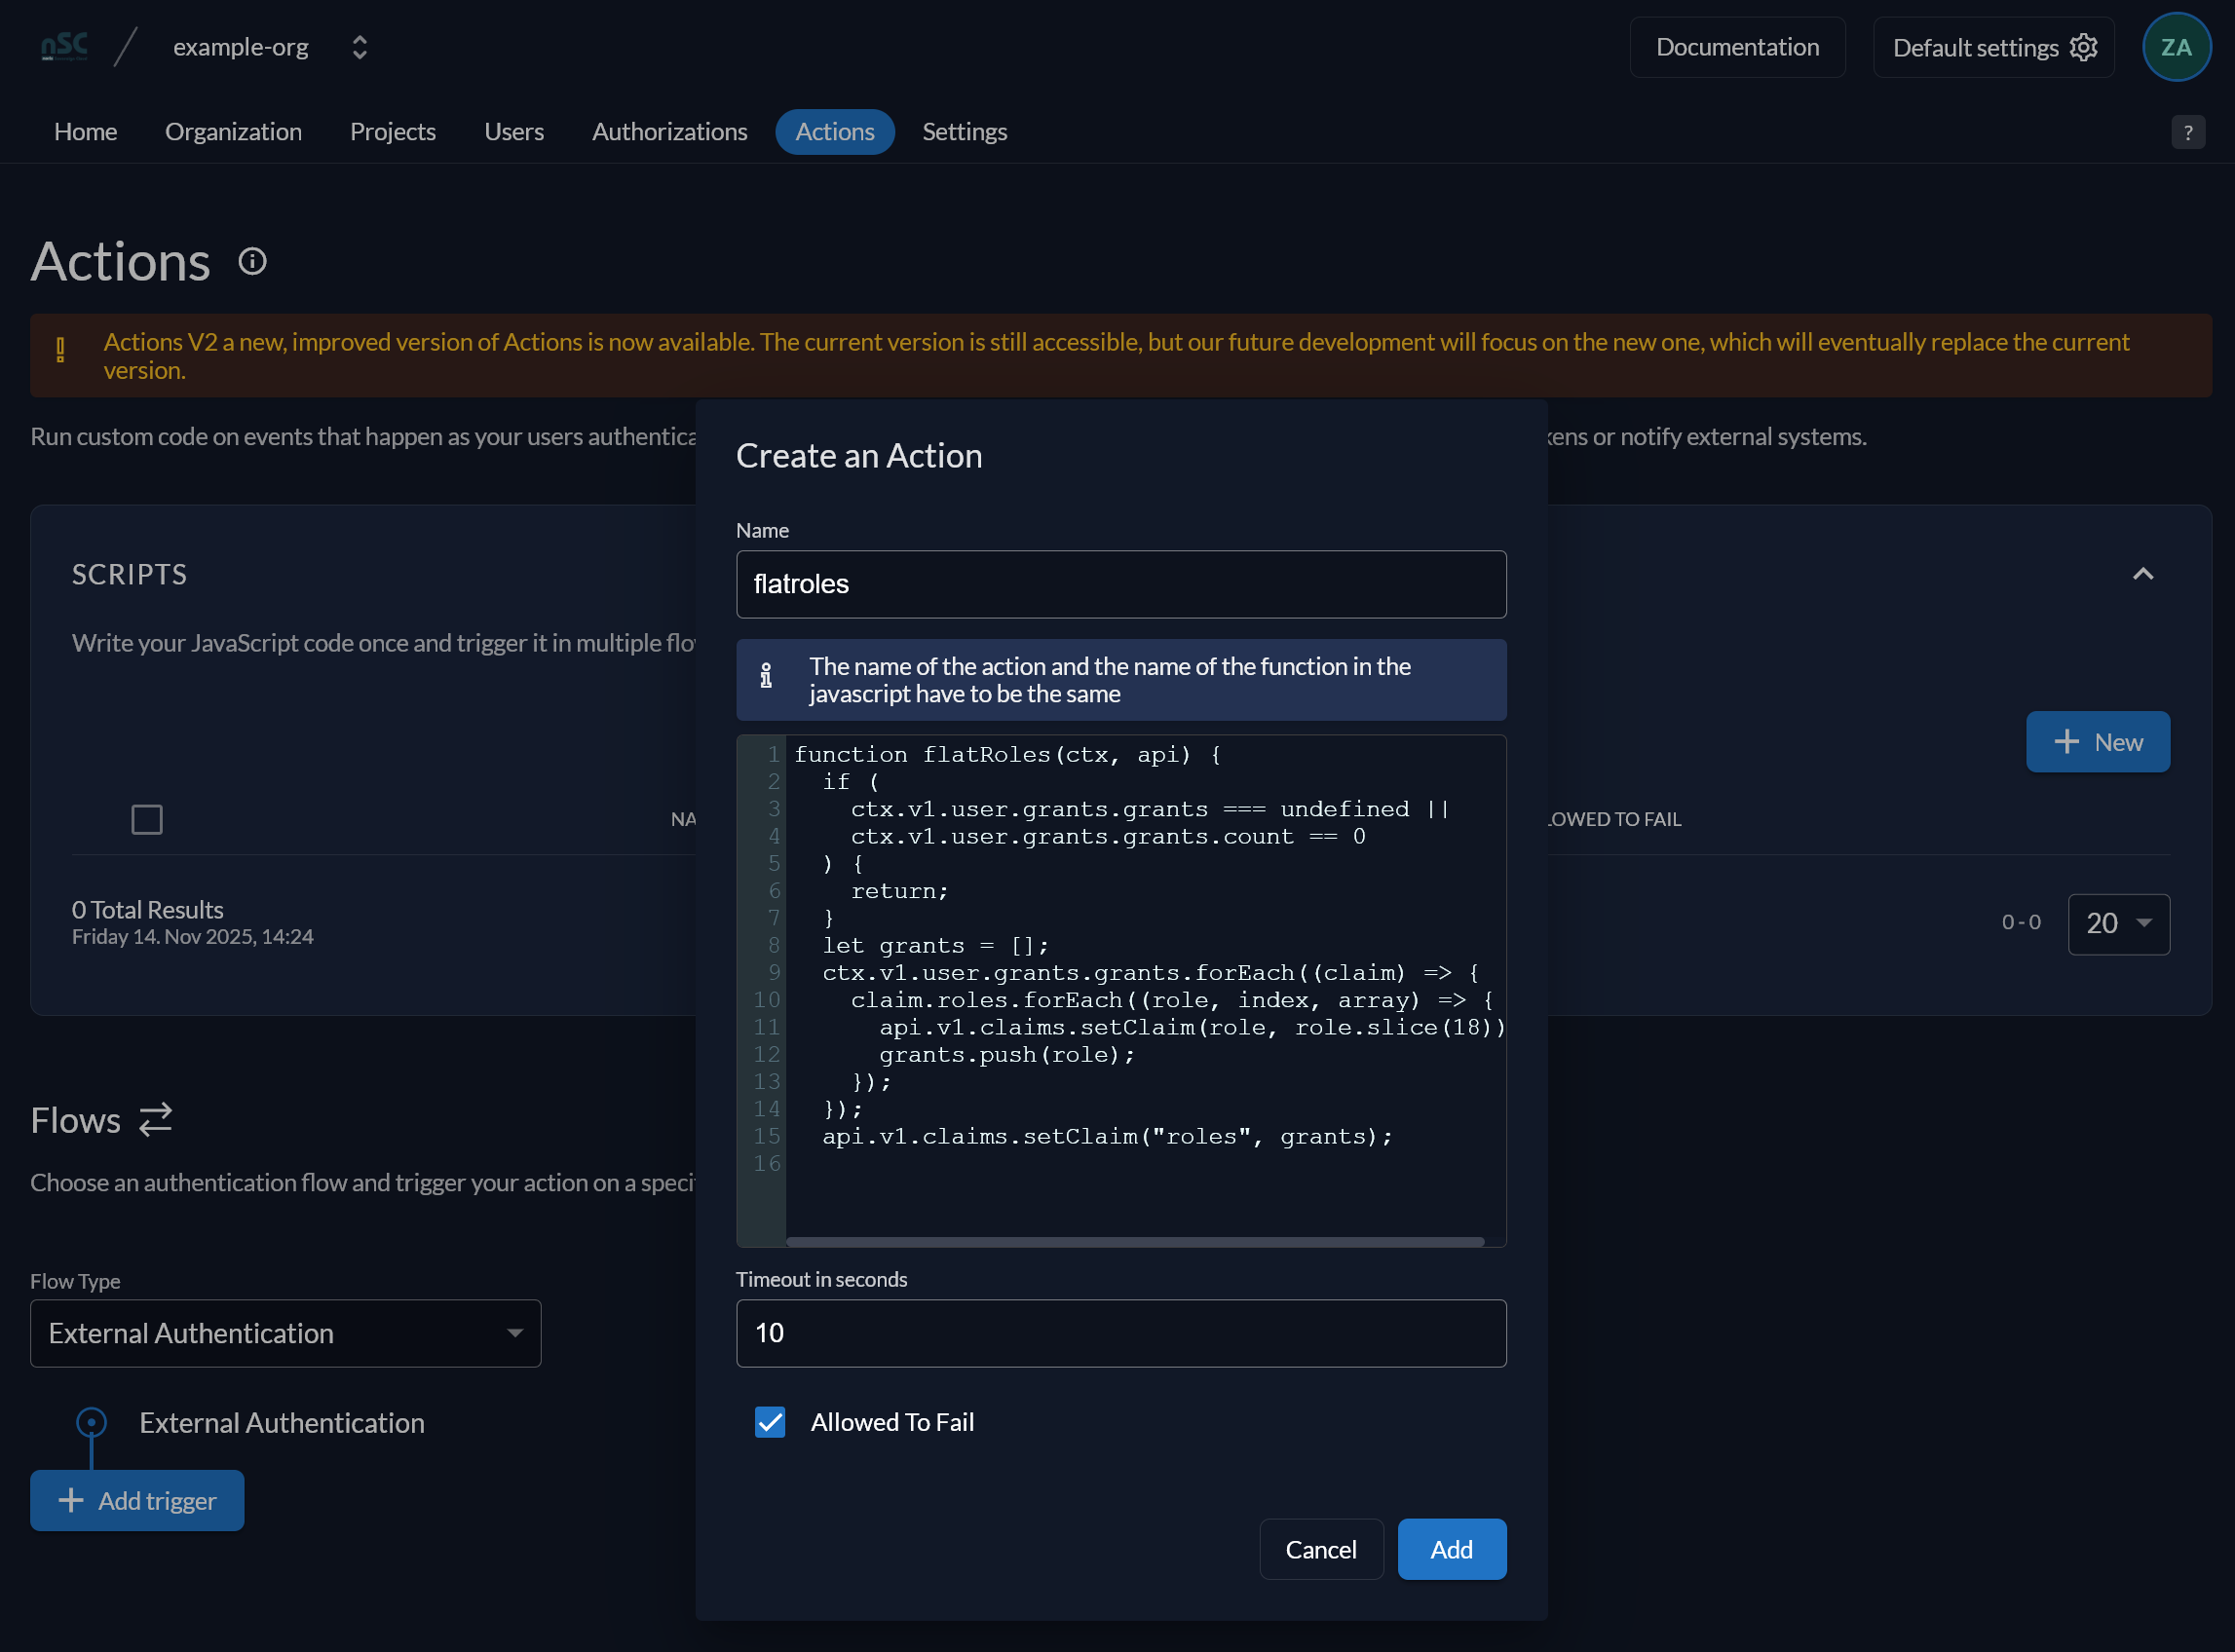
Add the following code snippet as body:
function flatRoles(ctx, api) { if ( ctx.v1.user.grants.grants === undefined || ctx.v1.user.grants.grants.count == 0 ) { return; } let grants = []; ctx.v1.user.grants.grants.forEach((claim) => { claim.roles.forEach((role, index, array) => { api.v1.claims.setClaim(role, role.slice(18)); grants.push(role); }); }); api.v1.claims.setClaim("roles", grants);}Then click “Add”.
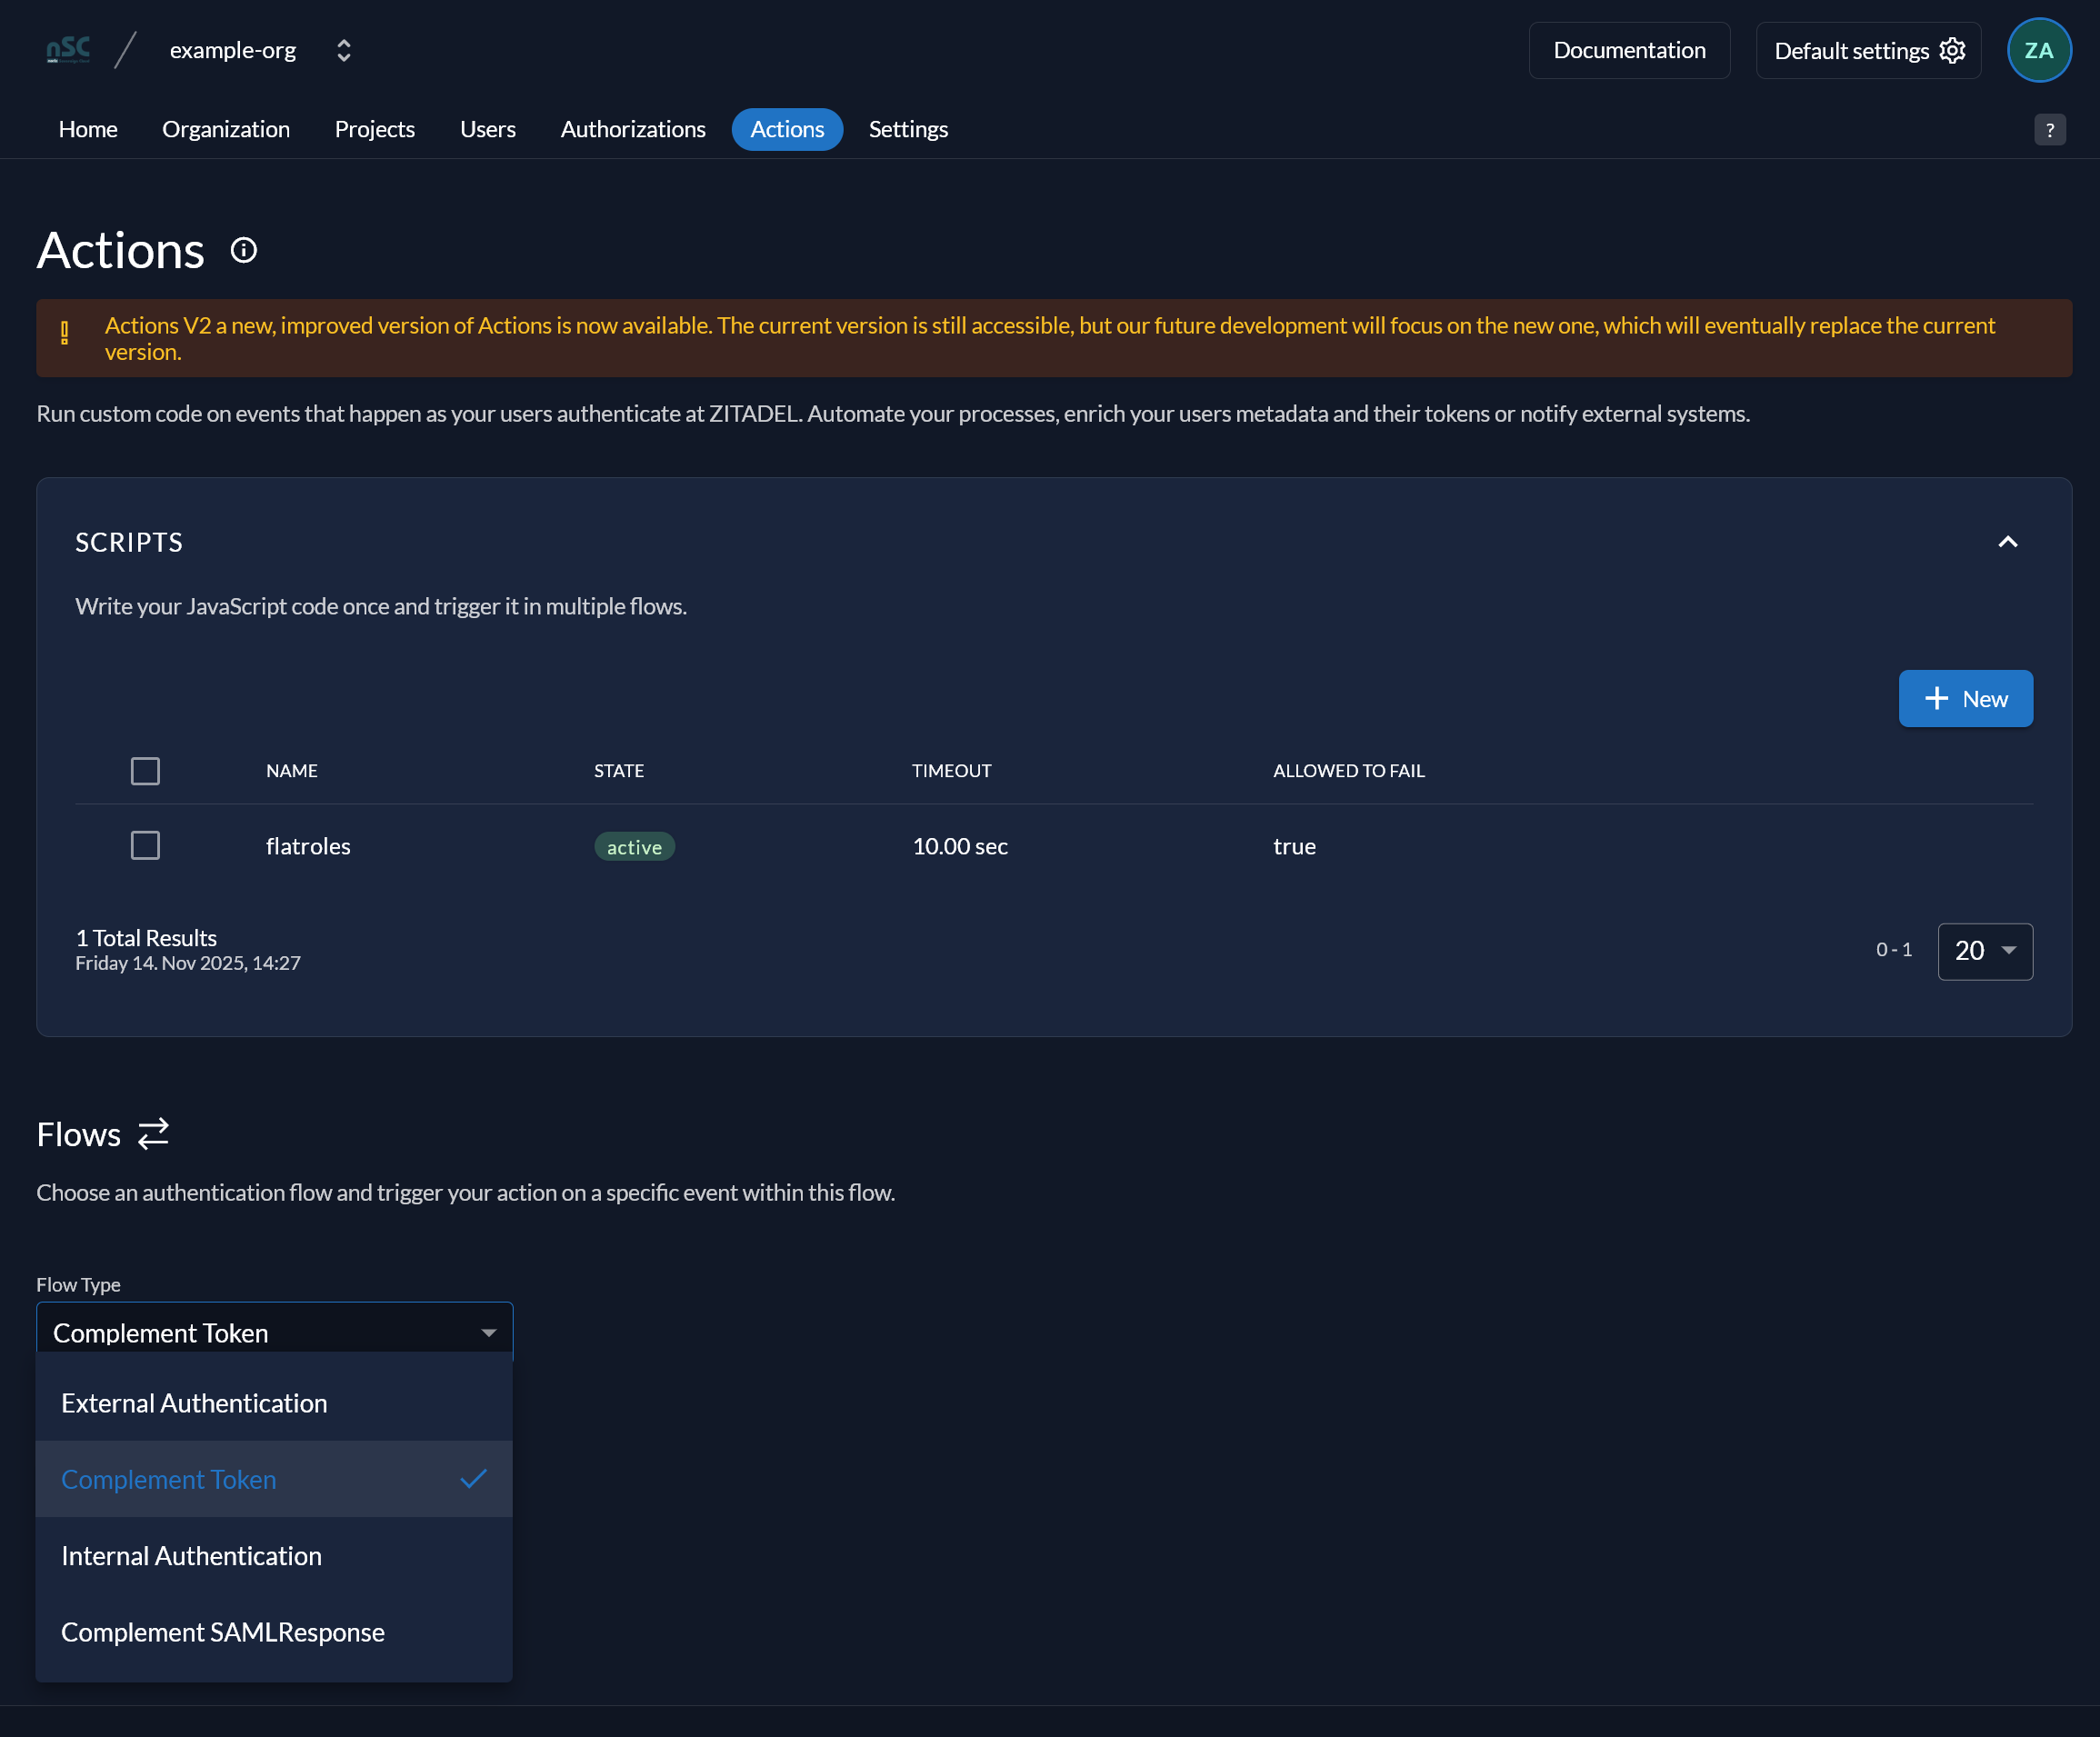
Select “Complement Token” in the dropdown menu and click “Add trigger”:
Select “Pre Userinfo creation” as trigger type. Select “flatRoles”, which we created in the previous step, as action. Click “Save”:
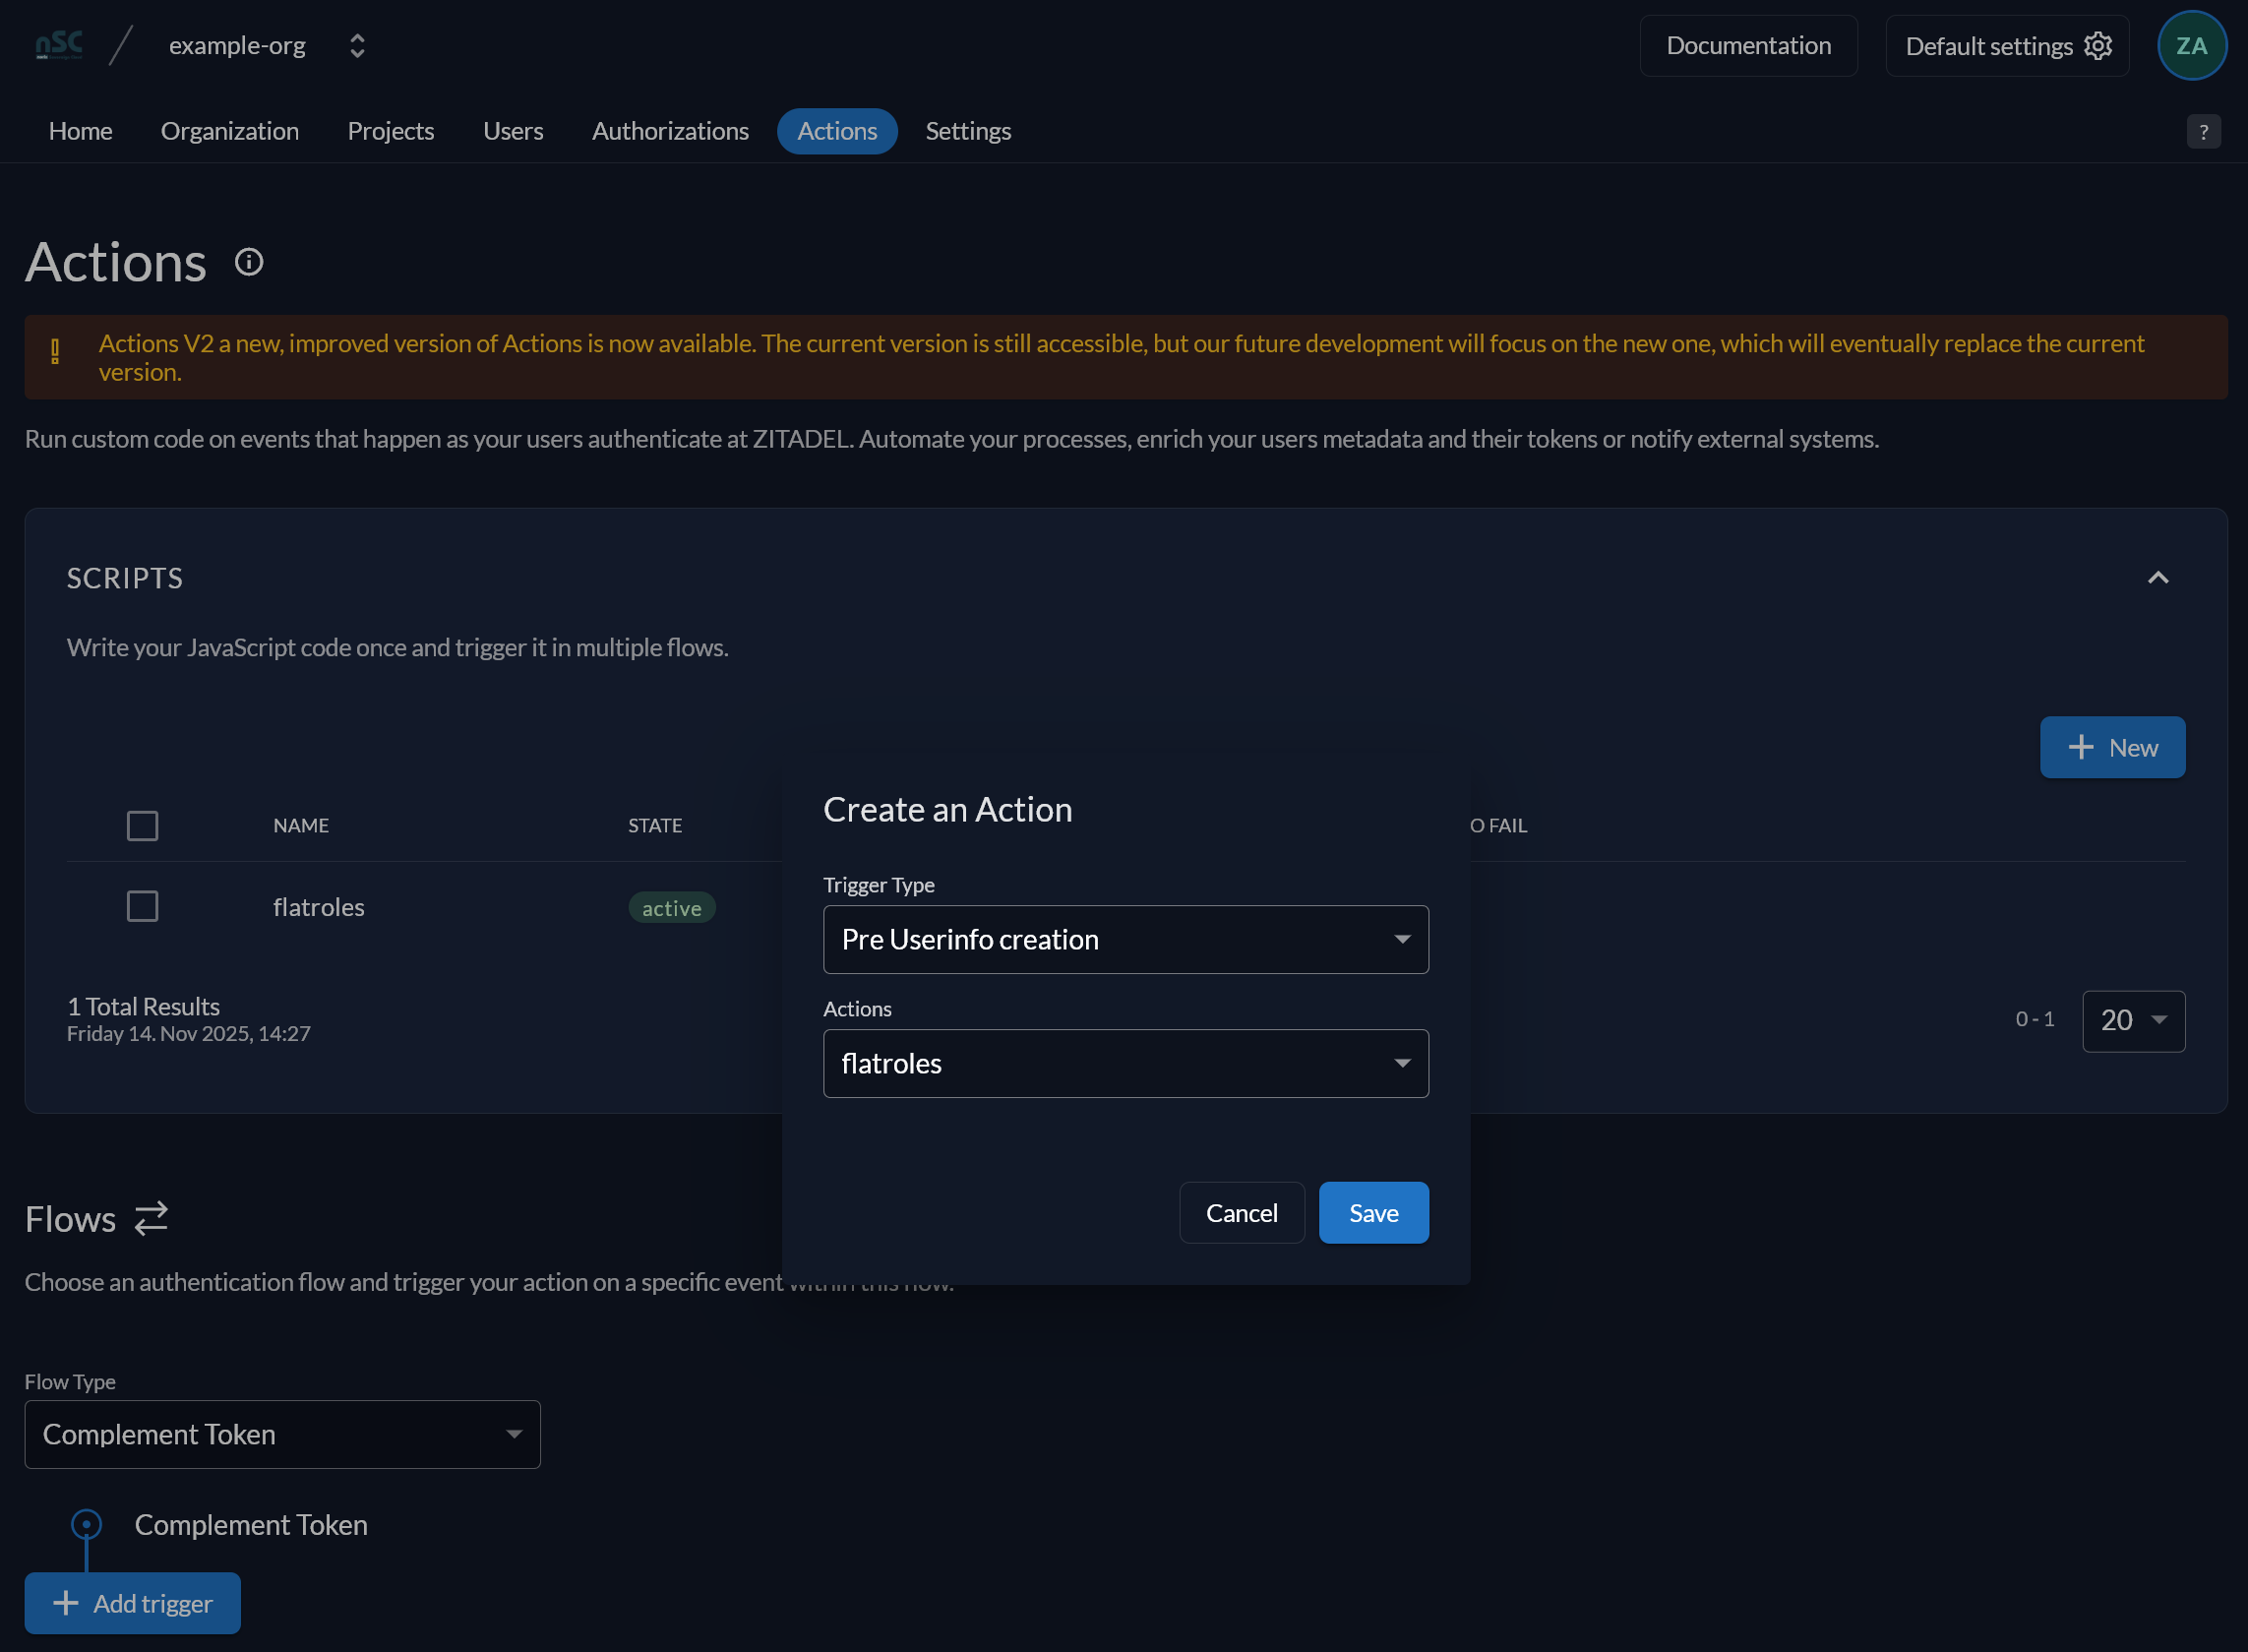
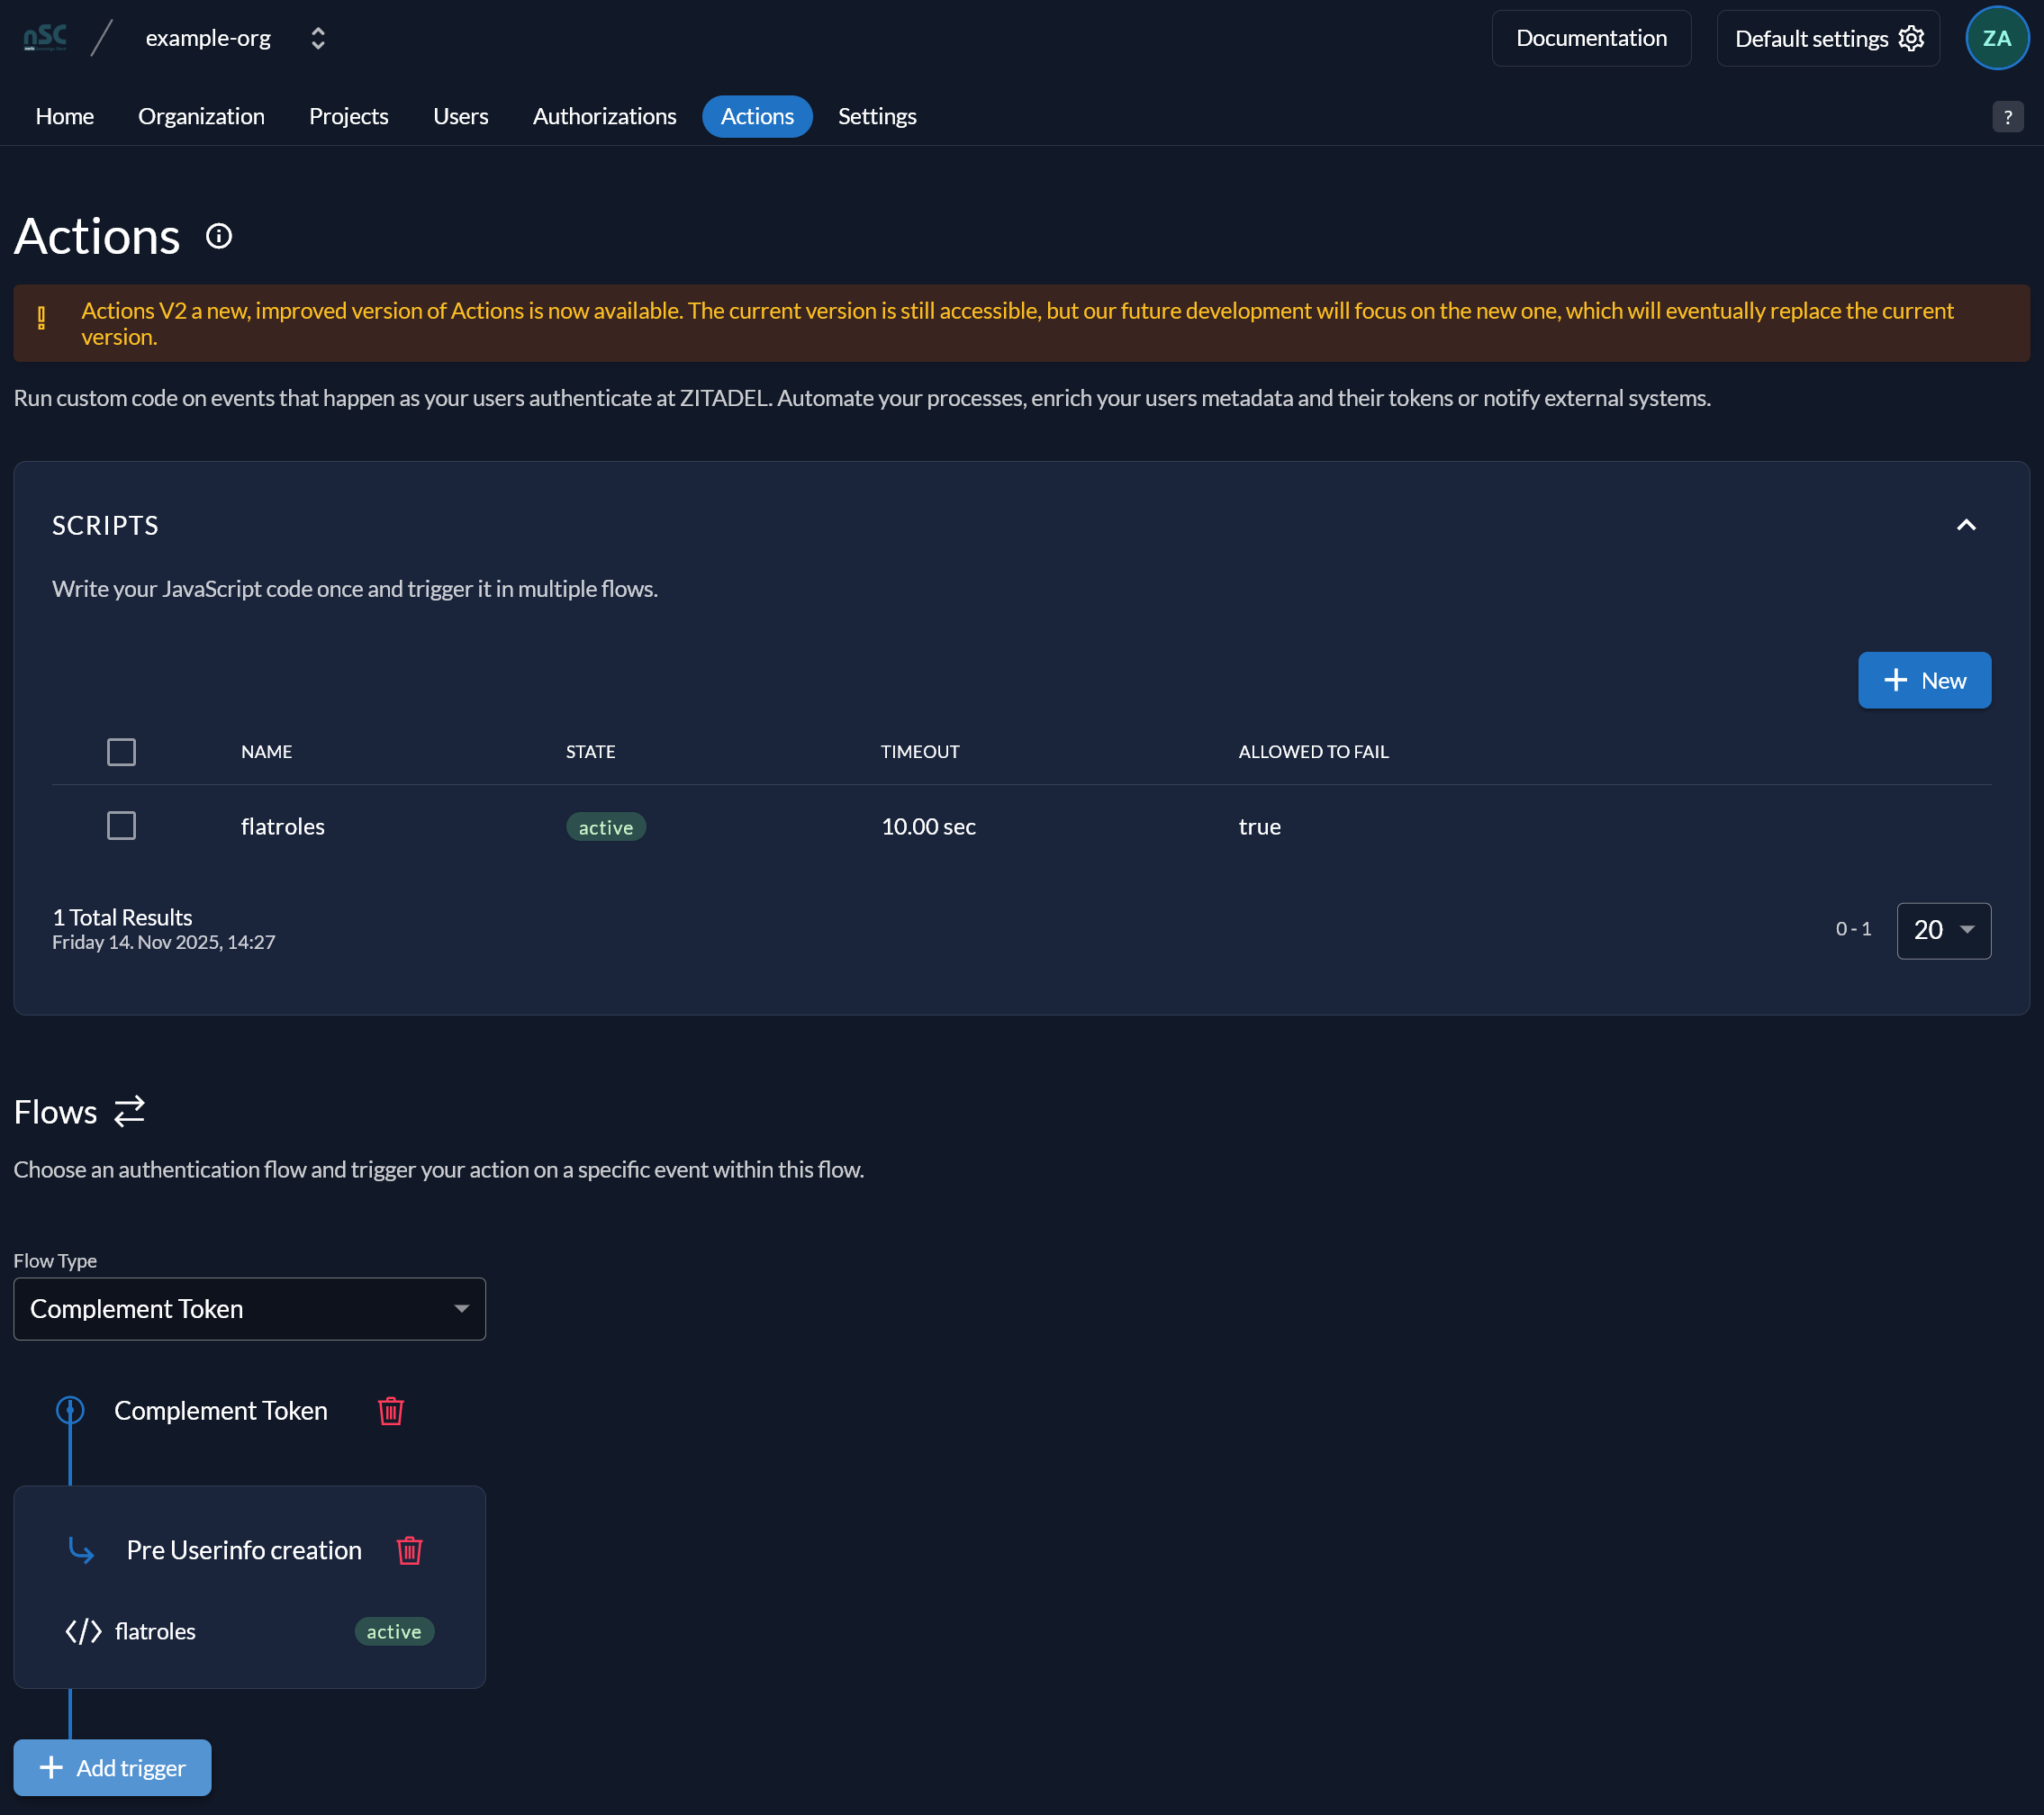
You have reached the final step. You are now done with the setup of Zitadel OIDC. The result should look like this: